
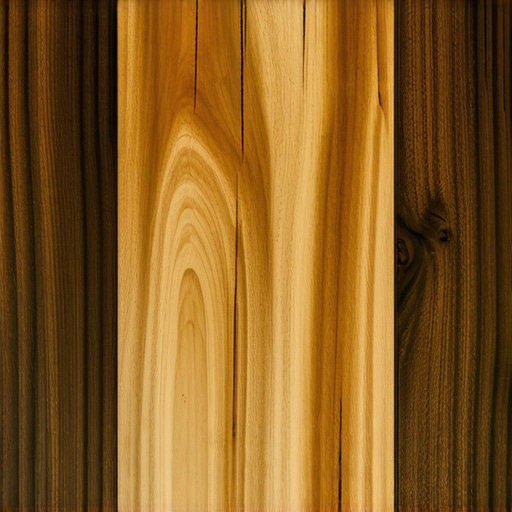
I’ll never forget the day I almost ruined a client’s heirloom floor by assuming all old wood behaves the same. I was staring at a pile of salvaged hickory planks, thinking I could just sand and stain. Boy, was I wrong. The heartwood—the dense, dark center of the tree—was laughing at my lack of preparation. I spent hours trying to get a uniform look, only to realize that heartwood and sapwood are like two different species living in the same board. If you’ve ever looked at your floor and wondered why some spots are rock-hard while others feel almost soft, you’ve likely run into the heartwood challenge. Today, I’m going to show you exactly how to spot the difference so you don’t make the same expensive mistakes I did.
Why Heartwood is the Real MVP of Your Hickory Floor
Hickory is famous for being one of the hardest woods in North America, but that reputation mostly comes from the heartwood. It’s the “dead” center of the tree that has stopped transporting sap and started storing minerals and extractives. This makes it incredibly rot-resistant and dense. When you are dealing with hardwood floor care, knowing where the heartwood ends and the sapwood begins changes everything from how you sand to how much stain the wood will drink up. One huge mistake I made early on was treating a high-traffic hallway with sapwood-heavy planks. It wore down twice as fast as the heartwood-rich living room. You really need to be picky about placement. According to the USDA Forest Products Laboratory, hickory’s heartwood is significantly more resistant to moisture changes than its sapwood, which is vital for long-term stability.
Does identifying heartwood actually worth the extra effort?
You might be thinking, “It all looks like wood once the finish is on, right?” Wrong. Skepticism is healthy, but in this case, ignoring the heartwood is a recipe for a blotchy disaster. If you don’t identify these sections, your stain will take unevenly, leaving you with a floor that looks more like a leopard print than a luxury surface. I’ve found that using moisture meters before installing wood floors is the only way to be sure how the different densities will react. Have you ever started a refinishing project only to realize your wood has a mind of its own? It’s frustrating, but once you learn to read the grain, you become the boss of the boards. Before you even think about mastering hardwood floor refinishing, you have to know what you are standing on. We are going to look at the color cues and density tests that make identification a breeze.
Spot the Heartwood Before Your First Cut
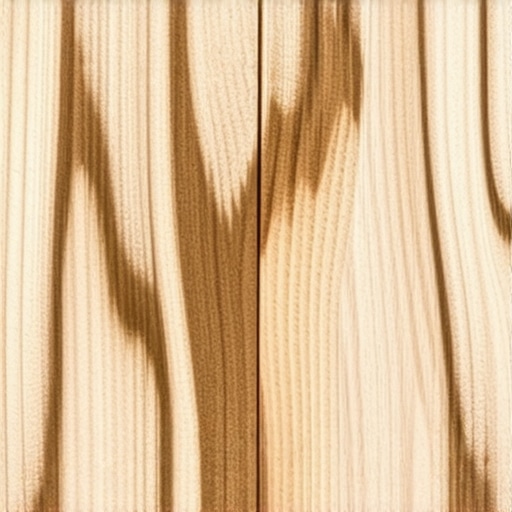
To avoid a floor that looks like a chaotic puzzle, your first move is a visual triage. Hickory doesn’t do ‘subtle.’ The heartwood is usually a deep, rich brown, occasionally veering into a reddish-cinnamon hue. In contrast, the sapwood is the color of heavy cream or vanilla bean. When you are looking at raw planks, the line between the two can be as sharp as a razor. I always recommend sorting your boards under the same lighting they will live in. I remember a 2018 kitchen remodel where I didn’t bother sorting; I just pulled planks from the box and nailed them down. Once the finish hit, the heartwood turned a gorgeous amber, but the sapwood stayed a ghostly pale. It looked like a checkerboard gone wrong, and I ended up learning that the sanding mistake that leaves swirl marks on your wood is often the result of rushing to fix a botched layout.
Look for the Chocolate and Cream Contrast
Think of heartwood as the ‘bone’ of the tree and sapwood as the ‘skin.’ To identify them quickly, look at the end grain. The heartwood will occupy the inner rings, and it often has a tighter, more compressed appearance. If you’re ever unsure because the wood is dusty, wipe a damp rag across the surface. This ‘wet test’ mimics how the wood will react to a finish. The heartwood will darken instantly, while the sapwood remains light. This simple trick is part of the flooring installation fundamentals that separate a DIY look from a pro-grade finish.
Save the Hardest Boards for High-Traffic Zones
Once you’ve identified your heartwood-heavy planks, don’t just scatter them. You need to be strategic. Use the heartwood in hallways, entryways, and the ‘pivot points’ in front of the kitchen sink. Heartwood is significantly denser and more resistant to the ‘heel-click’ dents that ruin a floor over time. I’ve found that sapwood is much more prone to compression. Following expert flooring installation tips means you place the softer sapwood sections under the dining table or in the corners where furniture will cover them. This prevents flooring installation mistakes to avoid for lasting results, ensuring the floor wears evenly across the entire room.
Manage the Thirsty Sapwood Sections
Sapwood is like a thirsty sponge on a hot day; it will suck up stain and finish at twice the rate of the heartwood. To get a uniform look during mastering hardwood floor refinishing, you might need to use a wood conditioner. This ‘pre-stain’ step partially clogs the pores of the sapwood so it doesn’t get overly dark compared to the dense heartwood. If you skip this, your sapwood might actually end up looking darker than your heartwood because it absorbed too much pigment, creating a ‘reverse’ effect that looks muddy and unprofessional. Treat the heartwood like a polished brick and the sapwood like a porous rock—each requires a slightly different touch to reach that perfect, seamless glow.
Everyone tells you to pick the hardest wood for durability, but in my experience, the species is secondary to the subfloor preparation. You can have the densest heartwood on the market, but if your subfloor isn’t dead-flat, those planks will eventually groan, gap, and fail. A common myth in the DIY community is that a ‘level’ floor is the same as a ‘flat’ floor. I’ve seen pros spend days chasing a laser-level bubble when the real enemy was a subtle 1/4-inch dip in the middle of the room. According to the National Wood Flooring Association (NWFA), subfloors must be flat within 3/16 of an inch over a 10-foot radius for a successful installation. Ignoring this is one of the most common flooring installation mistakes to avoid for lasting results because it puts immense mechanical stress on the tongue-and-groove joints.
Stop Blaming the Wood for Your Squeaky Planks
When someone tells me their new hickory floor is clicking, they usually think the wood is ‘settling.’ That’s rarely the case. Usually, it’s because they skipped the critical step of how to measure subfloor flatness before you start installing. If the plank has a void beneath it, every footstep forces the wood to flex. Over time, this friction wears down the heartwood’s structural integrity. I’ve learned the hard way that you must use a long straightedge to find high spots before the first nail goes in. If you don’t, you’ll be searching for how to stop a floating floor from clicking when you walk just six months down the line.
Can you really trust your eyes to judge a subfloor’s flatness?
The short answer is no. Light can be incredibly deceptive, especially in rooms with large windows. I once did a layout that looked perfect at noon, but as the sun set, the grazing light revealed a ‘rollercoaster’ subfloor. This is why mastering floor leveling pro secrets for perfect installations is non-negotiable. You need to identify those dips and peaks early. Have you ever fallen into this trap where you thought ‘the underlayment will hide it’? Let me know in the comments, because that’s a mistake that costs thousands in the long run.
The Self-Leveling Trap That Ruins Subfloors
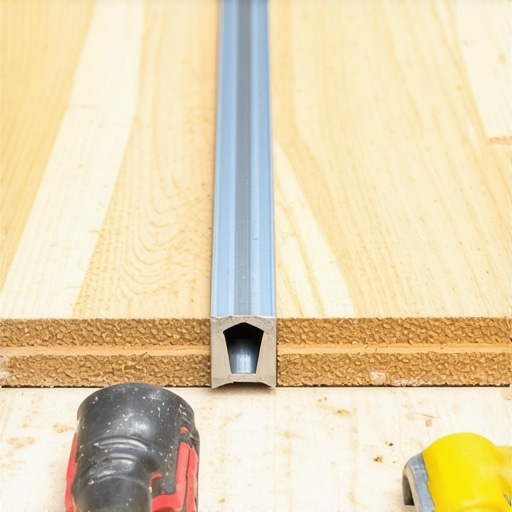
If you decide to level the floor yourself, there is a dangerous trap: pouring leveler directly onto plywood without a proper primer. I see this constantly. People think the leveler will just stick, but the wood actually sucks the moisture out of the compound too quickly. This causes the mixture to crack or, even worse, creates the phenomenon of why your self-leveler is bubbling over plywood. Those tiny air bubbles pop and leave a pitted surface that is anything but professional. To avoid this, you need to know the secret to mixing the perfect bucket of self-leveler every time, which includes a slower mix speed to prevent air entrainment. Remember, the heartwood of your hickory is only as good as the foundation it sits on. Treat your subfloor with the same respect you treat your finish, and your floor will outlive the house itself.
Ditch the Broom for These Three Essential Pro Tools
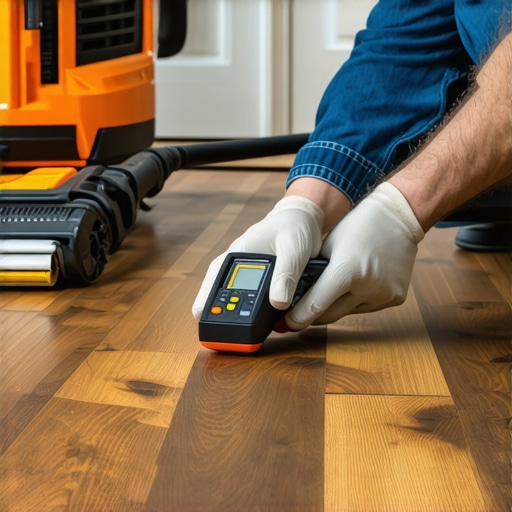
If you want your hickory floor to look like a showroom and not a construction site, you have to stop thinking about just the hammer and nails. The most underrated tool in my kit isn’t even for the wood itself; it’s the vacuum attachment that actually picks up fine sawdust. Most shop vacs just blow the microscopic hickory dust back into the air, where it settles into your wet finish later. I personally use a HEPA-rated extractor because hickory dust is notoriously fine and can ruin a polyurethane coat in seconds. Another non-negotiable is a high-end pinless moisture meter. I’ve seen guys rely on the ‘feel’ of the wood, but after reading the NWFA Technical Publication A100 (Water and Wood), I realized that hickory’s high density means it can hold moisture in the center while the surface feels bone-dry. You need to know how to use a moisture meter before installing wood floors to prevent the heartwood from expanding and buckling your entire layout three months later.
How do I keep my hickory floors looking brand new for decades?
Maintenance is where most homeowners fail, and usually, it’s because they are too aggressive. You have to treat hickory like a living thing. The biggest threat isn’t foot traffic—it’s the air. Because hickory is so dense, it reacts more violently to humidity swings than almost any other domestic species. I always tell my clients that hardwood floor care secrets to longevity and shine start with a hygrometer, not a mop. You want to keep your home between 35% and 55% humidity. If you let the house dry out in January, you’ll learn exactly how to keep your hardwood floors from gapping in the winter by using a whole-home humidifier. Consistency is the only way to keep those heartwood joints tight and silent.
The Pro Trick for Glass-Smooth Self-Leveling
When you are prepping for that level surface we talked about earlier, don’t just pour and hope. I’ve transitioned to a method that involves a spiked roller and a very specific timing. If you want to achieve flooring installation fundamentals that actually hold up, you have to break the surface tension of the leveler. I’ve found that how to use a spiked roller for the perfect leveling pour is the difference between a floor that has ‘waves’ and a floor that looks like a sheet of ice. This tool releases the tiny air bubbles that get trapped when you are mixing the perfect bucket of self-leveler every time. In the future, I expect to see more ‘smart levelers’ with built-in polymers that flow even better, but for now, the spiked roller is your best friend for a pro-grade finish.
If you really want to step up your game, I challenge you to try the ‘wet test’ on your next batch of hickory planks before you ever reach for the stain. It’s a simple move that will save you hours of sanding later. I’ve seen it save dozens of projects from that dreaded ‘leopard print’ look. Trust your tools, but trust your preparation more. If you’re unsure about the next step, you can always contact us for a deeper dive into specific layout challenges.
Hard Lessons Hickory Taught Me About Patience
Over the years, I’ve realized that hickory is as temperamental as it is beautiful. One of the biggest ‘lightbulb moments’ I had was realizing that hickory doesn’t just expand; it moves with an attitude. While oak might gently nudge a baseboard, hickory can actually buckle if the humidity isn’t strictly controlled. Another hard truth is that your stain choice will never truly mask the heartwood-sapwood difference unless you use a dye first. Standard oil stains just highlight the contrast. Finally, remember that the most expensive finish in the world can’t hide a subfloor that wasn’t prepped correctly. If you’re mastering hardwood floor refinishing, focus on the prep work before the topcoat.
My Essential Toolkit for a Lifelong Floor
I don’t step onto a job site without a pinless moisture meter. Brands like Wagner or Lignomat are worth every penny because they don’t leave holes in your expensive heartwood planks. I also swear by the National Wood Flooring Association (NWFA) technical manuals; they are the true ‘Bible’ of the industry and provide the data to back up your installation choices. For those focusing on flooring installation fundamentals, a high-quality 10-foot straightedge is more important than your miter saw. It reveals the dips that lead to those annoying squeaks later on.
Turn Your Vision into a Solid Reality
Installing hickory hardwood floors is a labor of love that rewards patience and precision. Don’t be intimidated by the density or the color variations; embrace them as the character of a truly natural product. When you take the time to learn how to measure subfloor flatness before you start installing and treat your sapwood with care, you aren’t just laying a floor—you’re building a legacy. Proper hardwood floor care will keep that legacy glowing for generations. #IMAGE_PLACEHOLDER_E#
Have you ever found a ‘surprise’ dip in your subfloor after you already started nailing down your planks? Let me know in the comments below!