
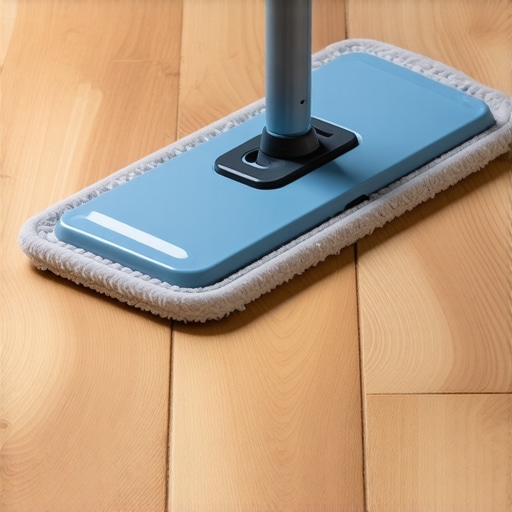
It was a bright Saturday morning, the kind where the sun hits the floor at just the right angle to show every single speck of dust. I had just finished a grueling weekend of DIY work, and my new floors looked like a million bucks. I grabbed my fancy new steam mop, thinking I was the king of clean, and went to town. I thought I was being ‘extra’ clean by sanitizing every square inch. Fast forward three weeks, and I started hearing it—a rhythmic, sickening crunch every time I walked toward the kitchen. My beautiful planks were curling at the edges like old parchment. I had fallen for the classic trap, and today, I want to make sure you don’t make the same expensive mistake I did. We are going to break down why that blast of heat is the mortal enemy of your flooring joints and how to maintain that factory-fresh look without accidental destruction.
Steam is the Silent Killer of Floating Floors
I used to think that ‘waterproof’ meant indestructible. It doesn’t. When you force pressurized steam into the tiny gaps of a click-lock system, you aren’t just cleaning; you are injecting a vapor that bypasses the surface protection. This leads to what many call the damp mop mistake that swells your laminate seams, but on steroids. The heat causes the material to expand rapidly, and once that moisture is trapped under the wear layer, it has nowhere to go. This often results in why your luxury vinyl is peaking at the short joints, creating little ridges that catch your socks and eventually chip away. I learned the hard way that even a single ‘deep clean’ session can compromise the structural integrity of the locking mechanism. According to the National Wood Flooring Association (NWFA), excessive moisture and heat are the primary causes of finish failure and substrate delamination in composite flooring. If you want to keep your home looking great, you have to prioritize hardwood floor care secrets to longevity and shine rather than reaching for the high-tech gadgets. Have you ever noticed your floor boards starting to feel a bit ‘bouncy’ or heard them clicking after a cleaning session?
Can’t I just use the low setting?
The short answer is a hard ‘no.’ Even on a low setting, a steam mop reaches temperatures far exceeding what the adhesives and core materials of click-lock floors were designed to handle. This heat can soften the very joints that hold your floor together, eventually leading to a situation where you’ll need to know how to stop a floating floor from clicking when you walk. It isn’t just about the moisture; it is about the thermal expansion that puts immense pressure on those delicate plastic or fiberboard tongues and grooves. Once those are warped, there is no magic fix other than replacement.
Switch to Microfiber and Targeted Spraying
To save your floors, you have to transition from a ‘soak and sanitize’ mindset to a ‘mist and swipe’ routine. Think of your floating floor like a high-end raincoat. The surface is perfectly waterproof, but the click-lock joints are the zippers. If you submerge a zipper or hit it with high-pressure steam, water gets inside every time. Instead, use a microfiber flat mop and a spray bottle. This ensures you only apply a fine mist to the surface, which evaporates in seconds rather than lingering in the grooves. I remember a job in a small condo where the owner had just finished a flooring installation and immediately went in with a steam mop to ‘sanitize’ the dust. By the time I arrived to install the baseboards the next day, the seams were already showing white, chalky residue and slight swelling. I had to explain the truth about using steam mops on luxury vinyl planks: they are built for durability, not for volcanic temperatures. 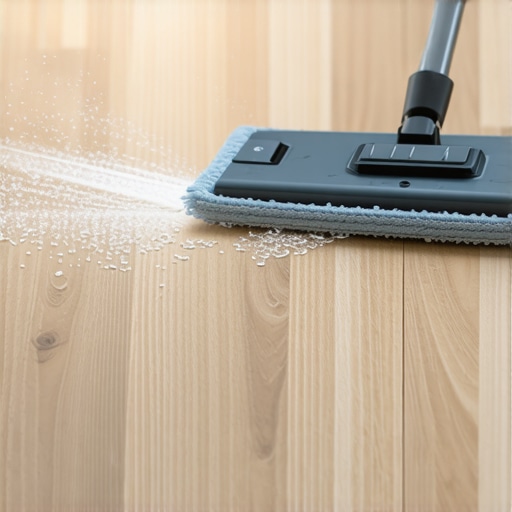
Pick the Right Cleaner for Your Wear Layer
Not all cleaners are created equal. You want a pH-neutral cleaner specifically formulated for your floor type. Avoid the ‘mop and glow’ products that promise a high-gloss finish; these often leave a waxy buildup that attracts more dirt and eventually peels. If you’ve just finished a project, remember why you should never mop new hardwood for at least two weeks—this gives the material time to acclimate and ensures any site-applied finishes are fully cured. When you do start cleaning, follow hardwood floor care secrets to longevity and shine by using a cleaner that won’t strip the protective aluminum oxide or urethane coating.
Fix the Damage Before It Spreads
If you already hear that tell-tale crunching or clicking, you need to act before the locking mechanisms snap entirely. Often, moisture causes the subfloor or the planks to expand unevenly. You might need to learn how to stop a floating floor from clicking when you walk, which often involves re-seating planks or adding a specialized lubricant to the joints. I once dealt with a kitchen floor where the owner had ‘deep cleaned’ with steam so often that the planks had separated by nearly an eighth of an inch. We found that the the damp mop mistake that swells your laminate seams had actually caused the core to soften. In that case, we had to use a suction cup tool to pull the boards back together, but the integrity was never quite the same. If the damage is localized to one area, you can sometimes learn how to fix a soft spot in the middle of a laminate floor by injecting a floor-repair adhesive, but prevention is always cheaper than the cure. Check your expansion gaps; if they are tight against the wall, the steam-induced expansion has nowhere to go but up, resulting in peaking. Keeping the humidity in your home between 35% and 55% is the best way to prevent your floor from fighting against itself.The biggest myth in the DIY world is that ‘floating’ floors are forgiving of a bad subfloor. People tell me all the time, ‘Oh, I don’t need a perfectly flat base because the underlayment will hide the bumps.’ That is a recipe for disaster. If your subfloor isn’t flat to within 3/16 of an inch over a 10-foot span, those expensive click-lock joints will eventually snap under the weight of daily foot traffic. I’ve seen countless homeowners skip the substrate primer, which is exactly why your self-leveler didn’t bond to the wood subfloor in the first place. You end up with a brittle shell that crunches every time you walk on it, mimicking the same damage caused by steam.
Why does my self-leveler keep cracking even after I followed the bag instructions?
The hidden nuance most people miss is the critical balance of environmental control and precise water ratios. If you add even a cup too much water to make the mixture ‘flow better,’ you compromise the structural integrity of the polymers. This often leads to why your floor leveler pitted during the drying process or developed those dreaded spiderweb cracks overnight. According to the Tile Council of North America (TCNA), substrate preparation is roughly 90% of the work in a successful installation. If the subfloor is too porous and you didn’t prime it, it sucks the moisture out of the leveler too quickly, which is the reason your leveler is setting up too fast for you to spread it effectively.To avoid the ‘oops’ factor, you have to stop thinking of leveling as a solo project. For mastering floor leveling pro secrets for perfect installations, you need a two-person team: one to mix and one to pour. You also need to know the secret to mixing the perfect bucket of self-leveler every time, which involves measuring water to the exact ounce and using a high-torque drill to prevent air entrainment. Rushing this stage is one of the most common flooring installation mistakes to avoid for lasting results. If you don’t get the base right, your ‘waterproof’ floor won’t last two seasons. 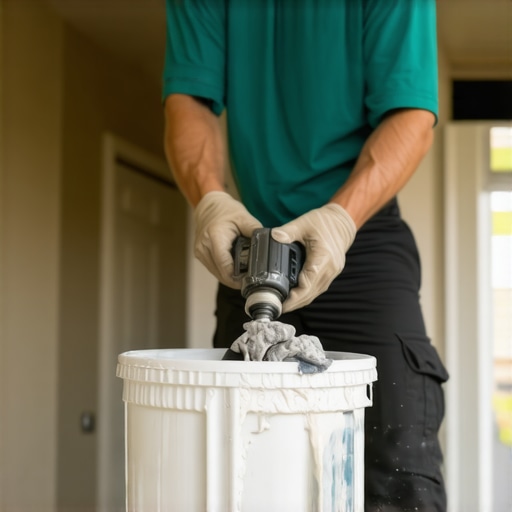 Let’s get real—have you ever spent a whole weekend leveling a room only to have it turn out like a topographical map? Have you ever fallen into this trap? Let me know in the comments, and let’s figure out where it went wrong. For those just starting, I highly recommend reading the ultimate guide to floor leveling for a perfect finish before you crack open that first bag of cement.I’ve spent thousands of hours on my knees across various jobsites, and if there is one thing I’ve learned, it’s that your eyes are lying to you. You need a digital moisture meter. I personally use the Wagner Orion series because it doesn’t leave pinholes in my expensive oak, and it gives me the peace of mind that a DIYer’s ‘gut feeling’ never could. If you don’t know the moisture content of your subfloor relative to your planks, you’re basically gambling with your bank account. I always tell my friends that the first step to precise floor leveler techniques to achieve flawless surfaces is knowing exactly how much water is already in the room. I don’t just use my hands to feel for bumps; I rely on how to check for high spots with a 10 foot straightedge. This simple aluminum tool has saved me more headaches than any expensive laser level ever has. It’s the difference between a floor that feels solid and one that has that annoying ‘hollow’ bounce when the kids run across it.
Stop guessing and start measuring
In the world of flooring, the ‘close enough’ mentality is what leads to 2 a.m. regrets. I keep a dedicated kit for every install that includes a high-torque mixing paddle—because using a standard drill to mix leveler is a great way to burn out a motor and end up with lumps. If you want the secret to mixing the perfect bucket of self-leveler every time, you have to be precise down to the milliliter. Even more importantly, I never start a project without the vacuum attachment that actually picks up fine sawdust. Most shop vacs just blow the fine particles back into the air, which then settle on your wet primer, ruining the bond. According to the National Wood Flooring Association (NWFA) Technical Manual, failing to clean the substrate properly accounts for nearly 30% of early-onset adhesive failures. Don’t be that person. 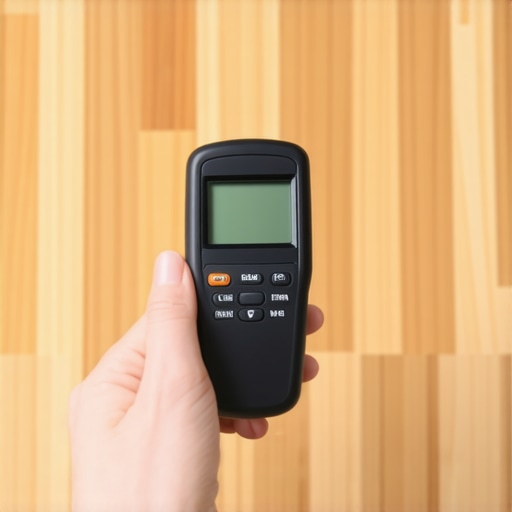
How do I maintain my floors over the long term?
The real secret to hardwood floor care secrets to longevity and shine isn’t a magic chemical; it’s a consistent routine. I recommend using felt pads on the bottom of every piece of furniture—and replacing them every six months. Why? Because grit gets trapped in the felt and turns your favorite armchair into a piece of sandpaper. If you notice a small scratch, don’t ignore it. Learning mastering hardwood floor refinishing expert tips for 2025 can save you from a full sand-and-refinish job later. I’ve seen homeowners save thousands by simply spot-treating high-traffic areas before the wear layer is completely gone.
The future of flooring is smarter than we think
Looking ahead, I predict we are going to see a massive shift toward ‘smart underlayments.’ Within the next decade, I expect moisture sensors to be integrated directly into the padding, sending an alert to your smartphone if a pipe starts leaking under your dishwasher before the wood even begins to cup. We are already seeing advancements in self-healing resins that can close micro-scratches with heat. It’s an exciting time to be a home improver, but until the floor can clean itself, you still need to put in the work. My challenge for you this week: go buy a digital moisture meter and check your subfloor. You might be surprised at what you find.
The Truth I Learned After My First Floor Failed
After years of fixing buckling planks, I’ve realized that ‘waterproof’ is often a half-truth; while the surface repels spills, the click-lock joints remain vulnerable to vapor injection. I also learned that skipping substrate primer is a recipe for disaster; it ensures your self-leveler will eventually peel off like a bad sunburn. Most importantly, humidity control is just as vital as the physical install. If your home’s air is too dry, even hardwood floor care secrets to longevity and shine won’t prevent shrinkage and gaps. These are the small nuances that separate a frustrated weekend project from a lifetime investment.
#IMAGE_PLACE_HOLDER_E#
Tools That Earned a Permanent Spot in My Truck
I never start a job without a digital moisture meter to ensure the slab isn’t hiding deep-seated moisture that will haunt the planks later. I also swear by how to check for high spots with a 10 foot straightedge because it identifies the subtle dips that ruin a flat finish and lead to that annoying clicking sound. For a smooth pour, a high-torque mixing paddle is non-negotiable to avoid the lumps that cause structural cracking. These tools are how I revamp your home with expert flooring installation tips that actually stand the test of time. Finally, a dedicated microfiber kit is the only way to maintain that initial glow without thermal damage.
Take the First Step Toward Your Dream Floor
Becoming a master of your own home environment comes down to the respect you show the preparation phase. By consulting the ultimate guide to floor leveling for a perfect finish, you avoid the most common pitfalls that sink DIY budgets and ruin materials. A successful flooring installation is within your reach if you prioritize precision and patience over speed. Take your time, trust your tools, and enjoy the transformation of your living space.
Have you ever discovered a hidden dip in your subfloor after you already started laying planks? Let me know in the comments below!