

I’ll never forget the sound of that inspector’s boots clicking across the concrete toward my first commercial ‘flash cove’ attempt. My heart sank. I’d spent six hours trying to force a sheet of medical-grade vinyl to climb four inches up a wall, and it looked like a total disaster. There were air bubbles the size of quarters and a kink in the corner that looked like a melted licorice stick. I thought I could just wing it with a heat gun and some luck. I was wrong. That failure taught me that flash coving isn’t just about bending material; it is a calculated dance of prep work and patience. If you’ve ever felt the sting of a wasted roll of expensive sheet goods, I’ve been there. Today, I’m going to pull back the curtain on the real ‘secret’ to those seamless, hygienic transitions that look like they were grown out of the floor rather than glued to it.
Why I almost walked off my first commercial job
When I started out, I assumed flash coving was just an aesthetic choice. It turns out, in spaces like hospitals and industrial kitchens, it is a life-saver. According to the Resilient Floor Covering Institute, properly installed flash coving can reduce bacteria accumulation by up to 99% compared to traditional baseboard joints. That is a massive deal for health inspectors. My early mistake was thinking the adhesive would do all the heavy lifting. I didn’t realize that the best way to prep a dusty concrete floor for adhesive is the literal foundation of the cove’s success. If the wall-to-floor transition isn’t perfectly smooth, the vinyl will eventually pull away, leaving a gap that invites moisture and mold. I once saw a floor fail because the installer skipped the cove stick entirely—an expensive flooring installation mistake that cost them the entire contract. Have you ever had a commercial installation go sideways because of a tricky corner?
Is all that extra prep actually worth the headache?
Many folks ask if the extra hours spent installing cove sticks and cap strips are really necessary. I used to be a skeptic too. But after seeing how quickly a standard baseboard fails in a high-moisture environment, I became a believer. Without that supported radius at the bottom, your vinyl is under constant tension. It wants to snap back to being flat. We are going to fix that by mastering the heat-welding and structural support techniques that the pros use to keep everything locked in place. We’ll also look at why a commercial floor failing the slip resistance test often starts with poor edge detailing. Let’s get into the nitty-gritty of making your next vinyl job bulletproof.To get that liquid-smooth transition, you have to start with the ‘cove stick.’ Think of this as the skeleton that supports the skin of your vinyl. Without it, the vinyl is just hanging over a void, waiting for a stray boot or a heavy cart to crush it. Before I even think about glue, I make sure the subfloor is dead flat. I’ve found that precise floor leveling techniques are the only way to avoid ‘telegraphing’—where every tiny pebble or dip in the concrete shows through your shiny new floor like a sore thumb.
Prep Your Subfloor Like a Surgeon
If you aren’t using a 10-foot straightedge to check for high spots, you are gambling with your reputation. I learned this the hard way on a dental clinic job. I thought ‘close enough’ would work, but the vinyl buckled at the base because the floor dipped right where the cove stick was supposed to sit. Now, I use pro secrets for perfect floor leveling to ensure the transition is seamless. You need to clear every grain of sand; prepping a dusty concrete floor for adhesive is arguably more important than the actual laying of the material. 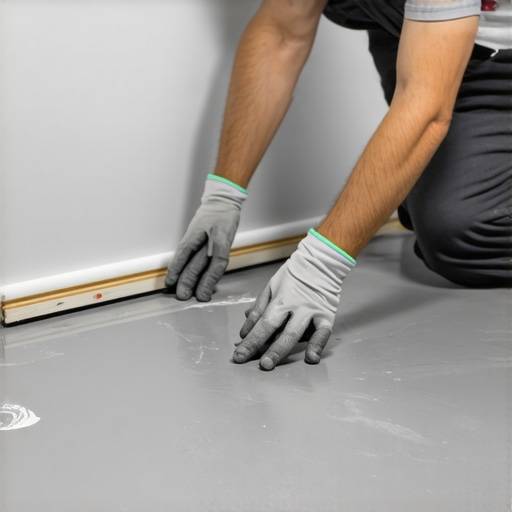
Install the Skeleton First
Glue your cove stick and cap strip with a high-strength contact cement. This isn’t the time for ‘budget’ glue. The cap strip goes at the height you want the vinyl to end—usually four or six inches. The cove stick provides the curve at the floor-to-wall junction. If you don’t get a tight bond here, the vinyl will pull the stick off the wall the moment the heat gun touches it. I always use a small hand roller to ensure the stick is fused to the wall.
The Butterfly Cut and the Heat Gun Dance
This is where most installers lose their cool. Handling inside and outside corners requires a ‘butterfly’ or ‘v-plug’ cut. I once botched an outside corner so badly I had to scrap a 10-foot piece of expensive medical vinyl. I tried to ‘stretch’ the material with too much heat and it scorched, turning a nasty shade of brown. The trick is to use just enough heat to make the material pliable—like warm taffy—and then use a tucking tool to seat it firmly into the cove stick.
Master the Heat Weld for a Liquid Seal
Once the vinyl is tucked into the cap strip and the adhesive has set, you have to weld the seams. This is like soldering for floors. Use a speed nozzle and move at a steady pace. If you go too slow, you’ll melt the vinyl; too fast, and the weld won’t penetrate. This is vital to prevent installation mistakes that ruin the floor’s longevity. A good weld should look like a tiny, consistent bead of glass. Don’t forget to use a Mozart knife or a skiving tool to trim the weld rod in two passes—one while it’s warm and one after it’s cooled—to keep it perfectly flush.
Even after you’ve mastered the skiving knife, there’s a nuance that separates the veterans from the guys who just “do floors.” Most installers think that more adhesive equals a better bond on vertical coves. I used to be one of them. But here’s the contrarian truth: too much glue is your worst enemy. When you slather on the contact cement, you risk trapping gasses. If you don’t allow for the proper “flash time,” those solvents get locked behind the vinyl and eventually create unsightly bubbles or, worse, cause the adhesive to re-liquefy under the heat of a welding gun. This is a classic example of flooring installation mistakes to avoid for lasting results. I’ve seen beautiful installations ruined because the installer was impatient with the glue’s evaporation cycle.
Why is your vinyl pulling away despite using premium adhesive?
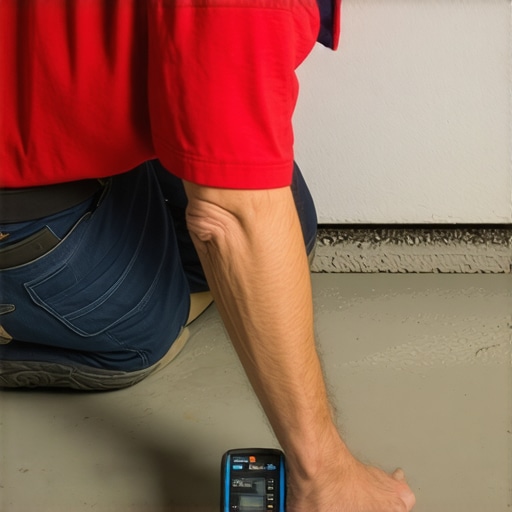
The answer usually isn’t the glue; it’s the invisible vapor coming out of the slab. I’ve seen guys spend thousands on high-end medical-grade vinyl, only to have the cove “pout” or pull away from the wall three months later. The World Floor Covering Association (WFCA) emphasizes that subfloor moisture is the leading cause of bond failure in resilient flooring, noting that over 70% of claims stem from this single issue. If you aren’t using a moisture meter before you lay wood floors or resilient vinyl, you’re flying blind. Moisture pushes up, hits that impermeable vinyl, and has nowhere to go but to attack the adhesive bond from underneath.
Another trap I see constantly involves the leveling compound. People assume that once it’s hard to the touch, it’s ready for the cove stick. That is a dangerous assumption. If the leveler hasn’t fully cured, it can actually pull moisture from the adhesive, leading to floor leveling challenges that most don’t recognize until it’s too late. I’ve even seen cases where self-leveler developed spiderweb cracks overnight because the installer didn’t prime the substrate properly. These tiny cracks then telegraph through the vinyl as it climbs the wall, creating a permanent roadmap of failure. To avoid this, follow a step-by-step guide to flooring installation and leveling success, ensuring every layer is bone dry and chemically compatible. It sounds tedious, but it’s the difference between a floor that lasts twenty years and one that fails in twenty months. Have you ever fallen into the trap of rushing the “flash time” just to get off the job site sooner? Let me know in the comments—I’ve definitely been there.
Invest in a Heat Gun That Doesn’t Lie
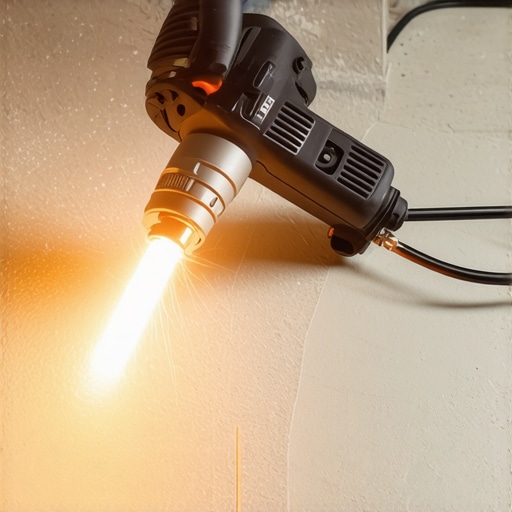
You can’t win a gunfight with a water pistol, and you certainly can’t win a flash cove contract with a $20 hobbyist heat gun. I personally use a digital Leister Triac because precision is everything in this game. If the air temperature fluctuates by even ten degrees, your weld rod either won’t fuse correctly or it will char the vinyl surface beyond repair. According to the Tarkett Professional Installation Manual, achieving a true ‘fusion’ weld requires a constant air stream between 650°F and 850°F, depending on the specific polymer density of the sheet goods. If you’re serious about this, you also need to use a 10-foot straightedge to check for high spots one last time before the vinyl goes down. Any bump under a heat weld acts like a speed bump for your skiving knife, leading to those heart-stopping gouges.
How Do I Keep Commercial Vinyl From Looking Dull?
Once the installation is done, the battle for longevity begins. Most facility managers think a standard mop and bucket is enough, but they are often the reason commercial vinyl is scuffing under rolling chairs. You need a maintenance plan that respects the weld. This means using pH-neutral cleaners and avoiding high-alkaline strippers that can brittle the heat-welded seams over time. I tell my clients that while they might know the hardwood floor care secrets to longevity and shine, resilient vinyl is a different beast. It needs a sacrificial wear layer—a high-quality floor finish applied immediately after the initial 72-hour cure time. This creates a barrier so that the dirt stays on top of the finish, not embedded in the vinyl’s pores.
Lasers and Robots are the Future of Coving
I’ve been watching the industry closely, and I’m calling it now: the days of hand-cutting every butterfly corner are numbered. We are already seeing the rise of CNC-pre-cut flooring kits and automated heat-welding robots that follow a laser-guided path. While these won’t replace the need for a skilled installer who knows a step-by-step guide to flooring installation and leveling success, they will certainly raise the bar for what ‘perfect’ looks like. If you don’t keep up with these digital tools, you’ll be left bidding on small residential scraps while the big players automate the massive hospital wings. To stay ahead, stop reaching for the cheapest equipment and start mastering the digital heat guns and laser layout tools. My challenge to you? On your next job, try the ‘two-stage skive’ technique—trimming the weld rod once while warm and again once cold—to see just how much flatter your seams can actually be.
Lessons from a Decade of Melted Vinyl and Air Bubbles
Over the years, I’ve realized that flash coving is more of a mental game than a physical one. Here are a few lightbulb moments that changed my workflow and saved my reputation on high-stakes jobs:
- The coin-tap secret: After the adhesive sets but before I weld, I run a quarter along the cove radius. If it sounds hollow, I know I have an air pocket that will eventually fail under the weight of a heavy hospital bed. Catching it early allows for a quick fix before the final seal.
- Avoid pre-mixed vertical gunk: Many newcomers use heavy-bodied, pre-mixed adhesive for vertical runs to save time. This is one of the biggest flooring installation mistakes to avoid for lasting results. Thick glue telegraphs every trowel mark through the vinyl, making it look amateurish once the light hits it.
- The 45-degree undercut rule: I never cut my butterfly corners at a dead 90-degree angle. Giving the ‘v-plug’ a slight 45-degree undercut ensures that when the heat gun hits it, the material expands into itself for a tighter, invisible fit.
- Surface Prep is King: I cannot stress enough that using precise floor leveling techniques isn’t just for the flat areas; it’s absolutely critical for the zone where the cove stick meets the wall.
#IMAGE_PLACEHOLDER_E#
A Toolkit for the Uncompromising Installer
If you want to stop fighting the material and start winning, you need an arsenal that doesn’t quit. These are the tools I take to every commercial contract:
- Digital Heat Gun: I swear by the Leister Triac ST. It provides consistent heat, which is vital when you follow a step-by-step guide to flooring installation and leveling success. Analog guns fluctuate too much and lead to scorched material.
- 10-Foot Straightedge: You should always check for high spots with a 10-foot straightedge before you even think about installing a cove stick. If the floor is wavy, the cove will be wavy, and the health inspector will notice.
- The Mozart Knife: This is the gold standard for skiving. It prevents the accidental gouging that often leads to commercial vinyl scuffing under rolling chairs because of uneven seam heights.
Your Path to Mastering the Professional Flash Cove
Learning how to execute a perfect commercial vinyl flash coving installation is a true badge of honor in the flooring world. It requires a rare blend of surgical precision and artistic flair. While the process can be intimidating at first, the durability and hygienic benefits it provides to healthcare and industrial spaces are unmatched by any other baseboard solution. Take your time, trust your tools, and remember that every flawless floor started as a series of careful, deliberate steps. Have you ever struggled more with perfecting the inside corners or getting that heat weld to lay perfectly flat on the first pass? Let me know in the comments below!