
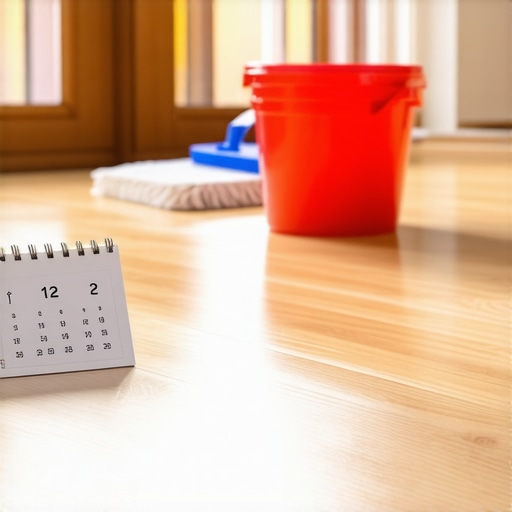
I stood there, mop in hand, staring at the pristine, honey-colored glow of my freshly finished white oak planks. They were perfect. Then I spotted it—a tiny, muddy paw print from the dog who’d managed to slip past the baby gate for all of five seconds. My immediate reflex was to dunk the mop and scrub it away. But then I remembered the stern warning from my installer, a man who had seen more warped boards than I’ve had hot dinners. ‘Don’t you dare touch that with water for at least two weeks,’ he’d said. I almost made the one mistake that ruins a beautiful hardwood floor selection before it even has a chance to settle. Today, I want to share exactly why that waiting period is your floor’s best friend and how you can survive the ‘no-mop’ zone without losing your mind.
Give Your New Floor the Time It Needs to Cure Properly
When we see a dry floor, we think it’s ready for the world. But there is a massive difference between ‘dry to the touch’ and ‘chemically cured.’ Most modern polyurethanes and oils need a full 14 days to reach their maximum hardness. If you introduce water or cleaning chemicals too early, you risk trapping moisture under the finish or, worse, causing a chemical reaction that leaves the surface permanently soft. I’ve seen homeowners rush this process and end up wondering why their hardwood floor turned cloudy after cleaning just a month later. It’s one of those classic flooring installation mistakes that is so easy to avoid if you just have a little patience. According to the National Wood Flooring Association (NWFA), finishes require a specific window of stable environmental conditions to achieve full durability, and premature moisture exposure is a leading cause of finish failure.
Is a little bit of water really going to ruin everything?
You might be thinking that a damp rag couldn’t possibly hurt. I used to think the same thing until I saw a friend’s floor develop ‘ghosting’—those faint, hazy spots that look like someone breathed on the wood and it stayed that way forever. That haze is often moisture that got caught in the microscopic pores of a finish that hadn’t tightened up yet. It’s not just about the water; it’s about the friction and the cleaners too. Learning the hardwood floor care secrets that pros use starts with doing absolutely nothing for those first two weeks. Have you ever felt that ‘new floor anxiety’ where you’re afraid to even walk across the room in socks? I’d love to hear your stories in the comments! Before you even think about grabbing that bucket, you need to understand what is happening beneath the surface during this critical ‘breathable’ phase. If you’ve used a moisture meter before you laid the wood, you know how sensitive these planks are to their environment. Let’s look at what you *can* do to keep things clean while you wait.
Ditch the Water and Grab a Microfiber Pad
For the next 14 days, your floor is basically a giant, drying oil painting. You wouldn’t throw a bucket of water on a half-dry canvas, and the same logic applies here. The only thing allowed to touch those boards is a dry microfiber dust mop or a very soft-bristle broom. I prefer using a dedicated dust mop because it uses static electricity to pull up hair and dust without any abrasive scrubbing. If you use a vacuum, make sure it has a ‘hard floor’ setting that disengages the beater bar. A spinning brush roll is the enemy right now, as it can leave tiny microscopic scratches in the finish before it has fully hardened. Finding the vacuum attachment that actually picks up fine sawdust without scratching the surface is a game-changer during this delicate phase.
How to Handle Spills Without Reaching for the Mop
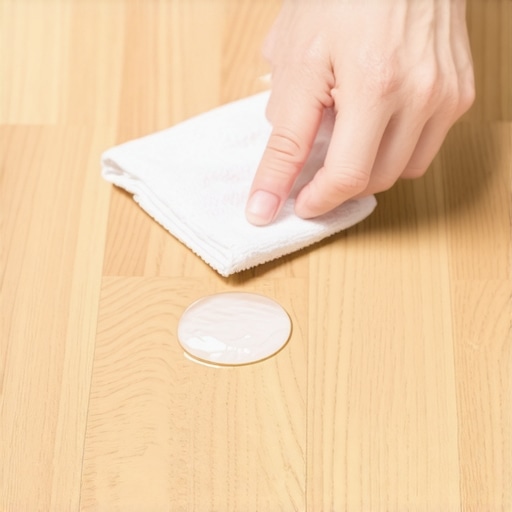
Accidents happen, especially in a busy home. I remember when my daughter dropped an ice cube on our floor just three days after the final coat of poly was applied. My heart stopped. Instead of grabbing a wet rag, which would have introduced way too much moisture to a specific spot, I used a dry paper towel to blot the area gently. Blotting is the secret. Do not rub. Rubbing creates friction and heat, which can soften the curing finish and leave a permanent mark. Once the liquid is absorbed, let the air do the rest. This careful approach is one of those hardwood floor care secrets that prevents the dreaded cloudy haze from forming. If you’ve followed a step-by-step guide to flooring installation and leveling success, you don’t want to trip at the finish line by being too aggressive with a spill.
Socks Are Your Best Friend During the Curing Phase
Walking on the floor is generally okay after 24 to 48 hours, but you need to be strategic. For the first two weeks, it’s a ‘socks only’ zone. Shoes can track in grit from outside that acts like sandpaper on a soft finish. Even bare feet aren’t ideal because the oils from your skin can sometimes react with certain types of drying finishes. I treat my new floors like a clean-room environment. If you’re worried about the floor feeling cold, remember that the reason your new floor feels cold even with the heat on is often just the thermal mass of the wood, not an indication that it’s ready for heavy traffic. Keeping your HVAC system running at a consistent temperature helps the finish cure evenly. Fluctuations in humidity are the enemy here. If you used a moisture meter before you laid the wood, you already know how much environmental stability matters for the longevity of your boards. These first two weeks are simply about maintaining that stability until the chemical bond is complete.
Skip the Rugs for Now
It’s tempting to put your beautiful area rugs back down to protect the floor from the kids or the dog, but don’t do it. Rugs trap moisture and block airflow. Because the finish is ‘breathing’ as it off-gasses solvents, covering it up can lead to permanent discoloration. This is especially true if you are trying to revamp your home with expert flooring installation tips and want that professional look to last. Wait the full 14 days before introducing any rugs or furniture pads. Think of it as a mandatory vacation for your decor; your floors will thank you with a much harder, more resilient surface that can actually handle life once the curing window closes.
Flatness Beats Level Every Single Time. Most homeowners—and even some contractors who should know better—spend hours chasing a perfectly centered bubble on a spirit level. But here is the contrarian truth: your floor doesn’t need to be perfectly level to be successful; it needs to be perfectly flat. A house can have a slight, natural slope that is structurally sound, and a hardwood floor will live there happily for eighty years. However, if that same floor has a ‘birdbath’ (a dip) or a high spot, your planks will flex, creak, and eventually snap their locking mechanisms. I’ve often pointed clients toward the ultimate guide to floor leveling for a perfect finish, but the real secret is in the straightedge. The National Wood Flooring Association (NWFA) specifically mandates that a subfloor must be flat within 3/16 of an inch over a 10-foot radius. If you ignore this, you’ll quickly see why your LVP floor is showing telegraphing from the subfloor within weeks of the move-in date. 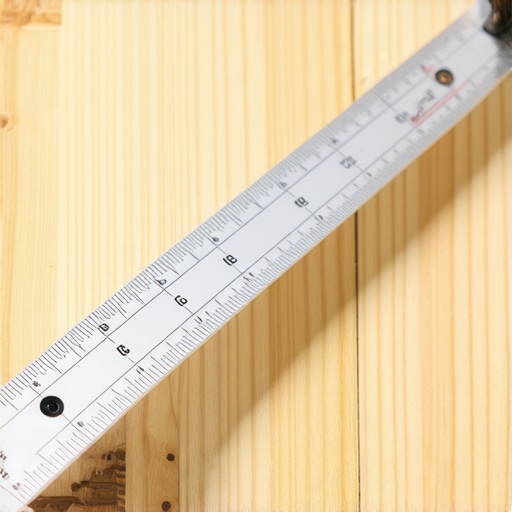
Why is your self-leveler failing despite following the instructions?
This is a question I get from the most meticulous DIYers. They buy the high-end bags, they use the right amount of water, and yet, the next morning, the surface looks like a dried-up lakebed or peels off in sheets. The ‘oops’ factor here is almost always the substrate preparation. You cannot simply pour leveler over old plywood or dusty concrete and expect a bond. Understanding floor leveling challenges and common mistakes starts with the primer. If you don’t use the specific primer meant for your substrate, the thirsty wood or concrete will suck the moisture out of the leveler before it can chemically bond. This is exactly why your self-leveler didn’t bond to the wood subfloor. You end up with a brittle, hollow shell that sounds like crunchy glass when you walk on it. To avoid this, you need to master the secret to mixing the perfect bucket of self-leveler every time, which involves a mechanical mixer and a timed pour.
Stop Guessing and Start Measuring the Peaks
Another advanced mistake is relying on the naked eye to find high spots. In my years on the job, I’ve learned that lighting can play tricks on your perception, especially under bright construction lights. You need to know how to check for high spots with a 10-foot straightedge to find the ‘humps’ that need grinding down. If you just pour more leveler to hide a hump, you’re often just moving the problem three feet to the left. I once saw a project where the homeowner spent three times the budget on leveler because they kept ‘chasing’ the low spots without addressing the one high joist in the center of the room. Have you ever fallen into this trap? Let me know in the comments. Real expertise comes from knowing when to reach for the grinder instead of another bag of mix.
Invest in the Right Scraping Gear
Once you’ve identified the high spots, you need to clear the field. I’ve wasted days using cheap, short-handled scrapers that left my back screaming. Now, I never step onto a job site without the best tool for scraping glue off a concrete slab—a heavy-duty, long-handled floor scraper with a replaceable 4-inch carbon steel blade. It’s not just about speed; it’s about getting down to the raw substrate so your leveler actually has something to bite into. The Tile Council of North America (TCNA) specifies in Handbook Method F113 that substrate deflection must be limited to L/360 for ceramic tile to prevent grout failure and structural cracking. You can’t achieve that kind of structural integrity if there’s old adhesive gunk acting as a buffer between your leveler and the floor. If you’re dealing with wood, how to check for high spots with a 10-foot straightedge becomes your daily ritual. I use an aluminum box beam because it won’t warp like a wooden 2×4, giving me an honest reading every single time.
How do I maintain this finish over the long haul?
Maintenance is where most people lose the ‘new floor’ magic. I’ve seen beautiful installs ruined because someone thought a steam mop was a good idea on wood. It isn’t. To keep that glow, you need to master hardwood floor care secrets like using pH-neutral cleaners and avoiding excessive water at all costs. If you ever notice a haze, stop immediately—you’re likely seeing why your hardwood floor turned cloudy after cleaning due to residue buildup from improper products. For those in older homes, I always recommend the dust-free move for hardwood floor refinishing in Kansas City or your local area when the time eventually comes to refresh the surface. It saves your lungs and your electronics from that pervasive fine grit that traditional sanding creates. 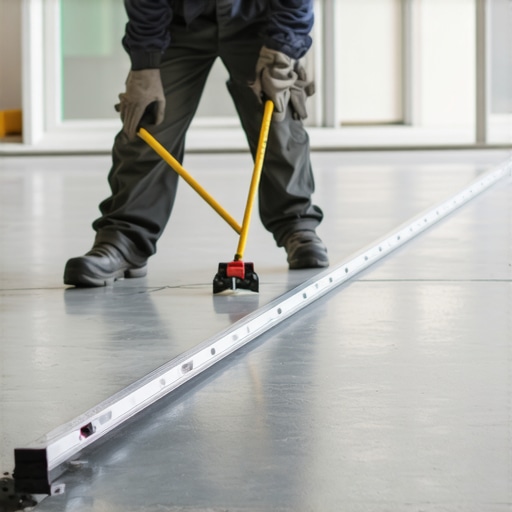
The Next Wave of Smart Flooring Tech
We are moving toward a world where your floor does more than just sit there. I predict that by 2030, we will see ‘active’ subfloors with integrated moisture sensors that alert your smartphone the second a pipe leaks, long before the wood begins to cup. We are already seeing advancements in mastering hardwood floor refinishing expert tips for 2025 that include UV-cured finishes that reach full hardness in hours rather than weeks. While we wait for those tech leaps, focus on the details that bridge your rooms together. Knowing why you need a transition strip between different flooring heights is the difference between a DIY look and a professional gallery finish. And don’t forget the trim; I’ve found that the secret to a perfect miter cut on baseboard corners is often just a high-tooth-count blade and a tiny bead of wood glue. Stop overthinking the aesthetic big picture and start obsessing over the subfloor flatness. Before you lay a single plank, go buy a 10-foot aluminum straightedge and spend an hour finding every hidden valley in your subfloor—it’s the single best investment you’ll make in the longevity of your home.
Hard Truths About Wood That Your Contractor Might Skip
After years of walking on sawdust, I’ve realized that the most expensive wood in the world is worthless if you rush the settling phase. Here are a few lightbulb moments I’ve had during my journey: First, humidity isn’t just a weather report; it’s a physical force that determines if your boards will gap or crown. Second, your eyes will lie to you about how flat a floor is—trust the tool, not the lighting. Finally, the ‘no-mop’ period is the single most important test of your patience as a homeowner. I’ve seen people spend thousands on choosing the right hardwood floors for your home only to ruin them by introducing moisture too early.
Gear I Never Start a Project Without
To avoid common flooring installation mistakes, I rely on a very specific toolkit. I always keep a 10-foot aluminum straightedge nearby; it is the only way to honestly evaluate your subfloor and find the humps that need grinding. For cleaning after that critical two-week window, I stick to a high-quality microfiber system rather than a traditional cotton mop to preserve the hardwood floor care secrets that ensure longevity. When I’m prepping a subfloor, the best tool for scraping glue off a concrete slab is a long-handled scraper that saves my lower back and ensures the ultimate guide to floor leveling for a perfect finish actually works. I also swear by a dedicated mechanical mixer to ensure the secret to mixing the perfect bucket of self-leveler every time is realized without lumps or air bubbles.
#IMAGE_PLACEHOLDER_E#
Step Boldly onto Your New Path
Building a home is about more than just the aesthetics; it is about creating a foundation that can withstand the chaos of daily life. By taking these extra steps—waiting for the chemical cure, obsessing over flatness rather than just ‘level,’ and choosing the right maintenance tools—you are protecting your investment for decades to come. Whether you are mastering hardwood floor refinishing expert tips for 2025 or just laying your very first plank, remember that patience is your most valuable tool. Have you ever had a ‘near-miss’ disaster with a new floor or a spill you caught just in time? Let me know in the comments below!