

It was 2 AM when I first heard it—a sharp, violent crack that echoed through my hallway like a starter pistol. I froze, heart hammering, convinced someone had kicked in the front door. But after a frantic sweep of the house with a flashlight, I realized the intruder was right under my feet. My beautiful, eco-friendly bamboo floor was literally screaming at me. If you’ve ever winced while tiptoeing to the kitchen for a glass of water because your floor sounds like it’s breaking in half, I feel your pain. You aren’t crazy, and your house isn’t haunted. We’re going to figure out exactly why those planks are popping and how you can reclaim your home’s peace and quiet.
That Middle-of-the-Night Pop is Driving Me Crazy
When I first picked out my materials, I fell for the marketing hook line and sinker. I thought I was making a sustainable choice, but I soon realized that why bamboo flooring is not always the greenest choice involves a lot more than just carbon footprints—it’s about how these planks behave in the real world. Bamboo is technically a grass, not a wood, and it is incredibly sensitive to the environment. I made the classic rookie mistake of rushing my flooring installation without checking the local humidity levels first. I just wanted it done. Now, I know better. That loud cracking is usually the sound of tension being released. According to the National Wood Flooring Association, bamboo can expand and contract significantly more than traditional hardwoods depending on how it was manufactured. If those planks don’t have room to move, they’re going to fight each other, and the friction results in that jarring noise.
Is Bamboo Floor Noise Just Something You Have to Live With?
I used to think so. I spent months trying to ignore it, telling myself it was just “character.” But let’s be real: character shouldn’t wake the baby. The truth is, why floating floors sound hollow when you walk on them or make snapping sounds often comes down to the subfloor prep and the expansion gaps. If your subfloor isn’t perfectly flat, the bamboo flexes into those voids, and snap—there goes your sanity. You might be worried that the only fix is a full rip-and-replace, but before you start eyeing the crowbar, let’s look at the variables we can actually control. Have you noticed the cracking gets worse when the seasons change? Drop a comment below if your floor only starts acting up once the heater kicks in for the winter.
The Stress of Structural Tension
When I was first learning hardwood floor care secrets, I didn’t realize that bamboo is a bit of a diva. If the planks are locked too tightly against a wall or a heavy kitchen island, they have nowhere to go when the humidity rises. They buckle slightly, and the “tongue and groove” joints start to rub against each other like sandpaper. One of the biggest flooring installation mistakes to avoid is forgetting that perimeter gap. Even a tiny 1/4 inch can be the difference between a silent walk and a floor that sounds like a bowl of Rice Krispies. We’re going to dive into the specifics of humidity control and subfloor checks next.
Stabilize the Air Around Your Feet
I learned the hard way that bamboo acts like a biological sponge. In my first home, the humidity crashed to 20% during a January cold snap, and my planks began to shrink so violently they sounded like firecrackers. To fix this, you must treat your floor like a living thing. Buy a digital hygrometer—they cost less than a lunch—and keep your home between 35% and 55% humidity. If you let the air get too dry, you’re essentially baking the moisture out of the grass fibers, leading to structural stress. Proper climate control is one of the most overlooked hardwood floor care secrets that applies even more strictly to bamboo.
Look Under the Baseboard for Hidden Tension
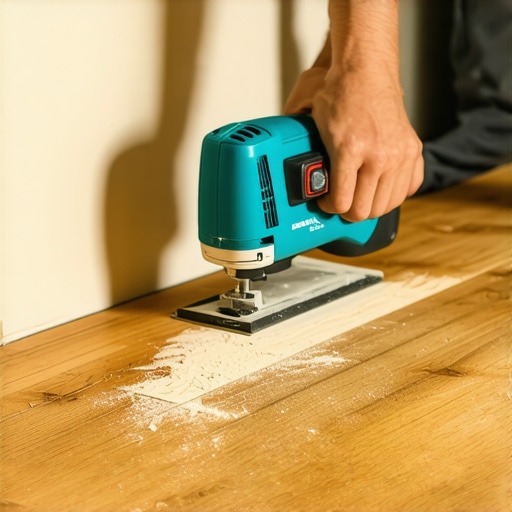
I’ll never forget the afternoon I pulled up a strip of quarter-round in my hallway only to find the flooring wedged tight against the wall. There was zero room for movement. Think of your floor like a bridge; it needs expansion joints to handle the heat and cold. If you find your planks are touching the drywall, you’ve violated the expansion gap rule for radiant heated wood floors, which is a mandatory standard for any floating floor system. You can use an oscillating multi-tool to carefully trim back the edges of the boards while they are still on the floor, creating that 1/2-inch “breathing room” the material craves.
Hunt Down Low Spots and Subfloor Voids
If the cracking happens only when you step on a specific spot, you’re likely dealing with a “bridge” over a dip. I once used the chalk-dust secret for finding low spots in subfloors on a renovation. We puffed a bit of carpenter’s chalk near the noisy area and watched it disappear into a void beneath the planks. If the floor flexes into a hollow space, the tongue-and-groove joints rub together like sandpaper, creating that high-pitched snap.
Tackle the Foundation Issues
Sometimes the bamboo is the innocent bystander and the subfloor is the real villain. Before I learned the ropes, I ignored a few “clicks” that turned out to be loose nails in the plywood. I highly recommend performing the hammer test for finding loose subfloor nails. Simply tap a rubber mallet across the floor; a solid “thud” is good, but a “clack” means the subfloor is loose. For a permanent fix during a new build, you must master flooring installation fundamentals: leveling for a seamless look. If the floor is already down, you can inject a low-viscosity floor adhesive through a tiny drill hole into the void to bond the bamboo to the subfloor, effectively silencing the movement forever.
Most homeowners and even some contractors fall into the same trap: they confuse a floor that is ‘level’ with a floor that is ‘flat.’ In my years of troubleshooting noisy planks, I’ve found that you can have a perfectly level floor that still sounds like a bag of potato chips when you walk on it. The contrarian truth is that bamboo and hardwood don’t actually care if your floor is perfectly level relative to the earth’s horizon; they care if it is flat within a 1/8-inch tolerance over a 10-foot radius. If you ignore this distinction, you are setting yourself up for failure, no matter how much you spent on premium materials. The ultimate guide to floor leveling for a perfect finish isn’t just about pouring liquid stone; it’s about understanding the substrate’s structural integrity first.
Why Does My Leveler Still Crack Even After It Is Dry?
One of the most common ‘oops’ factors I see involves the mixing process. People tend to treat self-leveling compound like pancake batter—they just whip it until the lumps are gone. But if you use a high-RPM drill, you introduce thousands of tiny air bubbles into the mix. This is the mixing paddle speed that ruins your leveling compound, creating a honeycomb structure that is brittle. Once the weight of your furniture or even your footsteps hits those weak points, the leveler micro-fractures, and the bamboo planks on top start to click and pop as they rub against the debris. 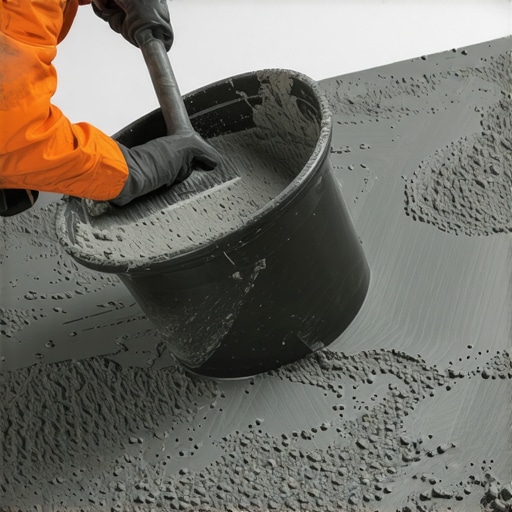 To avoid this, always use a specialized low-speed mixing paddle and let the product ‘slake’ if the manufacturer recommends it. Another advanced nuance involves thermal expansion. If you are working over heated subfloors, you need to know why your floor leveler is cracking over radiant heat pipes. According to the Tile Council of North America (TCNA) Handbook, substrates must meet specific deflection limits (typically L/360 for ceramic and L/720 for stone or large format materials) to prevent the bond from breaking. If your subfloor bounces, your leveler—and your bamboo—will eventually snap. This is one of the most critical flooring installation mistakes to avoid for lasting results. When transitioning between different materials, like a bamboo hallway leading into a tiled bathroom, don’t rely on thick mortar beds to ‘make up the difference’ in height. This leads to ‘lippage,’ where one edge sits higher than the other. Instead, use the secret to installing large format tile without lippage: mechanical leveling clips. These ensure the tile and the wood meet at a seamless, silent junction. Have you ever fallen into this trap where you thought more underlayment or thicker leveler would fix a structural bounce? Let me know in the comments below.
Stop Guessing and Start Measuring With the Right Gear
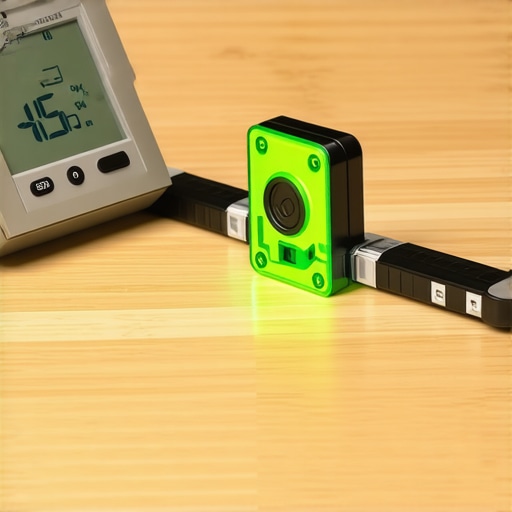
Once you’ve moved past the initial panic of a cracking floor, you realize that the difference between a DIY hack and a professional result usually sits in your toolbox. I used to rely on a 4-foot bubble level and hope for the best, but that’s how I ended up with a hallway that looked like a gentle rolling hill. Now, I never start a layout without the laser level move for perfectly straight hallways. It allows you to see the high and low spots of a subfloor across thirty feet in seconds. If you’re seeing those ‘topographical map’ ridges in your leveler, you likely skipped using the spiky roller secret for a mirror smooth pour. I use a spiked roller specifically to pop the surface bubbles that lead to micro-cracks later. It’s a five-minute step that saves you from a hundred-hour headache later.
How do I keep these floors silent and shining for the next decade?
Maintenance is where most people lose the war against bamboo noise. I see it all the time on my consultation calls: homeowners trying to ‘disinfect’ their floors with harsh chemicals. Please, for the sake of your finish, stop using vinegar on your hardwood floors immediately. The acidity breaks down the protective polyurethane layer, making the bamboo more susceptible to moisture changes—the very thing causing the cracking sounds. According to the National Wood Flooring Association (NWFA) Technical Publication A100, maintaining a consistent moisture content is the single most important factor for wood floor longevity. I recommend a simple digital hygrometer placed in the main living area. If you see the humidity drop below 30%, turn on a humidifier. If you’re struggling with how to fix a transition strip that wont stay glued down between the bamboo and your tile, avoid the cheap construction adhesive. I use a high-quality two-part epoxy for a bond that handles the seasonal ‘tug-of-war’ between materials.
The Future of Floortech is Under the Surface
Looking ahead, I predict we are moving toward ‘smart subfloors.’ We’re already seeing the rise of embedded moisture sensors that sync with your HVAC system to automatically adjust humidity levels before your bamboo even has a chance to expand. Until then, you have to be the sensor. If you have any remaining squeaks after following the leveling steps, don’t just throw a rug over it. Use the hammer test for finding loose subfloor nails one last time before you call the job finished. My final advanced tip for you: next time you have a transition between different flooring types, check out how to achieve flawless floor leveling before tile laying to ensure the substrate heights are identical. Go ahead and try the ‘slake’ method on your next bag of leveler—letting the mix sit for two minutes before the final stir—and tell me if you don’t see a massive improvement in the pour quality.
Three Bamboo Myths That Almost Ruined My Living Room
After years of troubleshooting, I’ve realized that flooring installation isn’t just about the physical labor; it’s a game of environmental chess. Here are the lightbulb moments that changed everything for me:
- First, silence starts in the air, not just the boards. If you ignore the humidity, even the best hardwood floor care secrets won’t save you from the seasonal ‘crack.’ Bamboo is a grass that breathes, and you have to respect its rhythm.
- Second, ‘good enough’ subfloors are the absolute enemy of peace. I used to think a few minor dips wouldn’t matter, but bamboo finds every single one. If you want a lasting result, you must revamp your home with expert flooring installation tips before the first plank ever touches the ground.
- Third, the most expensive material in the world won’t perform if you rush the acclimation period. Give your planks twice the time you think they need to settle into your home’s micro-climate.
The Toolkit That Saved My Sanity
You don’t need a warehouse full of professional gear, but you do need precision. I swear by these three items for every project I touch now:
- A Digital Hygrometer: This is my primary defense against structural shifts. It keeps me honest about the moisture levels in the room and warns me before the popping sounds start.
- A Self-Leveling Kit: To avoid those annoying hollow sounds, I rely on mastering floor leveler secrets like using a spiked roller to keep the substrate flat and stable.
- A 360-Degree Laser: I trust the laser level move for perfectly straight hallways because it eliminates the guesswork that leads to edge-tension and subsequent pops.
Start Walking Softly Today
It is incredibly rewarding to cross your living room at midnight and hear absolutely nothing. By focusing on the flooring installation fundamentals and respecting the natural movement of your materials, you can turn a noisy headache into a durable, beautiful asset. You have the tools and the knowledge now—don’t be afraid to pull back that baseboard and see what’s really going on underneath. I’ve seen homeowners successfully level for a seamless look just by being patient with the prep work. Your future, silent self will thank you for the effort you put in today.
Have you ever struggled with a floor that felt more like a musical instrument than a walking surface? Let me know about your noisy floor battles in the comments below!