
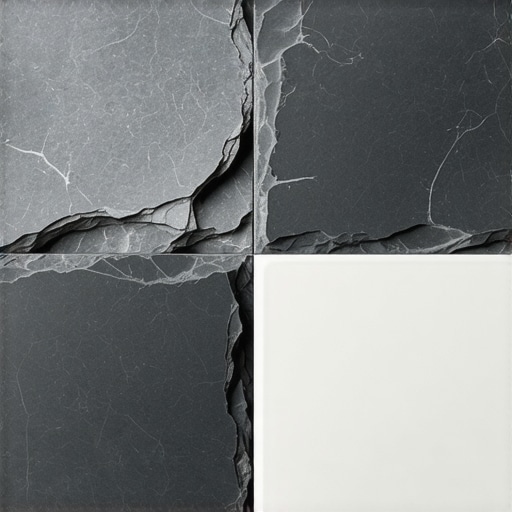
I’ll never forget the sinking feeling in my gut when I realized I’d spent three days installing what I thought was high-end slate, only to realize it was basically glorified bathroom wall tile. I was young, eager, and totally fooled by a clever marketing label. I had spent hours mastering floor leveling to make sure the base was perfect, but the product itself was a lie. When a dropped screwdriver took a tiny nick out of one tile, the secret was out. Real stone doesn’t have a white, chalky center. That mistake cost me time, money, and a lot of pride. Today, I’m going to share the insider tricks I’ve learned since then so you can confidently distinguish genuine metamorphic rock from its ceramic or porcelain mimics. We aren’t just looking at the surface; we’re going to look at the ‘bones’ of the tile.
Why You Shouldn’t Trust Your Eyes Alone in the Tile Aisle
Modern printing technology is terrifyingly good. Manufacturers can now print high-resolution images of natural stone directly onto ceramic bodies, mimicking the clefts and color variations of slate with startling accuracy. If you are browsing tile selection tips for elegant hardwood floors in 2025, you’ll see many products that look identical at first glance. However, the differences in durability and feel are massive. Real slate is formed over millions of years under intense heat and pressure, resulting in a dense, layered structure that ceramic simply cannot replicate in a factory kiln. My biggest blunder early on was not checking the ‘bisque’—the side and back of the tile. If the color on the surface doesn’t go all the way through, you’re looking at an imitation. Real slate is the same color from top to bottom, through and through.
Is authentic stone actually worth the premium price tag?
You might be wondering if it even matters as long as it looks good. It does. Natural slate has a unique thermal mass that helps regulate room temperature, a quality confirmed by the Natural Stone Institute, which notes that natural stone’s longevity often outlasts the building itself. Beyond the specs, there is a tactile ‘clink’ to real stone that ceramic can’t match. When you’re trying to save time and money during installation, choosing the right material from the start is the most important step. Have you ever bought a product thinking it was one thing, only to find out it was a cheap substitute once you got it home? I want to hear your stories in the comments so we can all learn what to avoid. We’re about to dive into the ‘Touch and Temperature’ test, which is my foolproof way to identify the real deal every time.
Feel the Chill of Real Stone
The most immediate way to tell if you’re holding a piece of the earth or a piece of baked clay is to use your body’s own sensors. Natural stone is a thermal powerhouse. If you walk into a room and the floor feels significantly colder than the air, you’re likely standing on slate. In a warehouse setting, press your palm flat against the tile. Real slate will suck the heat out of your hand almost instantly because of its high density and thermal conductivity. Ceramic, on the other hand, acts more like an insulator; it will feel relatively neutral to the touch. I remember a job in a chilly sunroom where the owner insisted they had slate. I took my shoes off—a bit unprofessional, maybe, but effective—and the ‘stone’ felt warm under the sun. Real slate would have stayed cool much longer. This thermal mass is why people love it for tile selection tips for elegant hardwood floors in 2025 when they want to balance temperature.
Look for the Flaws That Mean Quality
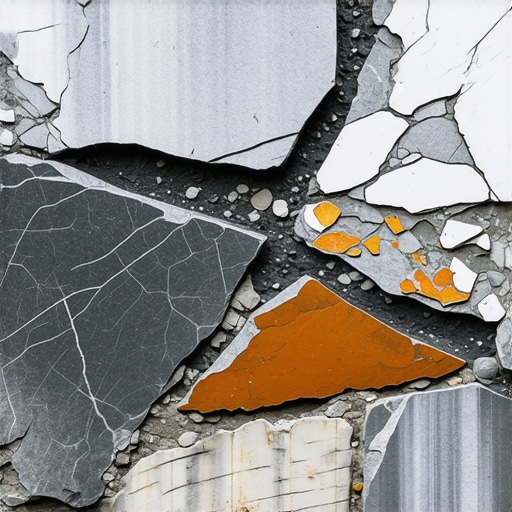
Slate is basically a geological puff pastry. It’s made of thin layers of silt and clay that have been smashed together over eons. This means you should see ‘clefting’—the natural ridges and valleys where the stone was split. Imitation tiles try to mimic this with molds, but look closely at the repeating patterns. If you see the exact same ridge on three different tiles, it’s a fake. Just like when you how to spot high-quality engineered wood before you buy, you’re looking for unique grain and texture that doesn’t repeat. It is the imperfection that proves the authenticity.
The Water Drop Reveal
If you’re still unsure, find a raw edge and drop a bit of water on it. Real slate is porous but dense; it will often darken slightly but won’t absorb water like a sponge. Ceramic tiles are glazed on top but the ‘bisque’ or body is often very thirsty. If the water vanishes into the side of the tile and it leaves a chalky residue, you’re dealing with a manufactured product. I once ruined a custom backsplash because I didn’t test the absorption; the grout moisture leached into the fake stone and caused the edges to swell and pop. Always check this before tile installation pointers that save time and money can be applied to your project.
Give It the Screwdriver Scratch
Don’t do this on the display model unless you’re prepared to buy it, but on a sample, try to scratch the back. A real piece of slate will flake off in tiny, thin scales—much like a fingernail. A ceramic tile will either resist the scratch entirely (if it’s porcelain) or crumble into a fine powder. This density is vital because it affects how you handle mastering floor leveling for the subfloor. Heavier, real stone requires a much stiffer base to prevent cracking under its own weight. If your slate feels light and sounds hollow when you tap it with a knuckle, it likely won’t provide the same longevity as the real thing, and you might find why porcelain tiles crack more often than ceramic on wood is a relevant concern for your specific subfloor type.
Stop Treating Self-Leveling Compound Like Magic Paint
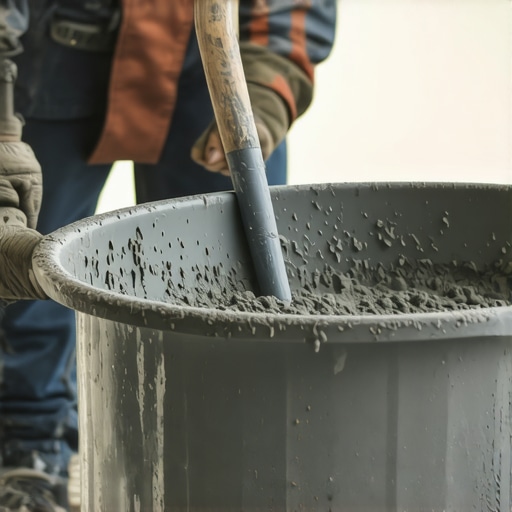
Everyone tells you that self-leveling compound is a ‘set it and forget it’ miracle in a bag. In my early years, I fell for this hard. I assumed that if the floor wasn’t flat, I could just pour a few bags and gravity would do the rest. The truth is much more temperamental. Real professionals know that mastering floor leveling requires aggressive surface prep and a deep understanding of surface tension. If you don’t prime the subfloor correctly, the dry wood or concrete will suck the moisture out of your compound so fast it won’t have time to actually ‘level.’ Instead of a mirror-smooth surface, you end up with a topographical map of ridges and valleys. Have you ever poured a leveler only to find it stuck in a giant puddle that refused to move? Let me know in the comments, because that ‘oops’ moment is a rite of passage for most of us.
The High-Speed Mixing Trap That Ruins Your Finish
One of the most common mistakes I see when people are trying to achieve flawless floor leveling is reaching for a standard high-speed drill. It feels efficient, right? Wrong. Using the mixing paddle speed that ruins your leveling compound is the fastest way to introduce micro-bubbles into the mix. When those bubbles rise to the surface as the product dries, they leave behind tiny ‘pinholes’ that compromise the structural integrity of your tile bond. I’ve seen entire slate floors pop loose because the thinset couldn’t grab onto a Swiss-cheese-like base. You want a slow, steady churn—think folding cake batter, not whipping cream. It takes longer, but it’s the difference between a floor that lasts decades and one that fails in eighteen months.
Does subfloor moisture matter if you’re using a ‘waterproof’ tile?
This is the question that separates the amateurs from the experts. You might think that since slate is a rock and ceramic is glass-like, moisture from below doesn’t matter. This is a dangerous myth. According to the Tile Council of North America (TCNA) Handbook, subfloor preparation and moisture management are responsible for the vast majority of installation failures. Even if the tile is waterproof, the bond is not. High vapor pressure from a damp concrete slab can literally push the tile off the floor, a phenomenon known as debonding. This is why you must learn how to use a moisture meter to prevent floor failure before you even open a box of stone. If you’re installing over a basement slab, skipping the moisture barrier is a recipe for a very expensive disaster, regardless of how ‘real’ your slate is.
Why Thick Subfloors Can Still Be Too Weak
Another nuance people miss is the difference between strength and stiffness. You can have a two-inch-thick subfloor, but if the joist span is too wide, that floor will still ‘bounce.’ Natural stone has zero flexibility. While you might be looking for tile selection tips for elegant hardwood floors in 2025, remember that slate requires much stricter deflection limits than wood or even porcelain. If your floor has even a fraction of an inch of ‘give,’ your grout will crack and your beautiful stone will snap. Always ensure you have the plywood grade you need for a stable tile underlayment to handle the specific weight and rigidity of natural metamorphic rock. Don’t let the beauty of the surface distract you from the engineering required beneath it.
Stop Killing Your Slate with Kitchen Chemicals
Once you’ve gone through the grueling process of selecting and installing real stone, the worst thing you can do is treat it like a laminate countertop. I see it all the time: homeowners spend thousands on natural metamorphic rock and then stop using bleach on your natural stone floors because it literally eats the calcium and minerals in the stone. Natural slate is rugged, but it’s chemically sensitive. If you use acidic cleaners or harsh bleaches, you’re causing microscopic ‘etching’ that will turn your deep charcoal stone into a dull, chalky gray that no sealer can fix. For hardwood floor care secrets to longevity and shine, we focus on moisture control, but for slate, it’s all about PH-neutrality. I personally use a simple mix of specialized stone soap and distilled water to keep the pores clear without stripping the protective finish.
The Tool That Finally Solved My Leveling Nightmares
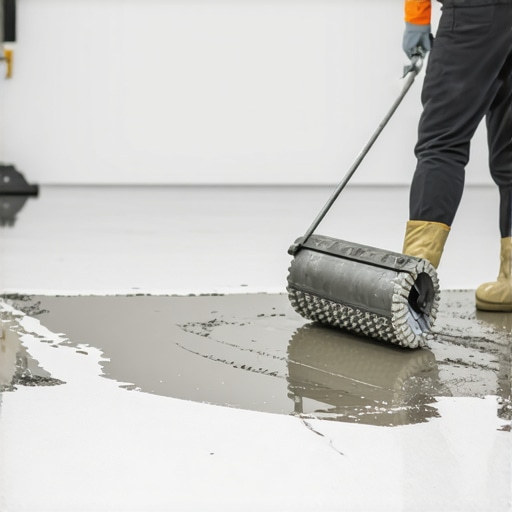
If you want that high-end look where the transition between your hardwood and your slate is perfectly flush, you have to stop relying on a hand trowel. The absolute game-changer for me was the spiky roller secret for a mirror smooth pour. This tool doesn’t just spread the compound; it breaks the surface tension and releases the micro-bubbles I mentioned earlier. I remember a job in a large open-concept kitchen where we were trying to achieve flawless floor leveling across twenty feet. Without that roller, we would have had high spots that would have forced us to use excessive thinset, which eventually leads to shrinkage and cracked tiles. Combining this with the laser level move for perfectly straight hallways ensures that your layout is mathematically perfect before the first drop of mortar hits the ground.
How can I keep these mixed-material floors from failing years later?
The secret to long-term success isn’t just in the cleaning; it’s in monitoring the environment. The National Wood Flooring Association (NWFA), in their Technical Publication No. C200, emphasizes that maintaining a consistent relative humidity between 30% and 50% is non-negotiable for jobsite conditions. When you have natural stone next to hardwood, the wood wants to move while the stone stays rigid. If your home gets too dry in the winter, the wood pulls away, creating a gap that can swallow your grout. This is why you must learn how to use a moisture meter to prevent floor failure long after the project is done. Looking ahead, I predict we’ll see ‘smart subfloors’ with embedded moisture sensors that alert your phone before a leak or humidity spike ruins your investment. For now, I strongly encourage you to try the spiky roller technique on your next pour—it’s the single most effective way to elevate your work from ‘DIY’ to ‘Architectural Grade.’ Give it a shot and see how much easier your tile layout becomes when the floor is actually flat.
The Hard-Earned Scars of My Early Slate Blunders
I’ve learned the hard way that a solid foundation is actually more important than the prettiest tile. Early in my career, I ignored the slight bounce in a subfloor because the customer had bought ‘indestructible’ stone. Within six months, the grout was turning to powder and the slate was snapping like crackers. This taught me that natural stone is only as good as the engineering beneath it. I always follow a step-by-step guide to flooring installation and leveling success to ensure I never repeat those mistakes. Another lightbulb moment came when I realized that ‘natural’ doesn’t mean ‘consistent.’ If you want a floor that looks like a high-end lodge rather than a grid of identical squares, you have to dry-lay your tiles first to mix the color variations. Finally, remember that stone is a living material; it breathes, it absorbs, and it reacts to its environment. If you treat it like plastic, it will fail like plastic.
The Only Tools You Will Find in My Truck
If you are serious about getting this right, you need a few non-negotiables in your kit. First, get a high-quality moisture meter. I’ve seen beautiful slate pop right off a damp slab because someone didn’t know how to use a moisture meter to prevent floor failure. Second, I swear by the TCNA (Tile Council of North America) Handbook. It is the ‘installer’s bible’ and sets the standard for everything from thinset coverage to expansion joints. Third, for the base work, nothing beats the spiky roller secret for a mirror smooth pour. It sounds like a small detail, but it’s the difference between a floor you can slide a coin across and one that’s a trip hazard. These tools don’t just make the job easier; they make it professional.
#IMAGE_PLACEHOLDER_E#
Building Something That Lasts a Century
Natural slate isn’t just a flooring choice; it’s an investment in the permanence of your home. When you take the time to distinguish real stone from its imitators and pair it with mastering floor leveling, you are creating a surface that will likely outlive the paint on the walls. Don’t be afraid to take your time during the prep phase. The beauty of real metamorphic rock is that it tells a story of millions of years of pressure—the least we can do is give it a few days of proper installation. Trust your hands, use your thermal tests, and never settle for a subfloor that is ‘good enough.’ You have the knowledge now to ensure your next flooring installation is one you can be proud of for decades. Have you ever found a ‘mystery’ tile during a renovation that turned out to be something completely different? Tell me your best or worst discovery in the comments below.