
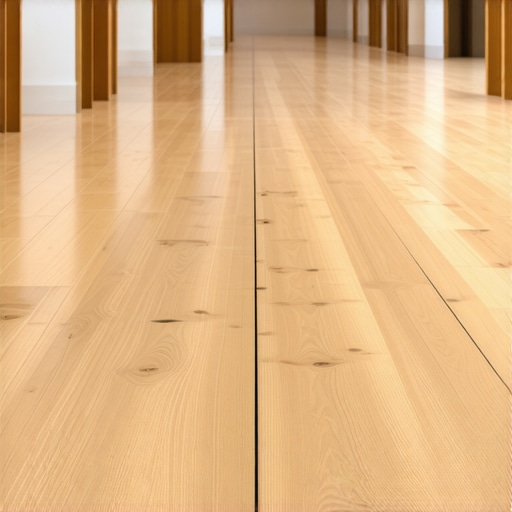
I still remember the sinking feeling in my gut when I finished my first oak hallway and realized, about halfway through, that the boards were slowly migrating toward the left wall like they were trying to escape. I’d spent fourteen hours on my knees, only to realize I’d created a visual funnel. It looked awful. I had to rip out nearly half the floor because I relied on the ‘wall-is-straight’ myth. That was the day I swore off eyeballing it and embraced the string-line. If you’ve ever felt that frustration of seeing your hard work look ‘off’ but couldn’t figure out why, you’re in the right place. Today, we’re going to fix that.
Stop Your Hallway Flooring from Veering Off Course
Hallways are the ultimate test of patience and geometry. Because the space is so narrow, your eyes naturally track the long parallel lines of the wood, making even a tiny 1/8-inch deviation look like a massive curve. We aren’t just laying down boards; we’re creating a visual spine for your home. By using the string-line method, we ensure that every single plank is aligned with the actual center of the space, not the wonky drywall that the builder slapped up. This technique is a game-changer for anyone attempting a serious flooring installation.
Does a simple piece of string really beat a fancy laser level?
You might be tempted to drop a hundred bucks on a laser, but a physical string-line offers a tactile reference point that doesn’t flicker or get blocked when you move. I’ve seen so many people fall for the chalk line mistake that makes open rooms look crooked, where they snap a line and then promptly cover it with dust or underlayment. A string sits just above the work surface, keeping your path clear and visible from start to finish.
The Secret to a Perfect Alignment Every Time
The magic of the string-line method lies in its honesty. It doesn’t care if your walls are bowed or if your corners aren’t square. It provides a ‘true’ straight path to follow. Before you even open a box of wood, you need to establish this reference. It’s the foundational step for getting a perfectly straight first row of flooring every single time. According to the National Wood Flooring Association, layout errors are among the most common reasons for professional callbacks, often because the installer assumed the room was square when it wasn’t. We are going to avoid that trap entirely. Have you ever stepped back from a project only to realize the whole thing was crooked? Tell me about it in the comments—I’ve been there, and I know the pain. Let’s get into how we set this up so it never happens again.
Take Control of Your Hallway Layout
I once tackled a 1920s Victorian remodel where the main hallway narrowed by nearly two inches from the front door to the kitchen. If I had just measured off the baseboard, the hardwood planks would have looked like they were being squeezed through a funnel. Instead, I ignored the walls entirely and built a ‘spine’ using a string. This is the heart of a step-by-step guide to flooring installation and leveling success: you create your own reality rather than following the builder’s mistakes.
Find the True Center at Both Ends
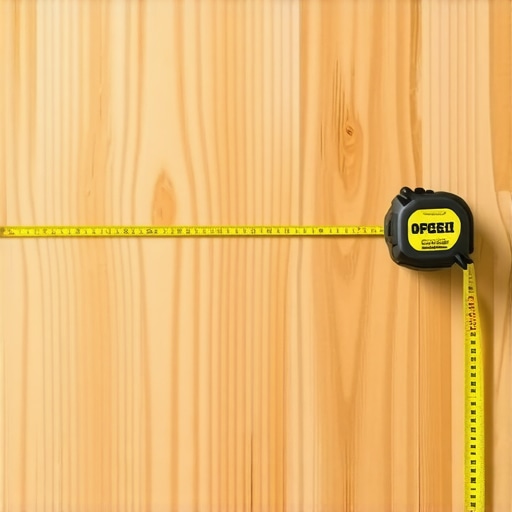
First, grab your tape measure and find the exact center of the hallway at the very beginning and the very end. Do not trust the walls to be parallel; they almost never are. Mark these two points directly on your subfloor. This is where you need one of those 7 tools you actually need for a professional diy hardwood install—a simple, sharp pencil and a reliable tape. Once you have your two marks, you have the baseline for the entire house. If your hallway connects to a larger room, extend this line out into that space to keep the entire floor plan unified.
Stretch the String Until It Sings
Drive a sturdy screw into the subfloor at each of your center marks. Tie a high-visibility masonry string—not a wimpy sewing thread—between them. Pull it until it is tight enough to ‘ping’ when you pluck it. This string is now your ‘North Star.’ It doesn’t matter if the drywall bows in or out; as long as your planks stay parallel to this string, the floor will look straight. This prevents the most common flooring installation mistakes to avoid for lasting results, where the floor starts to ‘staircase’ or drift as you move through a narrow passage.
Fix the Subfloor Before the Wood Goes Down
A string line tells you if you are straight, but it won’t tell you if you are flat. Before you lay a single board, you need to perform the 3-foot level test for checking subfloor flatness like a pro. If the floor dips under your string, your hardwood will flex and eventually squeak or crack. Think of your subfloor as the foundation of a skyscraper; if it is wavy, everything above it is compromised.
Address the Dips and Humps Immediately
If you find a valley in the plywood, do not just hope the underlayment hides it. You might need to learn how to level a plywood subfloor with shims and plywood scraps to create a truly flat plane. Sand down high spots and fill the low ones. When your floor is both flat and perfectly aligned with your center string, the actual installation becomes the easiest part of the job. You will find yourself moving faster because you are not constantly fighting crooked rows or bouncy boards.
Establishing a straight line in a hallway is a massive victory, but don’t let that confidence lead you into the most common trap in the industry: the ‘nails-are-enough’ myth. If you are installing anything wider than five inches, relying solely on fasteners is a recipe for disaster. I’ve seen beautiful white oak floors start to cup and squeak within six months because the installer ignored the physics of wood movement. You have to understand why wide planks need more than just nails to stay flat; they require a glue-assist method to truly bond with the subfloor and resist the inevitable shifts in seasonal humidity.
Don’t Trust Your Eyes—Trust the Meter
Everyone thinks they can ‘feel’ if a subfloor is dry enough. I’m here to tell you that your hands are terrible sensors. Professional installers never guess; they learn how to use a moisture meter to prevent floor failure. According to data from the National Wood Flooring Association (NWFA), the vast majority of flooring callbacks are caused by moisture imbalances between the wood and the subfloor. If the difference is more than 2% for wide planks, you aren’t ready to start. Have you ever fallen into this trap and watched your floor warp after a humid summer? Let me know in the comments—I want to hear your war stories.
Is a larger trowel actually saving your tile job?
When transitioning from wood to tile, many people think a deeper notch on the trowel fixes an uneven subfloor. This is a dangerous mistake. Thickening the thinset bed actually increases the risk of ‘slump,’ where the tile sinks as the mortar dries, leaving you with nasty lips between tiles. Instead of piling on more mud, you need to address the root cause and realize why your trowel teeth are ruining your thinset coverage by creating air pockets that lead to cracked grout and loose tiles later.
Why Your Leveler Is Doomed Before You Pour It
If you’re dealing with a concrete slab, the ‘oops’ factor usually happens long before the leveler hits the floor. The biggest mistake is skipping the primer. Concrete is incredibly porous; it will suck the water right out of your leveling compound, causing it to dry too fast and pull away from the surface. You must understand why you must prime concrete before every leveling job to create a chemical bond. Without it, you’ll experience the nightmare of why your self-leveling compound is cracking like a dry lake bed just days after you thought you’d achieved a perfect surface.
The Expansion Gap Is Not Optional
I’ve walked into high-end homes where the tile was literally tenting off the floor because the installer didn’t leave room for the house to breathe. Large open-concept areas are particularly vulnerable. Professionals use the expansion joint secret for large tiled living areas to prevent the entire floor from buckling under its own weight. This is one of those flooring installation mistakes to avoid for lasting results that separates the weekend warriors from the experts. By mastering these hidden nuances, you aren’t just laying a floor—you’re building a structural element that will last for decades.
Keep Your Hardwood Glowing for Decades
Once the last plank is snapped into place and the transition strips are secured, you might think the job is done. It isn’t. The first 48 hours are critical for the floor to settle. I’ve seen homeowners rush in with a mop and bucket only to ruin the finish before it’s even had a chance to cure. You need to know the best way to clean a new hardwood floor for the first time. Hint: it involves a microfiber pad and zero standing water. If you are dealing with a post-construction mess, don’t just drag a shop-vac across the surface. Learn how to clean hardwood floors after a major renovation to ensure that fine drywall dust doesn’t act like sandpaper under your shoes.
The Tools That Actually Earn Their Spot in My Van
I don’t carry gear just because it looks expensive; I carry it because it saves my back and my reputation. People always ask me why I’m so obsessed with moisture. It’s because wood is a living material. I use a Lignomat moisture meter on every single job. According to technical documentation from Lignomat USA, the pin-less moisture meter’s accuracy depends entirely on the specific gravity (density) of the wood species being tested. If you aren’t adjusting your meter for the difference between Red Oak and Brazilian Cherry, your readings are worthless. This is one of the 7 tools you actually need for a professional diy hardwood install if you want to avoid the ‘buckle and scream’ of a failing floor.
Stop the Steam Mop Madness
I am going to say this as clearly as possible: put the steam mop down. I’ve had to replace thousands of dollars of engineered flooring because a well-meaning homeowner thought ‘steam’ meant ‘clean.’ It actually means ‘moisture forced into the wood under pressure.’ You must understand why you should never use a steam mop on engineered wood floors. The heat breaks down the glues holding the layers together, leading to delamination that no amount of sanding can fix. Instead, stick to the hardwood floor care secrets to longevity and shine that pros use, like pH-neutral cleaners and felt pads on every single piece of furniture.
How do I maintain my new flooring over time?
Maintenance is about consistency, not intensity. For tile, it’s about the grout. If you start to hear a change in the ‘click’ when you walk, you might need to learn how to fix a hollow-sounding tile without tearing it up. For hardwood, it’s about humidity control. I recommend keeping your home between 35% and 50% humidity year-round. In the winter, use a humidifier; in the summer, your AC is your floor’s best friend. If you’ve just finished a project and the air is still thick with particles, make sure you use the best way to clean dust after sanding hardwood floors to prevent it from settling into your HVAC system and raining back down on your finish.
What’s Next for the Flooring Industry?
Looking ahead to 2025 and beyond, I predict we are going to see a massive shift toward ‘smart’ subfloors. We are already seeing prototypes of underlayments with embedded moisture sensors that alert your phone if a pipe leaks under the kitchen island. Until that becomes affordable, your best bet is still high-quality prep and the right tools. I challenge you to go out and buy a basic moisture meter before your next project starts—it is the single best investment you can make to move from ‘amateur’ to ‘expert.’ Check your subfloor, check your planks, and stop guessing.
Hard-Won Truths from Decades on My Knees
The most expensive mistake you can make isn’t buying the wrong wood; it’s ignoring the prep work. After years of fixing failed jobs, I’ve realized that the ‘looks good enough’ mentality is what leads to expensive callbacks. You have to be meticulous about mastering floor leveling pro secrets before the first plank is even unboxed. One lightbulb moment for me early on was realizing that every squeak can be permanently silenced if you know how to fix a bouncy floor with a few well-placed screws. If the foundation isn’t silent, the floor never will be, no matter how beautiful the finish is.
#IMAGE_PLACEHOLDER_E#
The Reliable Gear I Actually Use Daily
I don’t believe in expensive gadgets, but I do believe in precision. My daily go-to list includes a high-visibility masonry line for long runs, a Lignomat moisture meter to check every slab, and an oscillating multi-tool for the right way to undercut baseboards for a clean flooring finish. I also keep a physical checklist of hardwood floor care secrets to longevity and shine to hand over to my clients. These tools aren’t just for show; they are the safeguards that ensure my work survives the changing seasons without warping or gapping.
Build Something That Stands the Test of Time
Starting a new project can feel overwhelming, especially when you’re staring at a wonky hallway or a complex transition. But remember, every professional was once a beginner who decided to trust the math and the tools instead of their eyes. By taking the time to learn about choosing the best tile for your hardwood floor upgrade and following these leveling steps, you’re creating more than just a surface to walk on—you’re adding lasting value to your home. Take a deep breath, snap your line, and get to work on your next flooring installation with the confidence that you’re doing it right.
What is the biggest flooring disaster you have ever faced in a renovation? Let me know in the comments below!