
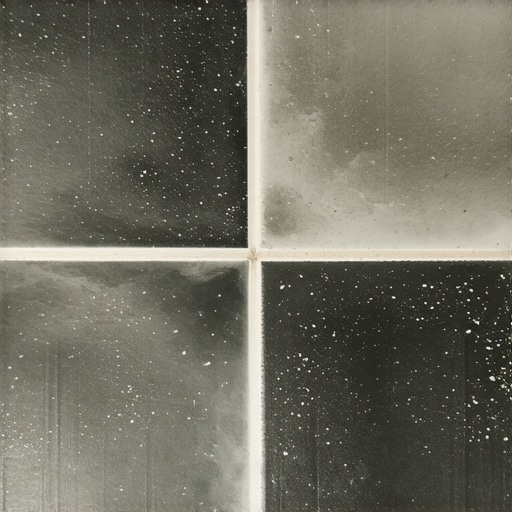
I remember standing in my kitchen two years ago, clutching a scrub brush like it was a holy relic. I had just finished deep cleaning my beautiful anthracite grout, and while the floor was wet, it looked like a million bucks. But then it dried. As the moisture evaporated, my sleek, modern floor started looking like a dusty chalkboard with weird white clouds and dark damp spots that refused to go away. It was heartbreaking. I had spent hours on my hands and knees only to make it look worse than when I started.
That Frustrating White Haze That Just Won’t Go Away
If you are staring at your floor right now wondering why it looks like a tie-dye project gone wrong, you aren’t alone. Dark grout is the diva of the flooring world. The most common culprit is usually efflorescence—a fancy word for minerals coming to the surface—or simply the way we clean it. I learned the hard way that you should stop using bleach on your grout before you ruin the pigment forever. It took me three failed attempts and a lot of cursing to realize that how to mix grout so the color stays perfectly consistent is a skill that many DIYers (including myself back then) often overlook.
Is dark grout actually worth the maintenance headache?
I get asked this all the time by neighbors and friends. Most people think dark grout is low-maintenance because it hides dirt, but the opposite is true for the cleaning process itself. You have to be precise. According to the Tile Council of North America (TCNA), improper water-to-powder ratios during the initial installation or using excessive water during the cleanup phase are the leading causes of pigment leaching. I made the classic rookie mistake of using a soaking wet mop, which is why I now swear by the wet sponge move for professional grout lines that prevents those ugly salt deposits from forming. I am going to show you exactly how to stop the splotchiness and restore that deep, moody grey you fell in love with. Have you ever tried to fix a single spot only to have the white haze spread like a virus across the whole room? Tell me I’m not the only one who has faced this nightmare! We are going to dive into the chemistry of why this happens and how you can fix it without ripping out your tiles.
How to Erase That White Haze Once and for All
Fixing splotchy dark grout isn’t about scrubbing harder; it’s about working smarter with chemistry. Think of efflorescence as a stubborn mineral scab that formed because too much water forced salts to the surface during the curing process. To remove it, you need a mild acidic solution. I personally recommend sulfamic acid crystals mixed with warm water. It is effective enough to eat the minerals but gentle enough not to destroy the tile finish if you work quickly.
Start with a Controlled Acid Wash
Before you go splashing acid everywhere, wet the grout lines with plain water first. This is a pro move that saturates the grout so the acid stays on the surface where the haze is, rather than soaking deep into the structure and weakening it. I once skipped this step on a laundry room floor and ended up with grout that felt like wet sand for a week because the acid reacted too deeply. Use a nylon brush—never steel—and work in small two-foot sections to keep the chemical reaction manageable.
The Secret to Scrubbing Without Damage
While you are scrubbing, you will notice the water turning cloudy. That is the salt coming off. If you let that cloudy water dry back onto the tile, you have just moved the problem around. Use a shop vac or a highly absorbent microfiber cloth to suck up the residue immediately. If you are dealing with a more stubborn film, it might be that you are actually fighting why your epoxy grout is hazy and hard to clean, which requires a different solvent entirely. For standard cement-based mixes, the acid wash should reveal the true pigment. 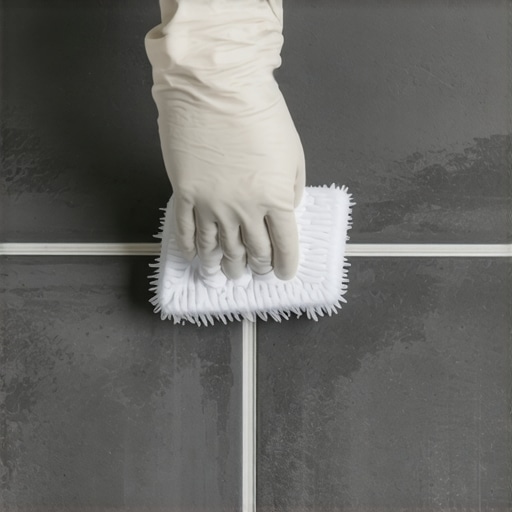
Dry Testing for Color Accuracy
After cleaning, you must wait. Dark grout is a shapeshifter; it looks perfect when wet and reveals its flaws only when bone dry. I recommend pointing a small fan at a test patch for twenty minutes. If the white clouds return, you need a second pass with the acid. If the color is consistent but just too light, you likely had a mixing issue earlier in the project. The texture matters too, as the difference between sanded and unsanded grout for tile projects often determines how much mineral buildup gets trapped.
Seal the Deal to Keep the Color Deep
Once your grout is clean and dry, you have to lock that moisture out. If you leave it raw, the next time you mop, those minerals will migrate right back to the top. Use a high-quality penetrating sealer. Unlike a topical sealer that sits like a plastic film, a penetrating sealer dives into the pores. This is also your best defense to how to stop grout from changing color in the sun if your floor gets a lot of direct UV exposure.
Apply Sealer Like a Surgeon
Do not just dump sealer and mop it around. Use an applicator bottle with a roller wheel or a small foam brush to target the grout lines specifically. If you get sealer on the tile face, wipe it off within minutes. I remember a job where I got lazy and let the sealer dry on some matte porcelain; it looked like someone had smeared grease all over the floor, and I had to use the secret to getting dried thinset off your new tiles to clean up the mess. Take your time. Two thin coats are always better than one thick, gloomy mess. This process is the difference between a floor that looks like a DIY disaster and one that looks like a high-end showroom.
Flatness Trumps Level Every Single Time
Most DIYers and even some entry-level contractors obsess over making a floor ‘level.’ They spend hours with a bubble level trying to fight gravity. But here is the contrarian truth: a floor can be perfectly out of level and still be a successful installation, provided it is perfectly flat. If your subfloor has a slight slope but no humps or dips, your large-format tiles will lay beautifully. However, if you have a ‘level’ floor with a 1/8-inch dip, you are inviting lippage and cracked grout. I always tell my clients to put down the bubble level and pick up a long straight edge. Using the 3-foot level test for checking subfloor flatness like a pro is the only way to ensure your finish material won’t fail under pressure. When you ignore the plane of the floor in favor of the horizon, you’re setting yourself up for a world of hurt.
The Priming Trap That Ruins Self-Leveler
If you realize your floor is uneven, your first instinct is probably to grab a few bags of self-leveling compound. This is where the ‘oops’ factor usually kicks in. Most people think self-leveler is a ‘pour and forget’ solution, but it is actually one of the most finicky materials in the trade. The biggest mistake? Skipping the primer. Without it, the dry concrete subfloor will suck the moisture out of the leveler so fast that it won’t have time to flow, resulting in why your self-leveling compound is cracking like a dry lake bed. Furthermore, you must understand why you must prime concrete before every leveling job to create a chemical bond; otherwise, the entire new surface will eventually delaminate. 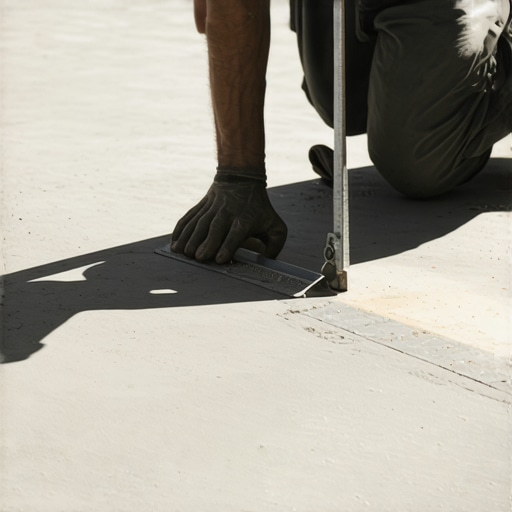
Is your subfloor actually strong enough for that trendy porcelain?
This is the question that separates the amateurs from the experts. High-end porcelain tiles are incredibly dense and heavy, and they have zero tolerance for subfloor flex. Before you even think about aesthetics, you need to perform the simple test to see if your subfloor is strong enough for tile. If your joists are spaced too far apart or your plywood is too thin, the ‘bounce’ will snap your grout lines in weeks. According to the National Wood Flooring Association (NWFA), subfloor moisture and structural deflection are the leading causes of hardwood and tile failure. They emphasize that moisture levels should be within a tight margin of the flooring material’s moisture content, which is why I always suggest you learn how to use a moisture meter to prevent floor failure. Understanding flooring installation fundamentals: leveling for a seamless look requires looking beneath the surface. Have you ever fallen into the trap of thinking a pretty tile would hide a bad subfloor? Let me know in the comments! Avoiding these flooring installation mistakes to avoid for lasting results is the only way to ensure your investment lasts for decades.
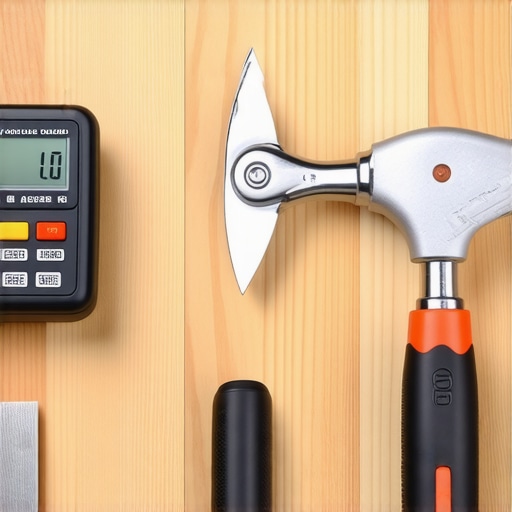
I’ve spent thousands of dollars on tools over the years, and I’ll be the first to tell you that half of them are just shiny paperweights. But the other half? They are the reason I can sleep at night knowing my floors won’t buckle or squeak. For instance, I never start a hardwood job without my moisture meter. If you want to avoid a catastrophic failure, you absolutely have to learn how to use a moisture meter to prevent floor failure before you even open a box of planks. Another lifesaver in my kit is a quality dead blow hammer; I’ve found that why you should use a dead blow hammer for floor capping is all about providing enough force to seat the wood without damaging the delicate tongue-and-groove edges. These aren’t just ‘nice-to-haves’—they are part of the 7 tools you actually need for a professional diy hardwood install if you want results that don’t look like a sloppy weekend hack job.
How do I maintain my floor’s finish over time?
The secret to a floor that stays stunning isn’t a magic chemical; it’s actually what you don’t do. I’ve seen more beautiful floors ruined by well-meaning homeowners with steam mops than by actual foot traffic. It’s vital to understand why you should never use a steam mop on engineered wood floors—the concentrated heat and moisture can literally delaminate the wood layers from the core. Instead, I tell my clients to focus on hardwood floor care secrets to longevity and shine that rely on microfiber and pH-neutral cleaners specifically formulated for floor finishes. When you finish a new installation, those first 48 hours are critical. I always follow a strict protocol for the best way to clean a new hardwood floor for the first time to ensure no leftover construction grit gets ground into your fresh, expensive finish. For the long haul, you might even consider mastering hardwood floor refinishing expert tips for 2025 to keep that showroom glow without the cost of a full replacement.
Looking toward the future, the flooring world is moving rapidly toward ‘smarter’ prep work and sustainable materials. I am already seeing a massive shift where savvy homeowners invest in the best eco friendly underlayment for quiet apartments, which serves as both a sound dampener and a high-tech moisture barrier. According to the Laticrete Technical Data Sheet 178, maintaining the chemical integrity of your grout and tile depends heavily on using non-acidic cleaners that don’t leave a surfactant residue—this is the leading cause of that annoying ‘sticky’ floor feeling that attracts dirt. My advanced tip for you? Stop guessing and start measuring. Grab a moisture meter today and check three different spots on your subfloor; it is the single most effective way to guarantee your flooring investment doesn’t fail three months down the road.
My Hardest Lessons from the Flooring Trenches
If there is one thing a decade of DIY and professional work has taught me, it is that you cannot rush the chemistry of your materials. I used to think I could ‘eyeball’ the flatness of a subfloor, but I quickly learned that my eyes are liars. Here are a few lightbulb moments that changed everything for me:
- Prep work is 90% of the finish: If you spend three days leveling and only one day laying tile, your floor will look better than if you did the opposite.
- Respect the dry times: Walking on grout or sealer too early is the fastest way to invite dirt into the pores forever.
- Watch for red flags: If you hire out the work, keep an eye on the process and watch for 7 signs your tile contractor is cutting corners on prep work.
- Don’t ignore the hollows: If you hear a ‘clack’ instead of a ‘thud,’ you need to know how to fix a hollow sounding tile without tearing it up before it cracks under a chair leg.
Gear That Makes the Difference
I don’t believe in buying every gadget on the shelf, but a few specific items are non-negotiable for me. First, a high-quality Wagner moisture meter is the only way to be 100% sure your subfloor is ready for hardwood. Second, I always keep the TCNA Handbook bookmarked on my phone; it is the industry bible for every possible tile scenario. For anyone following a step-by-step guide to flooring installation and leveling success, having these references prevents expensive guesswork. I also swear by using a dedicated wet-dry shop vac with a HEPA filter when dealing with grout haze—it picks up the slurry that a sponge just smears around.
Bring Your Dream Floor to Life
Taking on a project involving flooring installation, floor leveling, tile, or hardwood floors can feel overwhelming when you are staring at a bare subfloor. But remember, every master installer started with a single crooked plank or a splotchy grout line. By focusing on precise floor leveling techniques to achieve flawless surfaces, you are building a foundation that will last for the next thirty years. Don’t be afraid to take it slow, measure twice, and trust the process. You’ve got this! Have you ever had a grout color come out completely different than what was on the box? Let me know in the comments below!