
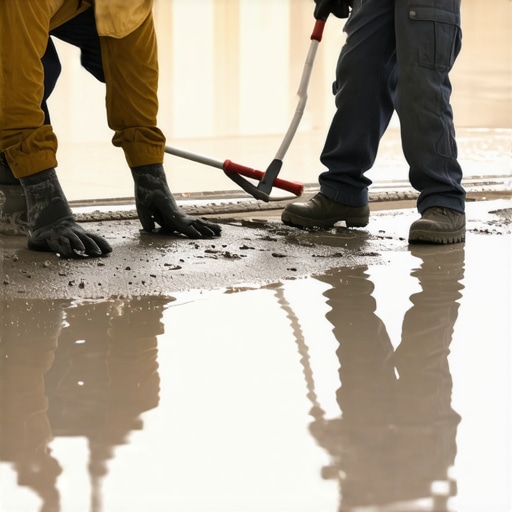
Have you ever poured your self-leveling mix only to watch it stubbornly refuse to spread evenly, leaving you frustrated and questioning your skills? I remember that lightbulb moment when I first encountered this issue—pouring what seemed like a perfectly prepared batch, expecting a smooth, seamless finish, but instead getting a lumpy, uneven surface. It’s a sinking feeling for anyone invested in a flawless floor installation, and trust me, I’ve been there more than once.
Why Your Self-Leveling Mix Isn’t Doing Its Job
When I faced my initial setbacks, I quickly realized that the problem went beyond mere technique; it was often about the mix itself or the conditions under which I was working. A self-leveling compound, despite its name, won’t do its magic if it’s not mixed and applied correctly. The key is understanding what’s preventing it from flowing and how to troubleshoot effectively.
Today, I’m going to walk you through the common pitfalls that cause your self-leveling mix to act up, share insights I’ve gained from experience, and point you toward proven solutions. Whether you’re tackling a small patch or an entire room, mastering this process ensures a smooth, durable surface ready for tile or hardwood.
Is Your Self-Leveler Actually Worth the Hype?
At the start, I made the mistake of believing that all self-leveling products are created equal. I didn’t pay enough attention to the manufacturer’s instructions or the environment—both crucial for success. This oversight led to inconsistent results and a lot of wasted time. I learned the hard way that proper mixing ratios, environmental conditions, and application techniques are everything. In fact, according to industry expert guides, even small deviations in mix consistency can cause cracks, bubbles, or uneven surfaces—problems that could have been avoided with proper preparation and understanding (more details here).
So, have you faced similar frustrations? If yes, don’t worry—these issues are fixable. Let’s explore the common mistakes and how to address them to ensure your next self-leveling pour is flawless and durable.
,
Prepare Your Subfloor with Precision
Just like laying a foundation for a house, the quality of your subfloor dictates the final look and durability of your flooring. In my recent project, I vividly recall spending extra time inspecting and cleaning the concrete slab, removing debris, dust, and old adhesives. This step is crucial; dirt and loose material can create air pockets or cause the leveler to fail. Use a vacuum and a damp cloth to ensure a clean, dust-free surface. If you notice any high spots or uneven patches, mark them with chalk to identify areas needing adjustment.
Choose the Right Self-Leveling Compound
Select a product suitable for your subfloor material and the thickness required. For concrete slabs, a standard self-leveling underlayment works well, but if you’re over plywood or OSB, consider a formula designed for such surfaces to prevent cracking. I once used a quick-drying mix on a basement slab, which initially seemed convenient, but it set before I could evenly spread it, leading to an uneven surface. Patience is key. Read manufacturer instructions carefully, paying close attention to mixing ratios, pot life, and cure times.
Mix Like a Pro
Mix only the amount you can apply within the product’s working time. Pour the liquid component into a clean mixing bucket, then gradually add the powder while mixing with a paddle or drill attachment. Achieve a smooth, lump-free consistency similar to pancake batter. I once hurried by dumping powders too quickly, creating clumps that later caused bumps in my floor. For even mixing, avoid using overcrowded mixers or hand-stirring—precision matters here. Always measure ingredients accurately and mix thoroughly to prevent curing issues or surface defects.
Apply the Leveler with a Controlled Technique
Pour the mixed compound onto the center of your prepared surface, then use a gauge rake or trowel to spread it evenly. Think of it as gently guiding a slow-moving river—don’t rush; let gravity do the work. Starting from the center, slowly move outward in a consistent motion, allowing the material to settle into low spots. My experience has shown that working systematically reduces the risk of air bubbles or streaks. For large areas, work in sections, maintaining your coating’s thickness, typically 1/8 to 1/4 inch, to avoid cracking or excessive curing times.
Utilize Proper Tools for a Smooth Finish
A long, sharp-edged trowel or smoothing tool helps achieve a flat surface. After pouring, drag the tool across the surface, keeping it at a slight angle to level and remove excess material. When I first attempted this step with a short trowel, ridges formed, resulting in uneven flooring. Using a longer, flat float allows for more control and a more uniform finish. Keep your tools clean and slightly damp to prevent sticking, and frequently inspect your work, especially in corners and edges.
Handle Curing and Further Steps Carefully
Allow the leveler to cure undisturbed as per manufacturer instructions, typically 24-48 hours. Protect it from foot traffic or vibrations. I learned the hard way that moving equipment too early creates cracks. To ensure optimal curing, avoid rapid temperature changes and keep the area well-ventilated. Once hardened, inspect the surface for uniformity. Minor imperfections can be sanded or filled with additional compound if needed. This careful process creates a perfect base, making your subsequent flooring installation—be it hardwood, tile, or laminate—a breeze.
For more detailed tips on achieving flawless flooring, visit this guide. Troubleshooting common issues early can save hours of rework and frustration, setting you up for a successful floor installation every time.
Many homeowners and even DIY enthusiasts believe that flooring installation is primarily about laying planks or tiles correctly; however, this mindset often overlooks critical nuances that impact durability and aesthetic appeal. One widespread misconception is that choosing the right flooring material alone guarantees flawless results. In reality, even premium hardwood or tile can fail without proper subfloor preparation and expert-level leveling techniques. According to industry experts, up to 80% of installation issues stem from inadequate pre-work, which underscores the importance of mastering fundamental procedures before the actual lay-down.
Is There a Deeper Advantage to Skilled Floor Leveling Than Most Recognize?
Many assume that floor leveling is a straightforward step — simply fill low spots and move on. But advanced practitioners understand that subtle inconsistencies, often invisible to the untrained eye, can cause long-term problems like squeaks, cracks, or uneven wear patterns. For example, small deviations as minimal as 1/16 inch can be magnified under heavy foot traffic or moisture fluctuations, leading to premature failure. Prioritizing precision in leveling techniques, such as using a laser-guided screed or employing proper expansion gaps, can significantly extend your floor’s lifespan. Studies by the National Wood Flooring Association emphasize that meticulous surface prep is key to preventing costly repairs later on.
Another common trap is underestimating environmental factors. Installing flooring in a space with high humidity or temperature swings without acclimation can result in warping or gaps. Many overlook this step, thinking the material is ‘ready to go,’ but experts advise allowing a minimum of 48-72 hours for acclimatization, especially with hardwood. Linking to the comprehensive guides on leveling, like this detailed guide, can help ensure you’re not missing crucial steps that could compromise your project. Making assumptions about the simplicity of flooring installation is often the root of advanced mistakes. True craftsmanship lies in attention to these subtleties—controls that prevent future headaches and preserve your investment. So, do you fall into the trap of skipping these nuances? Share your experiences or questions in the comments, and let’s elevate your flooring skills.
Keep Your Tools in Prime Condition for Consistent Results
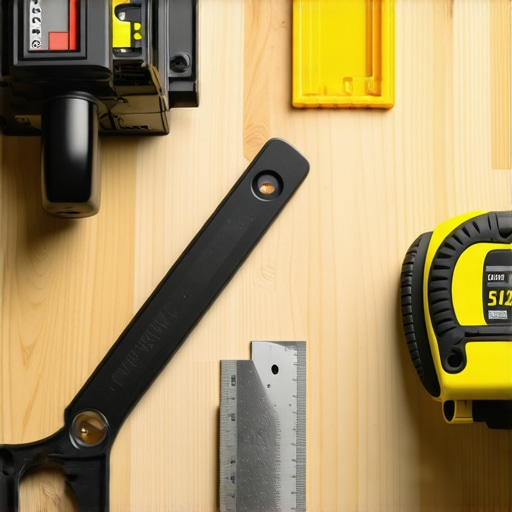
As an experienced flooring enthusiast, I can attest that properly maintained tools not only extend their lifespan but also ensure each project meets professional standards. For example, I swear by my Rubber-Mallets and sanding blocks, meticulously cleaned after every use to prevent dust buildup that could compromise future applications. Investing in quality tools like leveling spacers and precision rulers pays dividends over numerous projects, keeping your work accurate and efficient.
Essential Equipment for Long-Term Success
One of my go-to tools is a laser level—specifically the Bosch Cross-Line Laser Level. Its accuracy and ease of use have transformed my approach to ensuring floors are perfectly flat. Regular calibration of such devices prevents drifts that could lead to uneven finishes. Proper calibration techniques are critical; I recommend checking your laser’s accuracy monthly with a known straight edge.
Tools That Make a Difference in Tile Installation
For tile projects, I prefer a high-quality diamond-tipped wet saw—specifically the MK-101 Series. Its beveled cuts and precision make complicated cuts much less stressful. Remember, dull blades are safety hazards and produce uneven cuts. Sharpen or replace blades regularly, especially during extensive tiling jobs, to maintain clean edges and avoid rework.
Automate and Simplify with Software Solutions
While physical tools are vital, digital aids like the flooring calculator apps help estimate quantities and material needs, preventing overbuying or shortages. I integrated one into my workflow, which minimized waste and sped up procurement. Expect this trend to evolve with augmented reality (AR) tools that can visualize leveling and alignment in real time, further reducing errors before physical work begins.
How do I Maintain Flooring Tools Over Time?
Regular cleaning, proper storage, and timely sharpening are your best bets. Store tools in a dry, organized space, away from moisture that could cause rust. For hand tools like trowels or chisels, use a light coating of mineral oil after cleaning to prevent corrosion. Power tools like saws benefit from routine maintenance and blade checks. Also, follow the manufacturer’s instructions for calibration and part replacement; it’s a small effort that yields big results in consistency and safety.
By investing time in tool care today, you’ll reap the benefits of smoother operations and professional finishes tomorrow. Don’t hesitate to try out a weight trick to flatten stubborn vinyl or calibrate your laser level for precision; these small steps can have a big impact on your craftsmanship.
Remember, the key to long-lasting flooring projects lies in the tools you choose and how you maintain them. Ready to take your maintenance game to the next level? Visit our contact page for expert advice or questions about specific equipment needs. Keep your tools sharp, clean, and calibrated — your floors will thank you for it!
Lessons I Didn’t Expect to Learn About Floor Leveling
- One of the biggest surprises was realizing how much environmental factors—like humidity and temperature—can influence the success of your floor leveling. Initially, I underestimated their impact, which led to cracks and uneven surfaces. Now, I always prioritize space acclimation and environmental controls before pouring.
- Another lesson was understanding that even small imperfections in your subfloor can amplify over time. A tiny bump or dip might seem insignificant, but it can cause squeaks, tile cracking, or an uneven finish years down the line. Precision in every step is my new mantra.
- Finally, I learned that patience during curing isn’t just about waiting; it’s about protecting your work from vibrations, drafts, and temperature swings. Rushing or neglecting this can undo hours of meticulous work, so I now dedicate the proper time and care to each project phase.
Tools and Resources That Elevated My Leveling Game
- Laser level: I trust the Bosche Cross-Line Laser for its accuracy and ease of calibration. It keeps my surfaces perfectly flat, saving time and rework.
- High-quality notched trowels: Using the right trowel ensures even application of thinset and eliminates ridges—crucial for a flawless finish.
- Comprehensive guides: The ultimate resource I recommend is this in-depth guide. It’s packed with expert techniques, troubleshooting tips, and detailed steps that boosted my confidence and results.
- Calibration tools: Regularly checking my laser and level tools with simple calibration techniques prevents small errors from snowballing into big problems.
Your Next Step Toward Perfect Floors
Taking action tonight can make all the difference in your next flooring project. Remember, masterful floor leveling isn’t just about tools or materials—it’s about your attention to detail and patience. Every bit of care you invest now builds the foundation for stunning, durable floors that will stand the test of time. Need personalized advice or specific recommendations? Feel free to reach out to us. Your best floors are just a learning step away—start today, and elevate your space with confidence!
“Have you faced unexpected challenges during your flooring projects? Share your stories or questions below—let’s learn and grow together!”
.