
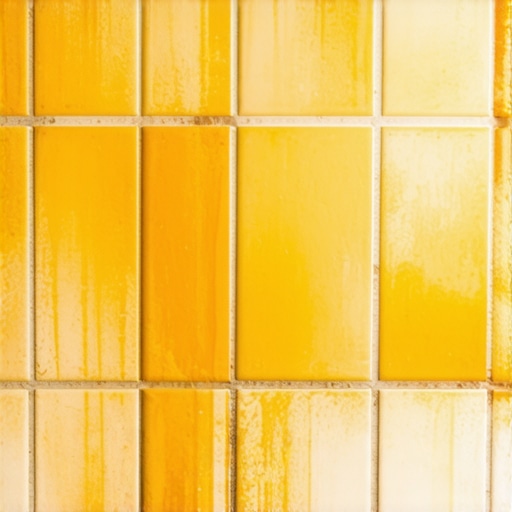
One morning, I stepped into my bathroom and nearly slipped on what looked like a mini sunset—bright, stubborn orange stains creeping along my grout lines. It was like a badge of honor for neglect, and honestly, I was both frustrated and a little embarrassed. That moment was a real lightbulb; I realized I wasn’t alone in this fight against orange grout, and I definitely didn’t want this small annoyance to turn into a bigger, more expensive problem.
Why the Sudden Change in My Bathroom Grout? The Hidden Culprit
The mystery of orange grout isn’t just an aesthetic blip. It often signals the presence of pesky mold, mildew, or mineral deposits, especially near the shower where moisture lingers. Over time, minerals from water, like iron and manganese, can seep into grout, causing that stubborn orange hue. According to the HGTV, mineral buildup is a common culprit, especially in areas with hard water. My mistake early on was ignoring the signs—thinking it was just dirt or soap scum—and let it go, which only made the stains more persistent.
Addressing this issue is crucial not just for looks but for your home’s health. Mold and mildew can trigger allergies or respiratory issues if left unchecked. So, tackling that orange stain isn’t just about appearance; it’s about maintaining a safe, healthy space.
Is this grout problem actually a sign of worse issues lurking beneath?
I’ve been there—thinking a quick scrub would fix everything. But sometimes, stubborn stains indicate underlying problems like water leaks or inadequate sealing. Early in my DIY journey, I neglected to check for leaks, and that oversight made my efforts futile. Trust me, the key is not just cleaning but understanding what’s really causing the discoloration. For a comprehensive approach, consider exploring floor leveling challenges and mistakes to prevent future issues.
Now that we’ve uncovered the root causes, it’s time to look into effective methods to restore your grout’s original beauty and prevent future discoloration. Ready to dive into practical solutions? Keep reading!
Start with a Deep Cleaning to Break Down Stains
My first move was targeting the stubborn orange stains with a powerful yet safe cleaner. I mixed equal parts white vinegar and water, applied it generously to the grout lines, and let it sit for 10 minutes. Using a stiff-bristled toothbrush, I scrubbed the area firmly—think of it as a mini workout for your grout. The vinegar’s acidity breaks down mineral deposits and mold, which often cause the discoloration. I remember the mess—vinegar splashes and foam everywhere—but patience paid off with brighter grout. For tougher stains, consider a commercial grout cleaner or a paste of baking soda and water, applying with a brush, then rinsing thoroughly. This initial step loosens the grime, making subsequent treatments more effective.
Apply Gentle Chemical Solutions to Boost Cleaning Power
After my initial scrub, I used a specialized grout stain remover. I followed the product instructions carefully, applying it with a sponge and letting it sit as recommended. This chemical boosts the cleaning process, targeting embedded mineral deposits. Be sure to ventilate the space well and wear gloves to protect your skin. I learned that overusing harsh chemicals can damage grout over time, so use sparingly. For eco-conscious homeowners, oxygen bleach mixed with water serves a similar purpose without the fumes. Remember, patience is key—let the solution work for a few minutes before scrubbing again. Repeating this step a couple of times can significantly diminish the orange hue, revealing cleaner grout beneath.
Use a Deep-Rooted Technique to Remove Persistent Stains
For stubborn stains, I resorted to a poultice of hydrogen peroxide and baking soda. I spread a thick layer over the discolored grout and covered it with plastic wrap, sealing the edges with painter’s tape. I left it overnight, allowing the peroxide to break down mineral deposits and mold spores deeply embedded in the grout. The next morning, I removed the plastic and scrubbed vigorously. This technique is somewhat messy but highly effective. The key is the prolonged contact time, which targets embedded stains that surface cleaning can’t reach. Always test the solution on a small area first to ensure it doesn’t discolor the grout further. This approach worked wonders in my bathroom, restoring the grout to its original color and preventing future staining.
Seal the Grout to Prevent Future Stains
Once the grout was clean and dry, I applied a high-quality grout sealer. Think of this like armor for your grout lines, repelling water, minerals, and mold. I used a spray sealer, making sure to cover every inch thoroughly—think of it as giving your grout a protective coat. After wiping away excess and letting it cure for 24 hours, I noticed how much easier cleaning became. Sealing also prevents water from seeping into the grout, which is a common cause of discoloration over time. Familiarize yourself with the best grout sealers on this resource. Remember, resealing every 1-2 years keeps your grout looking pristine and inhibits future orange stains.When it comes to flooring installation, many DIY enthusiasts and even seasoned pros often fall prey to misconceptions that can compromise the entire project. One prevalent myth is that achieving a perfectly level subfloor is simply about sanding down high spots. In reality, as highlighted in this expert guide, proper subfloor preparation involves identifying underlying issues like moisture problems or structural movement before leveling. Ignoring these nuances can lead to uneven floors or future cracking, which many mistakenly attribute solely to poor leveling techniques. My own experience taught me that understanding the subfloor’s condition is crucial—prematurely applying self-leveling compounds without diagnosing core problems often results in recurring issues. It’s a trap worth avoiding. Advanced installers know that the key to a durable, flawless surface lies not just in leveling but in addressing foundational flaws early on. For example, a study published in the Journal of Construction Technology emphasizes comprehensive assessment over superficial fixes. When installing tile or hardwood, subtle variations in substrate flatness can cause visible lippage or grout cracking—problems that standard tools might not detect. Therefore, skimming over unevenness risks exacerbating defects later. A nuanced approach involves measuring with laser levels and checking for subfloor deflections before proceeding—details many overlook but are critical for perfection. Have you ever fallen into this trap? Let me know in the comments. If you’re interested in mastering these advanced techniques, exploring topics like flawless floor leveling for tile can be transformative. Remember, rushing the prep work often leads to costly mistakes down the line, so invest time in understanding the substrate thoroughly for results that truly last.
To ensure your flooring installation and restoration projects stand the test of time, having the right tools and adopting effective maintenance routines are crucial. From precise leveling to clean finishes, I rely on specialized equipment that delivers professional results and simplifies long-term upkeep.
Invest in a Laser Level for Accuracy
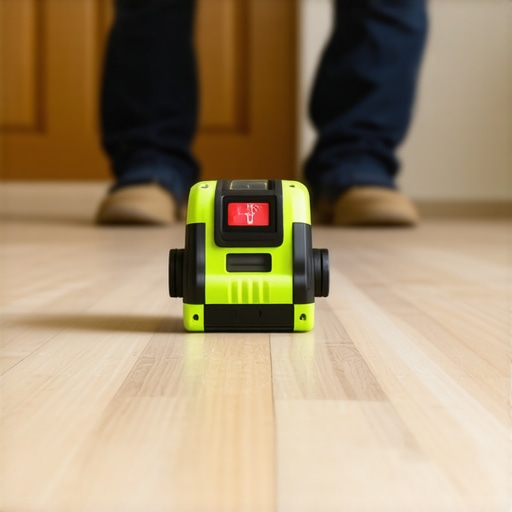
Nothing beats the precision of a laser level when it comes to floor leveling and tile alignment. I personally use the Bosch GSL2 Professional Cross-Line Laser because its self-leveling feature and bright lines make it easy to identify high and low spots during installation. Accurate leveling not only ensures a seamless look but also prevents future issues like lippage or grout cracking. In the future, I predict that laser-guided tools will integrate with smart apps, providing even more control over complex layouts.
Use a Heavy-Duty Trowel for Consistent Thinset Application
Achieving a durable bond with tiles or hardwood often hinges on proper thinset application. My choice is the Rubimix Turbo 2500 Plus mortar mixer combined with a notched trowel, which guarantees an even, bubble-free layer. This tool reduces fatigue and ensures uniform coverage, which is vital for long-lasting results. As I continue exploring new adhesives and primers, I see a trend toward polymer-modified mortars that extend the lifespan of installations, especially in high-moisture areas.
Maintain Your Equipment for Reliable Performance
Regular cleaning and calibration are essential. After each project, I wash my tools thoroughly and store them in a dry place. For my laser level, I check calibration periodically using a known reference point, as misalignment can throw off entire layouts. Using quality, well-maintained tools minimizes errors and saves money over time. Looking ahead, advancements in self-calibrating tools may become standard, further enhancing DIY accuracy.
How do I ensure my floors stay pristine over time?
Implementing a routine cleaning schedule is vital. Using gentle, pH-balanced cleaners and avoiding abrasive scrubbing preserves the finish and grout integrity. Additionally, applying a high-quality sealant—as discussed in this comprehensive guide—creates a protective barrier against stains and moisture. For hardwood, regular refinishing keeps the surface looking fresh and prevents wear. Remember, investing in the right tools today makes ongoing maintenance far more manageable and effective.
Embrace these expert-recommended tools and routines, and you’ll extend the beauty and durability of your flooring for years to come. Whether it’s mastering floor leveling or preserving your investment, quality equipment and conscientious care are your best allies.
What I Wish I’d Known When Starting Floor Projects
- Investing in quality tools like a laser level or high-grade trowels saved me countless hours and headaches, proving that the right equipment is truly transformative.
- Understanding the soil beneath my floors—checking for moisture, structural integrity, and proper subfloor prep—prevented future cracking and uneven surfaces that no amount of leveling could fix later.
- Patience and thoroughness during sealing and curing stages are often overlooked but hold the key to long-lasting, stain-resistant floors I can be proud of.
- Connecting with how professional installers approach hidden flaws taught me that minor issues hidden beneath the surface can cause major setbacks down the line.
- My biggest lightbulb was realizing that ongoing maintenance routines, including resealing and routine inspections, are investments in preserving the visual appeal and functionality of my floors over time.
Tools and Resources That Keep My Floors Perfect
- Mastering Floor Leveling: This guide has transformed my understanding of substrate assessment and precise leveling, crucial for a flawless finish.
- Achieving Flawless Floor Leveling: Practical tips here have helped me identify subtle imperfections before tiling, saving adjustments later.
- Installation and Leveling Success: This comprehensive resource covers every step to ensure no detail is overlooked during projects.
- Avoid Common Mistakes: Learning from others’ errors has prevented me from repeating costly oversights.
Your Next Step in Floor Mastery
Embarking on floor leveling, tile restoration, or hardwood installation isn’t just about following steps—it’s about cultivating an eye for detail and patience that elevates your space to professional standards. Remember, every project is an opportunity to learn and improve—kindling your confidence step by step. Whether you’re dreaming of a seamless living room or a durable kitchen floor, the journey starts now. So go ahead—measure twice, think through the prep, and lay your foundation for lasting beauty. Ready to turn your home into a masterpiece of craftsmanship? Share your plans, questions, or experiences below—I’d love to hear from you!
Have you ever faced unexpected challenges while leveling or tiling? How did you overcome them? Drop a comment and let’s grow together!