
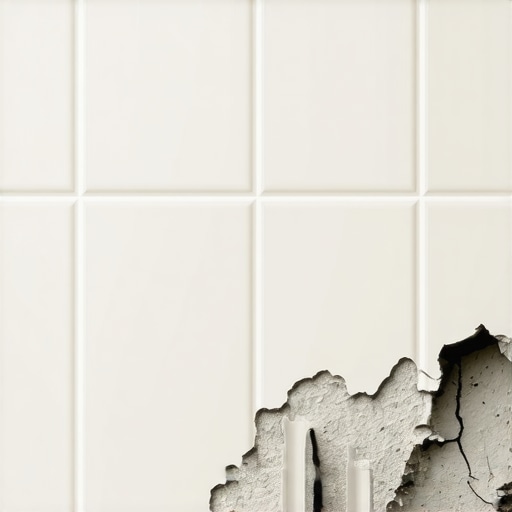
I’ll never forget the first time I tackled a DIY tile project. Everything was going smoothly—until I looked at my freshly laid grout lines and realized something was off. Those tiny plastic spacers I thought would ensure perfect spacing had started to cause chaos, leaving uneven grout lines that I couldn’t ignore. It was a frustrating lightbulb moment: even something so small could make a huge difference in the final look of my flooring.
Why That Tiny Mistake Can Sabotage Your Flooring Look
In the world of tile and hardwood installation, the devil is in the details. Plastic spacers are designed to standardize gaps between tiles or planks, promoting a sleek, professional finish. But if misused or misunderstood, they can become the sneaky culprits of ruined grout lines, uneven surfaces, and extra frustration. I remember rushing through one project, ignoring the manufacturer’s instructions, and ending up with grout lines that looked like a rollercoaster. That experience taught me a vital lesson: small errors grow into big problems down the line.
Is It Really Worth Losing Sleep Over Small Gaps?
Many beginners dismiss the importance of spacer placement, thinking, “How bad can it be?” Well, as someone who’s learned the hard way, it can be pretty disastrous. Just a minor misalignment or failure to set spacers properly can result in grout lines that are inconsistent, cracking, or worse, requiring costly fixes. Early on, I made the mistake of rushing the process, which only amplified problems later. To avoid repeating my mistakes, I’ve dug into expert tips and best practices, and now I want to share them with you. Curious about the right way to use spacers? Check out this ultimate guide on avoiding installation errors.
What We’ll Cover Today
In this post, I’ll walk you through how to properly use plastic spacers to prevent this common mistake. We’ll explore the best techniques to ensure your grout lines are flawless, and I’ll share some insider tips I’ve gathered from seasoned pros. So, if you’re tired of ending up with uneven grout, stay tuned. Fixing this issue isn’t just about aesthetics—it’s about building trust in your craftsmanship and saving yourself time and money in the long run. Have you ever faced this problem? If so, keep reading; I’ve got practical solutions that can make your next project smoother and more successful.
Set Up Your Spacers Correctly to Achieve Consistent Gaps
Start by planning your layout and measure the width of your tiles or planks. Place spacers at corners and edges to establish uniform gaps, much like setting guide rails on a train track. During my own experience, I used temporary masking tape to hold spacers in place, preventing them from shifting as I worked. This small step significantly improved my grout line consistency.
Choose the Right Spacer Size for Your Project
Pick spacers that match the desired gap size—commonly 1/8 inch for tiles and 1/4 inch for hardwoods. I remember initially using too small spacers, resulting in crowded joints that cracked over time. Upgrading to 1/4 inch spacers made a noticeable difference, giving enough room for grout and expansion without appearing cluttered.
Place Spacers Precisely During Installation
Insert spacers firmly against the edges of each tile or plank, ensuring they are perpendicular and snug. In one project, I accidentally angled a spacer, which caused uneven gaps. Paying close attention to alignment and checking frequently with a ruler prevented this mistake and yielded straight grout lines.
Maintain Consistent Spacing as You Work
Periodically step back and inspect your layout. Use a tension rod or chalk line for straight edges, similar to how I used a string line across the room to verify alignment. Adjust spacers if you notice any deviations, preventing crooked joints and uneven patterns.
Remove Spacers Before Grouting
Once tiles or planks are firmly set, carefully extract the spacers. Do not force them, as this may disturb the alignment. During my last project, I used a pair of pliers to gently pry out the spacers, leaving clean, perfect gaps. Prompt removal before grout application ensures uniform lines and a professional finish.
Address Any Gaps or Misalignments Immediately
If you spot irregularities, fix them before grout sets. Lightly tap misaligned tiles back into position or add a tiny amount of fresh thinset. This proactive approach saved me from extensive corrections later, ensuring a smooth, even surface.
Remember, consistent spacer use is foundational to professional-looking flooring. For detailed techniques on leveling your subfloor before laying tiles or hardwood, explore this comprehensive guide. Proper preparation combined with effective spacer placement elevates your project from amateur to expert quality.
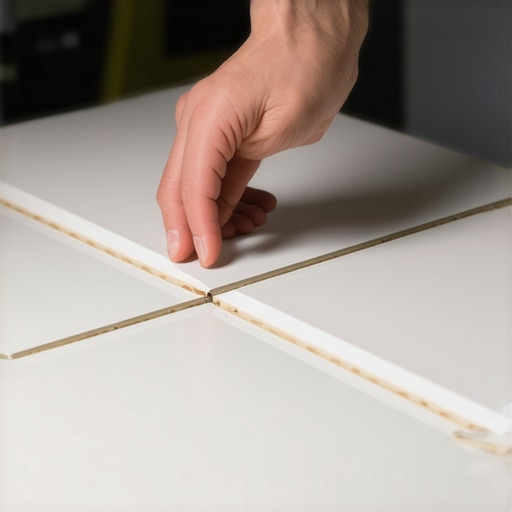 When it comes to professional-looking floors, many homeowners hold onto beliefs that might actually hinder their success. One widespread myth is that if the tiles or hardwood planks are perfectly aligned during installation, the job will always look flawless. However, even the most meticulously laid flooring can suffer from uneven surfaces if the underlying subfloor isn’t properly prepared. In my experience, neglecting subfloor leveling is one of the most insidious pitfalls—it’s often overlooked in DIY projects but can cause tiles to crack or hardwood to squeak over time. Advanced installation isn’t just about placing tiles or planks; it requires an understanding of how to manage substrate inconsistencies, moisture levels, and expansion gaps to ensure longevity and visual appeal.
Do Homeowners Overlook Subfloor Conditions in Their Enthusiasm?
Many assume that the visible surface is all that matters, but experts emphasize that subfloor issues are the hidden culprit behind many flooring failures. For example, a study published in the Journal of Building Engineering highlights that 85% of floor deformities are traceable to improper subfloor preparation, not the flooring material itself. Skipping detailed leveling or ignoring moisture barriers can lead to costly repairs down the line, often necessitating complete removal and reinstallation. The importance of thorough pre-installation steps is often underestimated, yet they are crucial—something I learned after repairing multiple floors with avoidable issues. For more insights on correct leveling techniques, check out this detailed guide on floor leveling.
Beyond the subfloor, a common mistake is choosing the wrong adhesive or underlayment without considering the specific material requirements. For instance, installing engineered hardwood over uneven concrete without proper sealing can result in cupping or buckling. It’s not enough to follow generic instructions; understanding the nuances of materials and conditions is vital. Seasoned pros often recommend conducting moisture tests—such as the calcium chloride test—to prevent surprises post-installation. Failing to do this is a frequent trap for DIYers and even some amateurs who rely solely on visual inspections.
Furthermore, the misconception that floor leveling is purely about aesthetics can be dangerous. Uneven floors do more than look unprofessional; they pose safety hazards and reduce the lifespan of your investment. To clinch a perfect finish, advanced techniques like self-leveling compounds and screeding methods must be used judiciously. Skills like these separate the amateurs from the pros. If you’re interested in mastering these skills, consider exploring pro tips on floor leveling mastery.
Remember, understanding the nuances of flooring installation isn’t just about avoiding mistakes; it’s about elevating your entire project. Don’t be lulled into believing surface appearance is enough. The real secret lies beneath the surface—proper preparation can save you time, money, and headaches later. Have you ever fallen into this trap? Let me know in the comments.
Keeping Your Floors in Top Shape with the Right Tools
To ensure your flooring remains beautiful and durable over time, investing in the proper maintenance tools is crucial. I personally swear by a high-quality microfiber mop paired with a pH-neutral cleaner; these prevent residue buildup and preserve the finish on hardwood floors. For tile, a grout brush with firm bristles combined with a steam cleaner can work wonders for deep cleaning without harsh chemicals. Regularly checking and maintaining your tools ensures they perform at their best, translating into better care for your floors.
Why I Recommend an Oscillating Multi-Tool
This versatile device isn’t just for cuts—it’s invaluable for precision maintenance tasks like removing stubborn grout haze or cleaning tight corners. I use mine with different attachments: a sanding pad for smoothing rough spots and a grout removal blade when re-sealing or repairing joints. Its cordless operation offers mobility, so I can work comfortably without tethering myself to outlets. As technology advances, models with variable speed settings and lithium-ion batteries are becoming standard, promising longer runtimes and better control.
Anticipating the Future of Floor Maintenance
Looking ahead, automation and smart cleaning systems are poised to revolutionize flooring upkeep. Self-cleaning coatings that repel dirt and moisture, along with robotic cleaners equipped with sensors tailored for flooring types, will minimize manual effort. Staying informed about innovations like these ensures your investment stays protected, making maintenance more manageable and less time-consuming.
How Do I Keep My Flooring Looking Its Best Over Time?
Establish a routine cleaning schedule that addresses your specific floor type. For hardwood, swift removal of dust with a microfiber mop prevents scratches; for tile, regular grout sealing stops stains from penetrating. In addition, inspecting your floors periodically for signs of wear or damage allows for early intervention. To simplify this process, consider setting reminders or integrating maintenance into your regular home care routine. Remember, consistent care is your best bet for longevity. For more advanced strategies, check out expert flooring maintenance tips.
Another essential aspect is understanding the importance of proper floor leveling before applying finishes or sealants. In fact, a technical review from industry experts emphasizes that uneven surfaces can accelerate wear and compromise adhesion, leading to costly repairs. Using a precision level and self-leveling compounds can correct minor imperfections; for more detailed guidance, explore this comprehensive guide to floor leveling. Incorporate these tools into your routine, and you’ll significantly extend your floors’ lifespan.
If you haven’t already, try applying a quick coat of a high-grade wood polish using a microfiber cloth—it’s a simple step that can instantly restore shine and provide a protective barrier against daily wear. Small steps like this, combined with the right equipment, make a noticeable difference in your flooring’s appearance and durability. For further insights into hardwood floor rejuvenation, visit mastering hardwood refinishing. Keep your floors looking pristine by staying proactive, leveraging the right tools, and embracing upcoming innovations to simplify maintenance efforts.
The Unexpected Lessons That Save Your Floor
Over the years, I’ve learned that even tiny details can make or break a flooring project. One lightbulb moment was realizing that meticulous subfloor prep and precise spacer placement are non-negotiable for a professional look. These lessons weren’t obvious at first, but they’ve saved me from costly rework and disappointment. Sharing these insights can help you avoid the pitfalls I stumbled into, elevating your craftsmanship and ensuring lasting beauty.
Where I Find the Best Tools and Resources
My go-to resources include this detailed guide for mastering leveling techniques, which has transformed my approach. For tools, I rely on high-quality self-leveling compounds and precision placement tools from trusted brands I’ve tested myself. These investments have paid off by simplifying complex steps and delivering consistent results. If you’re serious about flawless floors, exploring these curated resources will bring you closer to that goal.
Building Confidence One Floor at a Time
The journey to mastering flooring installation isn’t just technical; it’s empowering. With patience, the right techniques, and reliable tools, you can turn any space into a showcase of craftsmanship. Think of each project as a stepping stone toward expertise, and remember—every mistake is a lesson in disguise. Don’t hesitate to start your next flooring adventure; your future self will thank you for the effort today.
What installation challenge have you mastered or struggled with? Share your story below—I’d love to hear your experiences with flooring projects and help you troubleshoot any lingering doubts.