
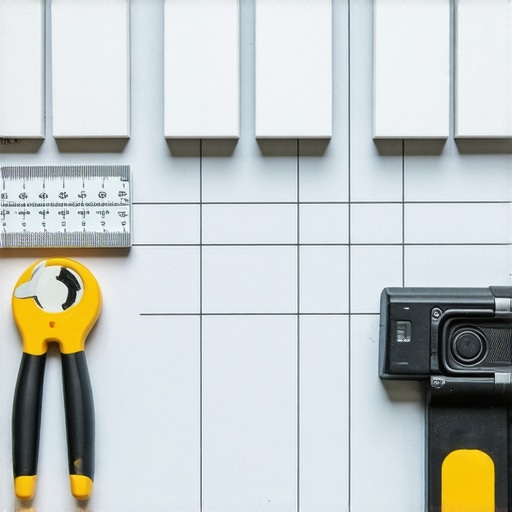
I still remember the frustration of laying a beautiful new tile floor only to realize that the last row was riddled with tiny, awkward cuts. It was a morning of meticulous work undone by a simple oversight. That moment was a lightbulb for me—why did so many of my projects end with those impossible little cuts that made the whole job look amateurish?
The Big Breakthrough: Discovering the Dry-Lay Rule
There’s a secret I’ve embraced that transformed my approach to tile and hardwood installation: the Dry-Lay Rule. This principle isn’t just some planner’s tip; it’s about foreseeing those tiny, tricky cuts before you even mix your mortar or pick up your saw. I learned that by dry-laying your tiles or hardwood planks first, you can spot potential problem spots and adjust your layout. It’s a simple step that saves tons of time and minimizes waste. Plus, it guarantees a more professional finish that lasts.
When I first started, I often ignored this step, rushing straight into adhesive and setting. The result? Chips, uneven grout lines, and that dreaded sense of having wasted materials. Now, I always do a dry run, and let me tell you, the difference is night and day. Your confidence skyrockets, and your final appearance? Crisp, clean, and just right.
Learn more about comprehensive flooring success strategies here.
**Ever faced the dilemma of tiny, impossible cuts that throw off your entire project?** If yes, you’re in good company. Many DIY enthusiasts and professionals alike slip up here because they skip this crucial planning step. As I did early on, making a mistake in layout planning can cost you not only money but also time and patience.
This article will guide you through the critical steps to master the Dry-Lay Rule, giving you the confidence to tackle any flooring project with finesse. Ready to say goodbye to those frustrating tiny cuts? Let’s get started and turn your next project into a seamless success.
Prep Your Subfloor and Gather Tools
Begin by inspecting your subfloor for any bumps, dips, or debris. Use a level to identify high and low spots, marking them clearly. Gather essential tools like a chalk line, tape measure, straightedge, spacers, and a snapping tool. Having all tools at hand streamlines the dry-lay process and minimizes interruptions. For a detailed overview of subfloor preparation, visit this comprehensive guide.
Plan Your Layout for Optimal Use and Aesthetics
Measure your room’s dimensions meticulously. Decide on a layout that minimizes tiny cuts along the edges—aim for centered patterns or standard border designs. Use the tape measure and chalk line to mark the layout on the floor. This step is crucial to visualize the final look and identify potential problem areas. Remember, a well-planned layout reduces waste and prevents awkward cuts. For tips on elegant tile combinations, check this resource.
Dry-Lay Your Tiles or Planks
Lay out the tiles or hardwood planks on the floor following your marked plan. Leave consistent gaps for grout or expansion—use spacers for precision. Don’t press items down; instead, let them sit naturally in the layout. During this step, I once realized that my pattern was slightly off by an inch, which would have led to a narrow cut on one side. By adjusting the pattern now, I avoided the problem altogether. Incorporate 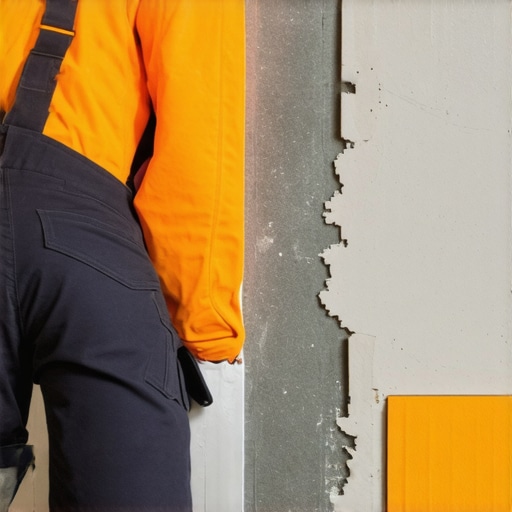 here to visually demonstrate proper dry-laying.
Check for Fit and Make Adjustments
Walk through the layout, observing how the pieces fit together. Look for any tight spots or gaps that are too large. If you notice planks that don’t fit snugly, consider trimming them slightly or adjusting the layout. Take notes of the areas needing modifications. This step ensures that you won’t have to force pieces later or end up with tiny, awkward cuts. For tips on leveling floors effectively, see this guide.
Simulate the Final Pattern
Reassemble the layout, considering how joints align and the visual flow of the pattern. Adjust as needed to avoid narrow cuts at room edges. Think of it as assembling a puzzle—each piece’s position affects the whole picture. This iterative process helps perfect the pattern before committing adhesives. Remember, meticulous planning at this stage saves time and materials during installation.
Confirm and Document Your Layout
Once satisfied, mark the final layout on the subfloor with chalk or painter’s tape. Take photos for reference and to communicate your plan with helpers or contractors. This step provides a blueprint, ensuring everyone stays aligned during actual installation. Proper documentation can also help troubleshoot if issues arise later.
By methodically dry-laying your tiles or hardwood and meticulously planning your layout, you position yourself for a seamless installation with minimal tiny cuts or rework. Each of these steps emphasizes foresight, precision, and patience—key ingredients for professional-quality flooring. If leveling your subfloor is also on your list, explore this essential guide.Many homeowners and even some professionals underestimate the nuances involved in achieving a perfectly level floor during installation. The prevailing myth is that once you’ve prepared your subfloor, the rest is straightforward. However, this oversimplification overlooks critical details that can make or break your project’s success. For example, a common misconception is relying solely on self-leveling compounds without verifying adherence to proper substrate preparation. As experts highlight, inadequate surface cleaning or moisture checks can lead to failures like cracking or uneven settling, which are often blamed on the leveling product rather than the application process itself.
Why Do So Many Leveling Attempts Fail Despite Following Instructions?
It’s tempting to think that following product guidelines is enough, but the reality is that mastering floor leveling demands attention to material compatibility, room humidity, and even temperature conditions. For instance, using a self-leveler on a damp or dirty surface will compromise bonding and stability. According to a study published in the Journal of Building Physics, proper substrate preparation and environmental control are essential to ensure the longevity of the leveling layer. Furthermore, some installers neglect the importance of mechanical bonding, such as using a primer or etching the surface, which can drastically improve adhesion and durability. This oversight often results in a false sense of security that eventually leads to tile or hardwood issues down the line.
Another advanced mistake is misjudging the necessary thickness of the leveling compound. Over-application can cause the layer to crack or delaminate, while under-application may not correct significant floor dips. Precision in application, combined with iterative checks using a straightedge or laser level, is paramount. Incorporating these detailed steps elevates your installation from amateurish to professional-grade. For more insight on how to perfect your approach, explore this comprehensive guide.
Remember, floor leveling isn’t just about pouring a compound and walking away. It’s an intricate process that involves understanding materials, conditions, and subtle nuances. Skipping these steps often results in costly reworks and compromised aesthetics. Do you ever wonder how professionals consistently achieve flawlessly level floors? The secret lies in the prep and patience. Have you ever fallen into this trap? Let me know in the comments.Maintaining your newly installed floors is just as crucial as the installation itself. Investing in the right tools ensures that your floors stay level, vibrant, and durable for years to come. One of my favorite essentials is a high-quality laser level. Unlike traditional bubble levels, a laser level provides unmatched precision over large areas, making it indispensable for checking ongoing floor repairs or updates. I personally rely on the Bosch GSL 2 Professional Cross Line Laser for its durability and clarity, especially when working on expansive spaces or multiple rooms. This tool allows me to quickly identify uneven spots or shifts in the subfloor that could compromise long-term results. Additionally, using a moisture meter is vital before applying finishes or adhesives; it helps prevent issues like peeling or buckling caused by excess moisture, a common problem highlighted in flooring installation guides.
Routine cleaning tools also make a difference. A microfiber mop combined with pH-neutral floor cleaner prevents the buildup of dirt and grime that can scratch and dull surfaces over time. For hardwood floors, I recommend a soft-bristle brush or vacuum with a hardwood-specific attachment to remove debris without damaging the finish. Regular upkeep extends the life of the finish and maintains the aesthetic appeal. When it comes to refinishing hardwoods, tools like a quality orbital sander and quality finishing pads are non-negotiable. They enable you to restore gloss and smoothness efficiently, especially when dealing with minor scratches or worn patches. Keep in mind, proper maintenance isn’t just about tools; it involves understanding the materials you’re working with. For instance, self-leveling compounds or adhesives require specific care to prevent cracks or detachment, emphasizing the importance of using products compatible with your floor type.
Looking ahead, I predict that floor maintenance will increasingly incorporate smart technology. Devices that monitor humidity levels or detect subfloor shifts in real-time can alert homeowners before minor issues escalate. This proactive approach will save money and preserve the beauty of your floors long-term. To ensure your floors retain their optimal condition, consider integrating a moisture barrier with your repair regimen, especially if you live in areas prone to humidity fluctuations.
So, how do I maintain my floors over time? The key is consistent inspection and timely intervention. Regularly check for signs of wear or shifting, using your laser level or moisture meter for precise assessments. Periodic cleaning with suitable tools keeps surfaces looking fresh, and addressing minor repairs early prevents costly overhauls later. Remember, a well-maintained floor not only looks great but also retains its value and function. For those interested in mastering hardwood floor refinishing, I highly recommend reviewing expert tips at this resource. And if you’re ready to take your maintenance game to the next level, try calibrating your laser level weekly; consistent calibration ensures ongoing accuracy, making your inspections even more reliable. Proper tool selection and routine maintenance are the pillars of flooring longevity—invest in them today for lasting results.
What I Wish I Knew When I Started Laying Floors
Early in my flooring journey, I underestimated the importance of meticulous subfloor prep and dry-laying my tiles or hardwood before adhesive application. These lightbulb moments taught me that rushing through these steps often leads to tiny, awkward cuts and a less professional look. Embracing patience and attention to detail transformed my projects into seamless, durable results.
Another lesson was understanding environmental factors like humidity and temperature, which dramatically affect self-leveling compounds and wood movement. Waiting for optimal conditions and verifying substrate conditions save time and prevent costly mistakes. These insights have been game-changers in achieving long-lasting, flawless floors.
I’ve also realized that investing in professional-grade tools, such as laser levels and moisture meters, can elevate your installation from amateur to expert. Regular maintenance, including calibration and proper cleaning, keeps your floors looking new and prevents future issues. Patience, planning, and the right tools are your best allies in flooring projects.
Tools and Resources That Make a Difference
For precision floor leveling and installation, I rely on a high-quality laser level like the Bosch GSL 2. Its accuracy helps identify subfloor inconsistencies early, avoiding uneven surfaces later. A durable moisture meter ensures your subfloor is properly dried, preventing moisture-related problems. When it comes to dry-laying tiles or hardwood, I recommend using spacers and a straightedge to visualize the final pattern—these simple tools make a huge difference.
To deepen your understanding, I suggest exploring this comprehensive guide on flooring installation fundamentals. It’s packed with actionable tips that complement the insights shared here. And for refinishing hardwood floors, this expert resource provides advanced techniques that ensure a smooth, glossy finish.
Your Next Move Starts Today
Elevating your flooring skills is an ongoing journey of learning, patience, and practice. Don’t let the fear of mistakes hold you back—every project, big or small, offers a chance to improve and refine your craft. With the right knowledge, tools, and mindset, you can create stunning, durable floors that stand the test of time. Take the first step today, and see how mastery over floor leveling and installation transforms your space and confidence.
What has been your biggest challenge when installing floors? Share your experience below—I’d love to hear your story and offer tailored advice!
,