
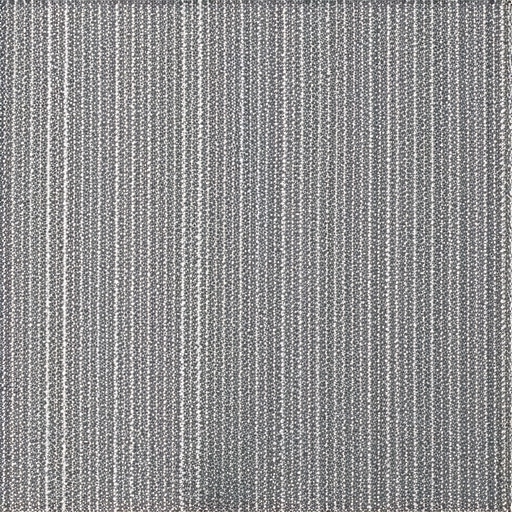
I remember the first time I walked back into a high-stakes meeting room I’d finished just six months prior. Instead of looking at the presentation screen, every eye in that room was glued to the floor. Not because it was beautiful, but because the seams were “hairy.” Those expensive carpet tiles looked like they’d been through a paper shredder at the edges. It was soul-crushing. I had spent weeks pitching the client on why your commercial office needs modular carpet tiles, and there I was, staring at a fuzzy mess that looked more like a DIY disaster than a pro install. I felt like a fraud. But that failure taught me more about edge integrity than any manual ever could. If you are seeing those pesky fibers sprout up between your planks, don’t panic. You aren’t necessarily looking at a full replacement yet. Today, I’m going to pull back the curtain on why those seams are giving up the ghost and how to stop the shredding for good.
Stop the Shredding Before it Starts
Most of the time, fraying isn’t a “bad carpet” problem; it’s a “bad habit” problem. When I first started, I made the classic mistake of trying to save a few bucks by stretching the life of my utility blades. I thought, “It’s still cutting, so it’s fine.” I was dead wrong. A slightly dull blade doesn’t slice the backing; it microscopicly tears it. That tearing creates a weak point where traffic—even just light footfalls—starts to pull those loops apart. It’s one of those flooring installation mistakes to avoid for lasting results that seems small until your client is calling you back six months later to complain about the mess.
Is modular carpet actually just a cheap shortcut?
I get asked this all the time by skeptical property managers. People fear that because the pieces are smaller, they are inherently less durable than broadloom. That’s a total myth. In fact, the heavy traffic solution for retail store entryways is almost always modular because of its incredible versatility. However, that versatility comes with a trade-off: more seams. And more seams mean more opportunities for things to go sideways if you skip the prep work. According to the Carpet and Rug Institute (CRI), nearly 90% of premature carpet failures in commercial settings are due to improper maintenance or installation errors, rather than manufacturing defects. That’s a staggering number, isn’t it? It means the power to keep your floor looking sharp is entirely in your hands and your installer’s tools. Have you ever looked down at a brand-new floor and realized the edges were already starting to look “fuzzy”? Tell me about your experience—did you catch it early or did it turn into a trip hazard? To avoid this, you have to treat the edges like the most delicate part of the project. I’ve learned that applying the same logic as the dry fit rule for complex herringbone patterns—checking the tension and alignment before a single drop of adhesive hits the subfloor—is what separates a floor that lasts ten years from one that lasts ten weeks.
Get a Cleaner Cut to Prevent Unraveling
I once rushed a job for a local tech startup where I thought my utility blade had “one more room” left in it. Big mistake. Within ten days, their high-suction industrial vacuums were snagging the edges, pulling long, ugly threads out of the backing like a loose yarn on a cheap sweater. I spent my entire Saturday on my hands and knees with a pair of surgical snips, cleaning up my own mess. Since then, I treat my blades like disposable tissues. If I’m cutting a border, I snap the blade. If I’m trimming a doorway, I snap the blade. A fresh edge slices through the bitumen or PVC backing like a hot wire through wax, leaving the face fibers perfectly intact. If you try to “saw” through the tile with a dull tool, you’re basically inviting the fibers to unravel the moment they meet friction.
Why Your Subfloor Leveling Directly Affects Your Carpet Seams
It might seem strange to prioritize leveling for a soft product like carpet, but if your subfloor has a dip, the carpet tile will eventually bridge that gap. When someone walks over it, the tile flexes downward, pulling the seam open just a fraction of a millimeter. That tiny, repetitive gap is where the fraying starts. Following a step-by-step guide to flooring installation and leveling success isn’t just for hardwood or tile; it’s the mandatory foundation for a stable carpet grid. If your slab looks like a topographical map, you need to use a self-leveler combined with the spiky roller secret for a mirror-smooth pour to ensure your modular pieces sit perfectly flush against one another. 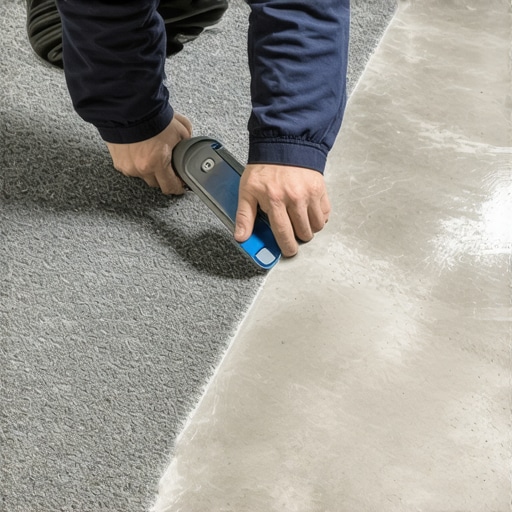
Use This Tension Trick to Close the Gaps
Think of carpet tiles like a jigsaw puzzle that’s just a hair too big for the box. You want “firm” contact, not “forced” contact. If you jam them in too tight, the edges will eventually “peak,” creating a tiny ridge that a vacuum or a rolling chair will eventually chew up. If they are too loose, the gap becomes a magnet for dirt and debris. I always use a “stair-step” installation method to keep the grid square from the center of the room outward. This is where flooring installation fundamentals leveling for a seamless look come into play—if the floor isn’t flat, your grid will eventually “run” out of square, forcing you to trim tiles at awkward, fray-prone angles.
The “Butter the Edge” Technique for High-Traffic Zones
In entryways or pivot points where heavy office chairs roll constantly, I sometimes use a specialized edge sealer or a very thin bead of pressure-sensitive adhesive right at the cut edge. It’s like a tiny insurance policy for your floor. Much like how you’d protect a wood floor by knowing hardwood floor care secrets to longevity and shine, treating the edges of your most vulnerable carpet tiles prevents lateral friction from separating the pile from the primary backing. If you’re working in a space where rolling casters are the norm, this extra five minutes of sealing work can realistically add five years to the floor’s functional life.People often assume that if a carpet tile is lifting or fraying at the edge, the answer is simply more glue. I’ve seen installers dump a quart of adhesive under a single corner, thinking they are solving the problem for good. This is a massive mistake. Excessive adhesive doesn’t just take forever to cure; it can actually ‘ooze’ through the seams under the weight of furniture, creating a sticky trap that attracts dust and grit. That grit acts like sandpaper, grinding away at the fiber edges every time someone walks by, leading to the exact ‘hairy’ seams we’re trying to avoid. Have you ever fallen into this trap? Let me know in the comments.
Why More Glue Actually Leads to More Fraying
In my experience, the ‘more is better’ philosophy is the fastest way to ruin a commercial project. According to the Tile Council of North America (TCNA), moisture vapor emission rates (MVER) that exceed 3 lbs per 1,000 square feet are responsible for the majority of adhesive-related failures. When you over-apply glue, you trap moisture and prevent the adhesive from reaching its proper shear strength. If you’re struggling with height differences during the process, it’s better to learn how to fix a transition between tile and uneven concrete rather than trying to ‘float’ the carpet on a bed of extra adhesive. This ensures the edges stay flush without the chemical mess.
Is your subfloor’s ‘breathability’ killing the bond?
Many advanced installers overlook the porosity of the slab. If the concrete is too dense or has been power-troweled to a mirror finish, the adhesive has nowhere to go. It just sits on the surface. This is why the concrete etching step you shouldn’t skip before leveling or gluing is so critical. Without those microscopic ‘pores’ for the glue to bite into, the tile will eventually shift, causing the edges to rub against each other and fray. It’s a subtle nuance, but it’s the difference between a floor that stays tight for a decade and one that starts gapping by next quarter.
Avoid the High-Speed Mixing Trap
When you’re prepping for a modular install, you might be tempted to speed up the leveling process. But watch out for your drill speed. Using a standard high-speed drill to mix your compound is one of those tile installation pointers that save time and money in the short term but ruins the finish. Why? Because the mixing paddle speed that ruins your leveling compound is usually anything over 650 RPM. High speeds whip air into the mixture, creating thousands of tiny bubbles. Once you pour, those bubbles pop and leave ‘pinholes.’ These pinholes are structural weak points where the carpet tile backing won’t fully adhere. 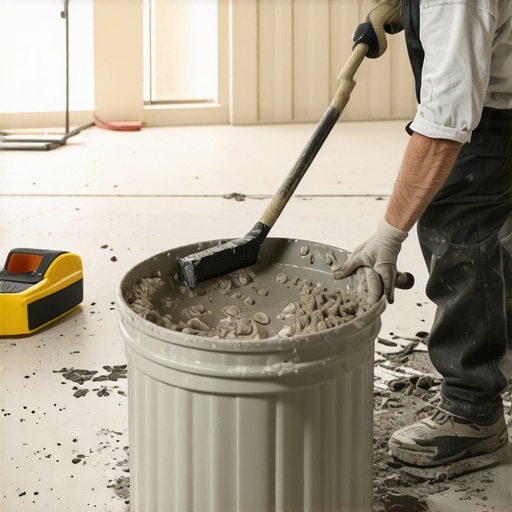
The Myth of the Magic Leveling Compound
Another common belief I love to challenge is that self-leveling products are a ‘set it and forget it’ solution. They aren’t magic; they are gravity-dependent. If you don’t address the underlying surface, the whole thing will delaminate. I’ve personally seen why most floor levelers fail on top of painted concrete—the paint acts as a bond breaker, and the leveler just curls up like a potato chip once it dries. You have to be willing to do the dirty work of grinding or etching before you ever think about the final aesthetic. Expertise isn’t just about the finish; it’s about knowing exactly what’s happening two layers beneath the surface.I’ve realized that the most expensive tool in my kit isn’t actually my power saw or my laser level; it’s my patience. But if we’re talking hardware, I’ve ditched standard utility knives for a specialized carpet tile trimmer—the kind with a fixed-depth guide. It stops you from digging into the subfloor and keeps your hand steady when you’re 400 tiles deep into a commercial floor. When you revamp your home with expert flooring installation tips, having a tool that enforces consistency is better than having a steady hand. I’ve seen guys with thirty years of experience get sloppy on Friday afternoon, but a guide-rail trimmer never gets tired. It’s the same logic I apply to leveling; I never pour without my gauge rakes set to the exact depth of the lowest dip.
How do I keep my modular carpet from looking worn?
The secret isn’t in the cleaning chemicals; it’s in the mechanics of the vacuum. I strictly follow the CRI 104 Standard for Commercial Carpet Installation, which emphasizes that for modular tiles, you need a dual-motor vacuum with adjustable brush heights. If the brush is too low, it beats the fibers into a frenzy; if it’s too high, the grit stays at the base and acts like a saw. Much like hardwood floor care secrets to longevity and shine, the goal is to remove abrasive particles before they damage the structural integrity of the pile. If you treat maintenance like a science rather than a chore, those seams will stay invisible for years. 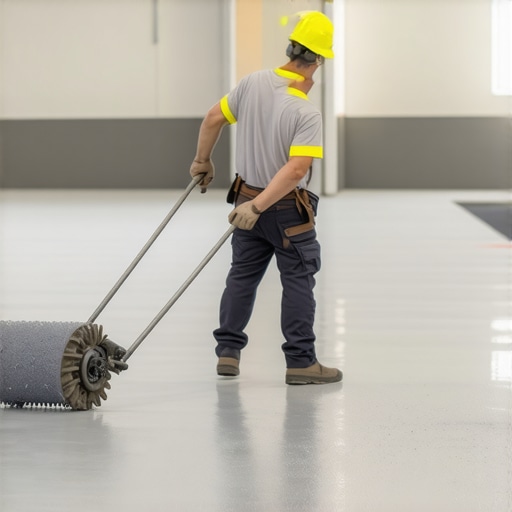 Beyond the daily sweep, you have to look at the ‘pivot points.’ I’ve started recommending that my clients rotate high-traffic tiles every eighteen months. Since they are modular, you can swap a tile from under a desk with one in the middle of a walkway. This level of mastering floor leveler pro secrets for perfect installations and strategic planning separates a floor that merely exists from one that performs. Looking ahead, I suspect we are about to see a massive shift toward robotic self-leveling systems. I’ve already seen prototypes of small rovers that can navigate a room and map out every 1/16th of an inch deviation, then calculate exactly how much compound is needed. Until then, we still rely on the spiky roller secret for a mirror-smooth pour to manually break the surface tension of the leveler. It’s old school, but it works every single time. My challenge to you: next time you’re setting a grid, don’t just eyeball the starting point. Use a 3-plane laser to check the wall-to-wall squareness before the first tile drops. You’ll find tile installation pointers that save time and money aren’t just about speed, they are about starting with a perfect geometric baseline.
The Hardest Lessons I Learned From Fraying Seams
Looking back at my early commercial projects, I realized that the ‘fuzzy’ edges were never the result of a single catastrophic mistake, but rather a series of small, ignored details. First, I learned that temperature is your best friend or your worst enemy; installing tiles straight off a cold truck is a recipe for edge tension and eventual unraveling. Second, I discovered that the ‘Invisible Edge’ is a myth. If you can see a hair-thin gap during the dry fit, it will be a 2-millimeter canyon after six months of foot traffic. Finally, I realized that the vacuum cleaner is the number one cause of premature wear. If the height isn’t set correctly, those spinning brushes act like a cheese grater on your seams. Mastering these nuances is just as vital as mastering floor leveling pro secrets for perfect installations. It’s the difference between a floor that looks good on day one and one that still looks pristine on day one thousand.
The Gear That Finally Solved My Carpet Fraying Issues
I stopped relying on generic tools and started building a kit specifically for modular integrity. I never go into a high-stakes job without a fixed-depth wall trimmer; it removes the human error of a shaky hand during those critical perimeter cuts. I also swear by a high-quality pressure-sensitive adhesive that offers a high ‘shear strength’ to prevent lateral shifting. For the subfloor, I always rely on the the spiky roller secret for a mirror-smooth pour because any tiny bump in the leveler will eventually manifest as a frayed edge on the surface. Lastly, I keep a copy of the CRI 104 Standard in my truck. It’s the industry ‘Bible’ that gives me the leverage to explain to clients why their maintenance crew shouldn’t use harsh chemicals on their new investment. Using these tile installation pointers that save time and money has saved my reputation more times than I can count.
#IMAGE_PLACEHOLDER_E#
Confidence Comes From a Clean Cut
At the end of the day, your floor is only as durable as its weakest seam. Modular carpet offers incredible flexibility, but it demands a higher level of respect for the ‘foundation’ work than most people realize. When you take the time to ensure your subfloor is perfect and your blades are fresh, you aren’t just laying carpet; you’re building a long-term asset. Don’t let the fear of a few loose threads keep you from enjoying the benefits of why your commercial office needs modular carpet tiles. With the right prep and a bit of patience, you can create a seamless, high-performance environment that stands up to the heaviest office chairs and the busiest hallways. It’s time to stop worrying about those edges and start focusing on the next big project with total confidence. Have you ever dealt with a ‘hairy’ seam that just wouldn’t stay down? Let me know your biggest carpet installation headache in the comments below!