
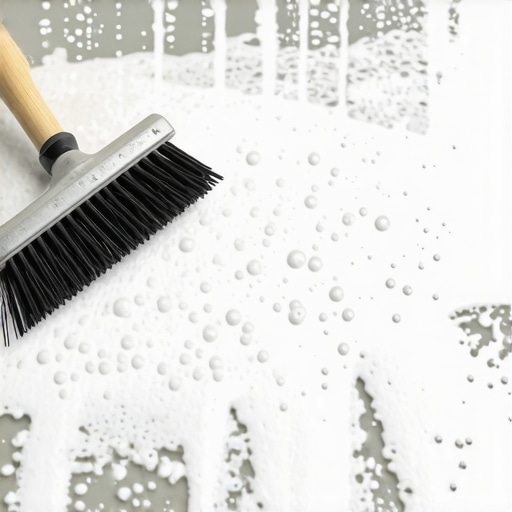
I stood there with a pry bar in my hand, watching my $400 investment in self-leveling compound pop off the garage floor in giant, brittle sheets. It was absolutely gut-wrenching. I had done everything by the book—or so I thought. I had swept, I had vacuumed, and I had even applied a high-end primer. But within six weeks, the whole floor sounded like I was walking on dried potato chips. The culprit? I had tried to shortcut the concrete etching process because the slab looked clean enough to the naked eye. It didn’t look oily or dirty, but it was way too smooth, and that is a classic recipe for flooring installation failure. Today, I am going to save you the backbreak and the wasted cash by explaining why you cannot skip the etch.
Your Leveler Needs a Rough Surface to Grab Onto
Most people treat concrete like a solid, impenetrable rock, but it is actually a network of tiny pores. When you pour a leveler, it needs to physically lock into those pores to stay put. If your slab has been power-troweled—that super-smooth, almost shiny finish builders love—those pores are effectively sealed shut. I learned the hard way that if you do not open those pores through etching or grinding, your leveler is essentially just sitting on top like a sticker with no glue. This mechanical bond is the secret sauce for anyone trying to achieve flawless floor leveling before tile laying. If the surface is as smooth as glass, even the best concrete primer will eventually lose its grip. You need to create what pros call a ‘profile,’ which feels a bit like fine-grit sandpaper, to ensure that leveler becomes one with the slab.
Is Etching Actually Worth the Mess and Effort?
I get it. You are already tired from hauling heavy bags and planning your layout. You want to get to the fun part where you see that liquid gold flow across the room to create a flat surface. But according to the International Concrete Repair Institute (ICRI), the vast majority of coating and leveler delamination occurs because the surface profile did not meet the necessary ‘CSP’ (Concrete Surface Profile) rating. It is the difference between a floor that lasts thirty years and one that ruins your tile installation in three months. Early in my career, I mistakenly thought primer was a magic eraser for poor prep work. It is not. Whether you are prepping for new hardwood floors or just trying to fix a dip, etching is the only way to be certain your hard work stays where you put it. Have you ever had a patch of leveler or a single tile pop up unexpectedly after you thought the job was done? I would love to hear your horror stories—or your wins—in the comments below. Let’s make sure your next pour is your last one for that room.
Clean the Slab Before You Even Think About Acid
Before a single drop of acid touches the ground, you must strip away every trace of surface contaminants. Oil spots are the absolute enemy of a good bond. I once tried to level over a tiny transmission fluid leak in a client’s garage, thinking the acid would simply eat through the grease. I was wrong. The leveler bubbled and eventually peeled off like a bad sunburn because the oil created a microscopic barrier. To avoid this, use a heavy-duty degreaser and a stiff-bristled brush to get the slab as naked as possible. This prep work is non-negotiable for anyone learning how to prep a concrete slab for glue down hardwood or high-end tile. If water beads up on the surface instead of soaking in, you still have work to do.
The Muriatic Acid Dance for a Perfect Grip
When the floor is clean and damp, it is time for the etch. The industry standard is typically a diluted muriatic acid solution, usually one part acid to ten parts water. Always add the acid to the water, never the other way around, unless you enjoy dangerous chemical splashes. Think of this mixture as a liquid sandpaper. When you pour it onto the concrete, it should immediately sizzle and foam. That sound is the chemical reaction opening up the pores of the slab. If you do not see that reaction, your concrete likely has a hidden sealer, and you will need to pivot to mechanical grinding. This is one of the most overlooked mastering floor leveling techniques. Without that reaction, you are just pouring expensive water on the floor. 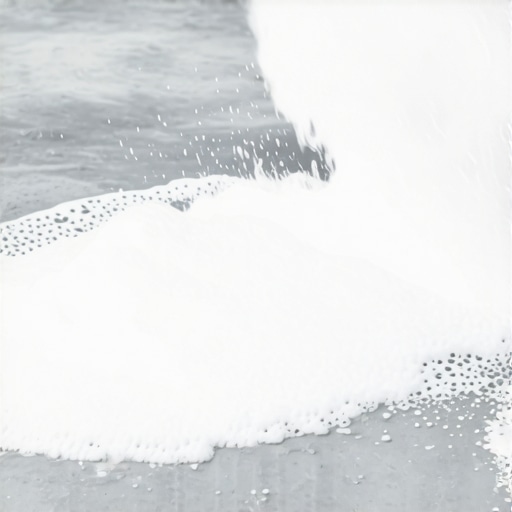
Neutralize the Chemical Reaction or Watch the Leveler Fail
The biggest mistake I see DIYers and even some pros make is failing to neutralize the acid. Acid is a hungry substance; if you do not stop the reaction with a mixture of baking soda and water, the residual chemicals will continue to eat into your new floor leveling compound from the bottom up. I once rushed this step in a small laundry room and within months, the leveler started to crumble into a fine powder. It was a total loss. You need to rinse the floor at least three times: once with the neutralizing solution and twice with pure, clear water. This ensures a pH-neutral surface that won’t fight against your concrete primer.
Verify Your Work with the Water Drop Test
Once the floor is dry, do not just assume it is ready. Use the water drop test to confirm you have achieved the right profile. Flick a few drops of water onto different areas of the slab. If the water disappears into the concrete within 30 to 60 seconds, you have successfully opened the pores. If it sits there like a bead on a freshly waxed car, you need to etch again or consider a more aggressive mechanical approach. Getting this right is the difference between a floor that lasts decades and one that becomes another entry in the list of flooring installation mistakes to avoid for lasting results. Proper etching creates the mechanical ‘teeth’ needed to ensure your leveler stays exactly where you put it, preventing the dreaded hollow sound later on.Most DIYers—and even a fair share of contractors—think that if they buy a product labeled ‘waterproof,’ they’ve basically bought an insurance policy against moisture. This is a massive misconception. A ‘waterproof’ laminate or luxury vinyl plank simply means the material itself won’t degrade when wet. It does absolutely nothing to protect the subfloor underneath from hydrostatic pressure or capillary action. If you’re working in a below-grade space, understanding why your basement floor needs a moisture barrier even if it feels dry is the most important lesson you’ll ever learn. I’ve seen beautiful floors buckle and mold because the installer took the ‘waterproof’ label as a license to skip a $50 roll of 6-mil poly. You should not rely on waterproof labels for laminate without checking the manufacturer’s technical data sheet first.
Don’t Let the Waterproof Label Fool You
The ‘Oops’ factor often comes in the form of what we call ‘pinholing’ or ‘ghosting.’ You pour your leveler, it looks like a glass lake for ten minutes, and then suddenly, hundreds of tiny craters appear. This happens because air is escaping from the concrete slab and getting trapped in the curing compound. If you didn’t seal the slab properly with a high-quality primer, you’ll end up with a surface that looks like a topographical map instead of a flat floor. Knowing how to prevent ghosting marks on your self-leveling finish is a master-level skill. It’s not just about the pour; it’s about the prep work you did hours before the bags were even opened. 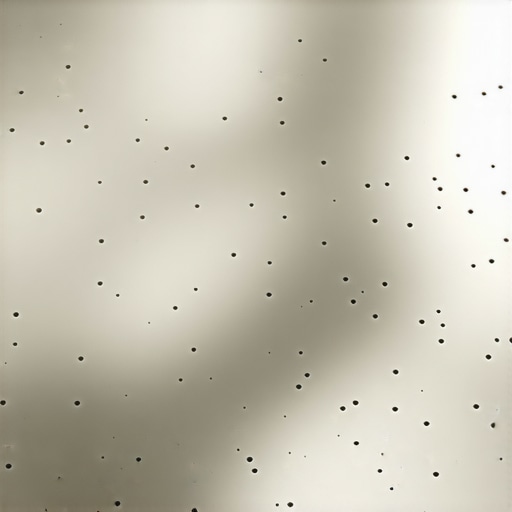
The Tiny Bubbles That Signal a Big Disaster
Another common myth is that you can simply ‘spot-level’ a floor and expect the transitions to be seamless. In reality, unless you are using a feather-finish compound designed for thin applications, those edges will eventually crumble under the weight of foot traffic. This is a recurring theme in floor leveling challenges common mistakes and how to avoid them. You can’t just slap down a patch and hope for the best; you have to consider the ‘taper’ and how the final floor covering will bridge that gap. Any seasoned pro will tell you that skipping the full floor pour to save three bags of compound is one of the most frequent flooring installation mistakes to avoid for lasting results.
How Do You Manage Expansion When the Subfloor Moves?
This is where the real experts separate themselves from the crowd. According to the Tile Council of North America (TCNA) Handbook, expansion joints are non-negotiable for large tiled areas, yet they are the first thing people skip because they think they look ‘ugly.’ If you have a run longer than 25 feet, or even less if there’s direct sunlight hitting the floor, that tile is going to grow and shrink. Without a soft joint, it will eventually tent or crack. This is especially true if you are dealing with thermal expansion; for instance, knowing why your floor leveler is cracking over radiant heat pipes can save you from a complete tear-out. Before you commit to your next layout, always use a moisture meter to prevent floor failure. It’s a simple tool that can save a project worth thousands. I’ve seen slabs that looked bone-dry register at 90% relative humidity. If you ignore those numbers, your adhesive will eventually emulsify, and your floor will lose its bond. Have you ever fallen into the trap of trusting your eyes over a testing tool? Let me know in the comments—I’ve been there, and I know how much it hurts to see a project fail. It’s time we stop guessing and start measuring to ensure the ultimate guide to floor leveling for a perfect finish actually results in a floor that stays flat for a lifetime.If you want to stop guessing and start getting professional results, you need to ditch the standard flat trowel for a gauge rake. I personally use a rake with adjustable pins because it allows me to set the exact depth of the pour across the entire room. When you are trying to achieve flawless surfaces, consistency is the only thing that saves you from high spots that require grinding later. Pair that rake with a spiked roller. Most people think the roller is just for bubbles, but it actually helps the leveler knit together across the different batches, which is essential for flooring installation fundamentals leveling for a seamless look. According to the NWFA (National Wood Flooring Association) Technical Manual, subfloor flatness for nail-down wood should not deviate more than 3/16-inch in a 10-foot radius. Without these specific tools, hitting that spec is a nightmare. 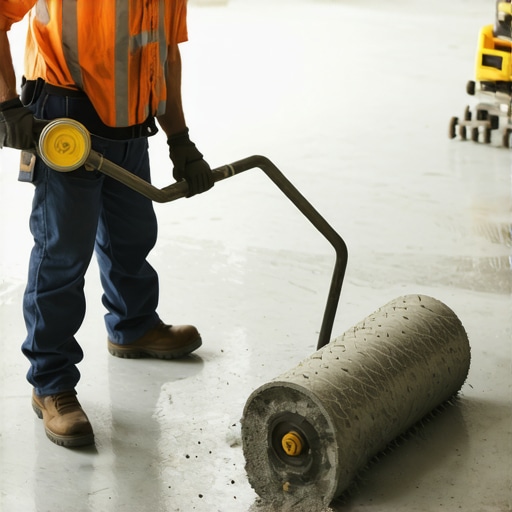
Invest in a Tramex Moisture Meter Today
I cannot stress this enough: your eyes are lying to you. A slab can look bone-dry on the surface while holding a reservoir of moisture deep inside. I use the Tramex MEP because it’s non-destructive and gives me an instant reading before I commit to a pour. If the moisture is too high, your ultimate guide to floor leveling becomes a guide on how to grow mold. This tool is how you ensure the longevity of elegant hardwood floors or expensive LVP. If you are doing this for a living, or even just for a high-stakes home remodel, this is the one tool that pays for itself in avoided repairs. I’ve seen installers lose thousands because they didn’t know how to use a moisture meter to prevent floor failure.
How do I keep my leveled floor from cracking over time?
Maintenance starts the second you finish the install. I’ve seen people spend a fortune on mastering hardwood floor refinishing only to ruin the subfloor bond by using a steam mop a month later. High-end floors need a stable environment. This means managing your HVAC system to prevent the subfloor from expanding and contracting too aggressively. If you’re wondering how to stop a plywood subfloor from delaminating, it usually comes down to consistent humidity control. For long-term shine and structural integrity, follow the hardwood floor care secrets to longevity and shine: use a dedicated microfiber mop and a pH-neutral cleaner—never reach for the vinegar or bleach.
The Future of Precision Floor Mapping
In the next few years, I expect we will see more DIY-friendly digital floor scanners that sync with your phone to map low spots with 1mm accuracy. We are already seeing laser technology move from high-end commercial sites to the home-tool aisle, much like the laser level move for perfectly straight hallways. This technology will make the old ‘chalk and string’ method look like stone-age tech and will significantly reduce floor leveling challenges and common mistakes. If you want to stay ahead of the curve, I highly recommend trying the wet shimming move for tiles on a sloped drain for your next bathroom project—it is a game changer for getting that perfect pitch without the struggle.
The Most Painful Lesson I Learned About Skimping on Slab Prep
After years of trial and error, I have realized that the ‘clean enough’ trap is where most projects die before they even begin. I used to think that if I could not see oil or grease with my own eyes, the slab was ready for a pour. Now, I never trust my vision alone. I always perform a water drop test because it tells the truth that a broom simply cannot see; if the water does not soak in, your leveler will not bond. Another big shift in my workflow was respecting the chemistry of the process. If the acid solution does not sizzle and foam on contact, your concrete is essentially wearing a raincoat of old sealer, and your leveler is just a wet blanket sitting on top. Lastly, remember that the clock starts the second the bag hits the water. Having a helper is not a luxury—it is the difference between a glass-smooth finish and a floor full of ridges. These are the core flooring installation mistakes to avoid for lasting results that I see most often in the field. #IMAGE_PLACE_HOLDER_E#
Reliable Gear for Your Next Project
I personally swear by the Tramex MEP moisture meter; it is the only way to be one hundred percent sure you are not sealing in a moisture disaster that will cause delamination later. I also highly recommend keeping a digital copy of the TCNA Handbook on your phone if you are planning to lay tile; it is the industry bible for a reason and provides specific specs for every substrate imaginable. For the actual pour, do not settle for a standard flat trowel. Invest in a professional gauge rake with adjustable pins to ensure your material depth is perfectly consistent across the entire room. Also, while you are planning your home renovation, it is worth learning how to choose flooring that wont kill your indoor air quality to ensure your new space is as healthy as it is flat and beautiful.
Go Beyond the Surface for a Lifetime Finish
Floor prep might be back-breaking and tedious, but it is the soul of your home’s interior longevity. When you take the time to etch, neutralize, and measure the moisture, you are not just pouring compound—you are building a rock-solid foundation for the ultimate guide to floor leveling for a perfect finish. Do not let the fear of a messy process or a little extra chemical work stop you from doing it right the first time. Your future self, walking across a silent, perfectly flat floor for the next twenty years, will thank you for the extra effort you put in today. Follow this step-by-step guide to flooring installation and leveling success and you will never have to worry about that dreaded hollow sound under your feet. Have you ever had a self-leveling job go wrong because of a hidden sealer you did not know was there? Let me know your story in the comments below!