
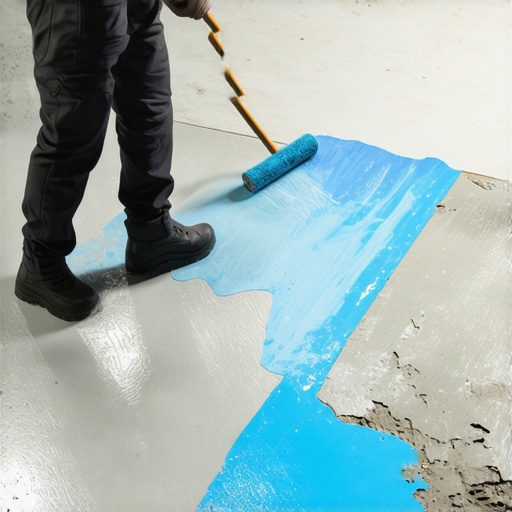
I’ll never forget the sound of that expensive self-leveling compound cracking under my boots just forty-eight hours after I poured it. I thought I was being smart, saving twenty bucks and an hour of my time by skipping the primer on a seemingly clean concrete slab. Instead, I spent the next three days with a demo hammer, sweating through my shirt and questioning my life choices. That day, I learned a lesson that every DIYer and pro needs to hear: concrete is a thirsty, porous beast that will ruin your hard work if you don’t treat it right first.
Stop Your Leveler from Failing Before It Starts
I’ve spent years honing my craft, but that one basement disaster taught me more than any manual ever could. When you pour leveler onto raw concrete, the slab acts like a giant sponge, sucking the moisture out of the mix far too quickly. This isn’t just about ‘sticking’; it’s about the hydration of the cement itself. If you’ve ever wondered why your self-leveling compound is cracking like a dry lake bed, the answer usually lies in that missing layer of primer. My biggest mistake early on was assuming that ‘clean’ meant ‘ready.’ It wasn’t. Even the cleanest slab has microscopic pores that trap air. Without primer, those air bubbles rise up through your wet leveler, leaving it looking like Swiss cheese.
Is a bottle of primer really worth the extra effort?
Absolutely. Beyond just preventing cracks, primer ensures that your step-by-step guide to flooring installation actually results in a surface you can walk on. According to the Tile Council of North America (TCNA) Handbook, proper substrate preparation is essential because the absorption rates of concrete can vary wildly depending on its age and finish. I’ve seen homeowners try to cut corners, but let me tell you, mastering floor leveling starts with the stuff you can’t even see once the job is done. Have you ever skipped a prep step only to have it come back and haunt you a week later? Tell me I’m not the only one who learned this the hard way! We’re going to dive into exactly how to apply this stuff so your next project stays solid for decades.
Seal the Leaks and Save Your Subfloor
I remember my first big bathroom remodel. I was so eager to get the tile down that I barely glanced at the subfloor’s structural integrity. I poured the leveler, it looked smooth, but I ignored the slight ‘give’ in the plywood near the tub. Fast forward a month: the grout lines started crumbling. I hadn’t bothered to check for subfloor flex before you lay rigid tile, and that expensive leveler just cracked under the pressure of every footstep. It was a $400 mistake in materials alone. Before you even touch a bag of compound, you need to know if your foundation is actually stable. I’ve seen guys pour three inches of leveler over bouncy plywood, thinking the weight would stabilize it. Spoiler: it doesn’t. You should always perform the 3-foot level test for checking subfloor flatness like a pro to identify the deepest valleys first. Once you know where the low spots are, use some foam or caulk to seal off any holes or gaps where the leveler could leak into the floor below—believe me, cleaning leveler off a ceiling or furnace in the basement is not how you want to spend your Saturday.
Stop the Dust Before the Pour
Next, address the surface tension. If you swipe your finger across the concrete and it comes up white, your leveler won’t stick properly. This is why your concrete subfloor is dusting and how to stop it before the primer goes down. Think of primer as the ‘glue’ that bridges the gap between the old, dry concrete and the new, wet leveler. Without it, the leveler will just sit on top like a loose scab.
Master the Two-Person Mixing Dance
The actual pour is a race against time. Self-leveler has a ‘working time’ of about 15 to 20 minutes. If you’re doing this alone, you’re already behind. I always advocate for the best way to mix self-leveler for a perfectly smooth surface: always add the powder to the water, never the other way around. Adding water to powder creates ‘islands’ of dry mix that will haunt your finish. You want a consistency like heavy cream—not watery, not peanut butter.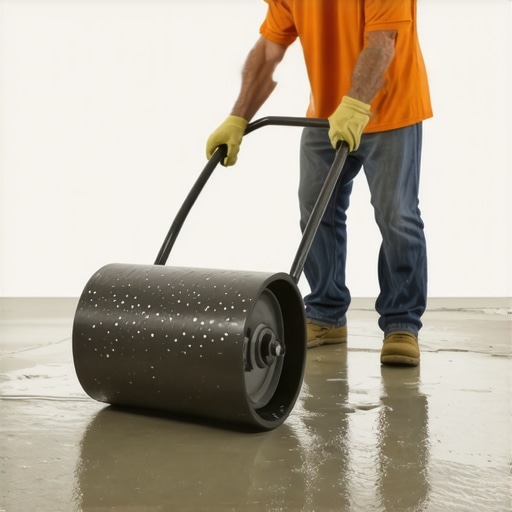
Ditch the Trowel and Use a Rake
Once the liquid hits the floor, stop treating it like mortar. You aren’t ‘smearing’ it; you’re guiding it. Use a gauge rake set to the desired depth to pull the material into the corners and valleys. Also, don’t forget that why you need a perimeter expansion gap for every room applies here too. If the leveler is locked tight against the walls, the natural movement of your house will eventually cause it to buckle. Use foam sill seal around the edges to give the floor room to breathe. Finally, use the flashlight test for checking floor flatness before glue once everything is dry. Lay a high-lumen flashlight flat on the floor; any shadows will immediately reveal if you need a second thin coat or if you’re ready for the tile.Let’s dig deeper into a nuance that even some seasoned contractors overlook: the myth of the ‘waterproof’ floor. I hear it every week. A homeowner buys a high-end luxury vinyl plank (LVP) because the box says it’s 100% waterproof, and then they assume the slab condition no longer matters. This is a dangerous trap. While the planks themselves won’t rot, moisture trapped between the slab and the flooring will breed mold and create hydrostatic pressure that can literally pop your seams open. I’ve walked into beautiful homes where the floors were ‘tenting’ because someone didn’t realize why your vinyl plank floor is bubbling near large windows or over a damp slab. You absolutely must perform the bucket test how to check your concrete slab for excessive moisture before you commit to the install. 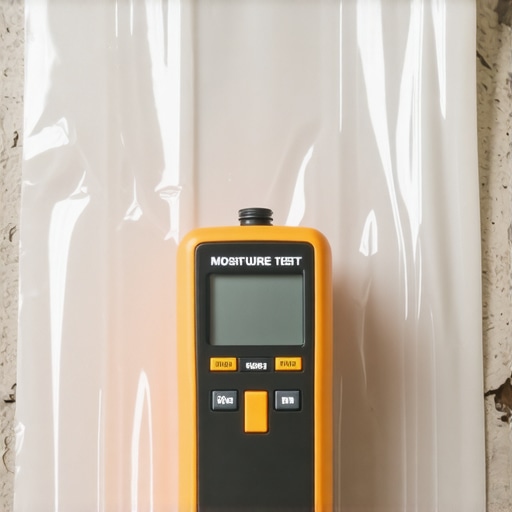
The Waterproof Myth That Ruins Modern Floors
Contrary to popular belief, a waterproof rating on your flooring material is not a license to ignore the substrate. In my years on the job, I’ve seen more failures from ‘trapped’ moisture than from actual floods. When you seal a damp slab with a non-breathable flooring, you are essentially creating a greenhouse for alkaline salts. According to the ASTM F2170 standard, which measures relative humidity within the concrete itself, failing to account for this vapor transmission can lead to adhesive failure and the degradation of the flooring’s core. This is one of those flooring installation mistakes to avoid for lasting results. If you skip the vapor barrier because you bought ‘waterproof’ vinyl, you’re setting a timer for a very expensive disaster.
Can you actually over-prime a porous concrete slab?
Yes, and it’s a mistake that even pros make when they are being ‘extra careful.’ Another sophisticated trap is the ‘over-priming’ paradox. You might think that if one coat of primer is good, three thick coats must be a fortress. In reality, if you allow the primer to puddle and dry into a thick, plastic-like film rather than soaking into the pores, it actually loses its bond to the concrete. This is a primary reason why your self-leveler is peeling off the concrete in sheets. The leveler isn’t sticking to the concrete; it’s sticking to a loose layer of dried polymer that will eventually delaminate under the weight of your furniture. Furthermore, if the primer isn’t completely dry, it can react with the compound, which is why your floor primer is making the leveler bubbling worse in certain spots. I’ve seen this happen in basements where the humidity was too high for the primer to flash off properly. It’s a frustrating cycle: you try to fix the dust, but you end up creating a skin that just peels away. These are the kinds of 7 mistakes that ruin your luxury vinyl plank installation before you even get to the first row. Have you ever fallen into this trap or noticed your leveler coming up in chunks? Let me know in the comments! Mastery in flooring isn’t just about the tools you use; it’s about understanding the invisible chemistry happening beneath your feet.
The Tool Belt Upgrades That Change the Game
After you’ve mastered the chemistry of primers and moisture, you need to look at your gear. For years, I used a standard ribbon mixer for my leveler, and I couldn’t figure out why I kept getting tiny pinholes in my finish. Then I switched to an ‘egg-beater’ style mixing paddle. This isn’t just about speed; it’s about shear. A high-shear paddle mixes the compound thoroughly without folding in excess air, which is the secret to a glass-like surface. If you’re serious about your craft, checking out the 7 tools you actually need for a professional DIY hardwood install will save you from the hardware store aisle confusion. I also never step onto a job site without a self-leveling cross-line laser. It’s the only way to truly visualize where your high spots are before you even crack a bag of mix. By projecting a level line across the room, you can see exactly where the floor dips more than an eighth of an inch, making your pour more strategic and less like guesswork.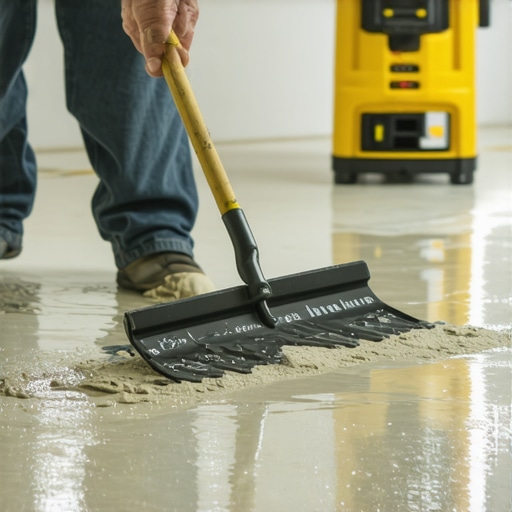
How do I maintain my floor’s finish over the long haul?
Maintenance starts the moment the last plank is clicked or the last tile is grouted. I’ve seen beautiful installs ruined in under six months by a single bucket of bleach water. For wood, you need to learn hardwood floor care secrets to longevity and shine. One golden rule I live by: why you should never use a steam mop on engineered wood floors. The forced heat and moisture can delaminate the layers and cloud the finish faster than you can say ‘warranty void.’ The National Wood Flooring Association (NWFA) explicitly warns in their technical documentation that excessive moisture and heat are the primary causes of finish failure and wood cupping. Use a microfiber mop and a pH-neutral cleaner specifically designed for your floor type—nothing else.
Future-Proofing Your Flooring Projects
Looking ahead, I’m seeing a massive shift toward ‘smart’ substrates. We are getting closer to self-leveling compounds that change color to indicate they are fully cured and ready for flooring, which will eventually eliminate the guesswork of moisture testing. For now, we rely on our tools and patience. If you’re tackling a big room, don’t forget the expansion joint secret for large tiled living areas to prevent future stress cracks as your house settles. I highly recommend you try that high-shear ‘egg-beater’ paddle on your next pour; the difference in the ‘creamy’ consistency is something you have to see to believe.
The Hard Truths About Subfloor Prep I Learned the Hard Way
If I could go back to that first basement disaster, I’d tell my younger self that patience is actually the fastest way to finish a job. I used to think I was saving time by rushing, but I was just delaying the inevitable failure. One major lightbulb moment for me was realizing that every bag of self-leveler is a living thing; it reacts differently to the temperature of your water and the humidity in your room. I’ve learned to always use cold water to extend my working time, especially in mid-summer. Also, never trust a ‘clean’ floor until you’ve vacuumed it twice and wiped it once. This attention to detail is what separates a professional result from a weekend headache.
Why Your First Pour is Your Best Teacher
Don’t be discouraged if your first attempts feel frantic. Mastering flooring installation fundamentals takes repetition. I’ve found that the biggest leap in quality comes when you stop fighting the material and start working with it. If you’ve done your prep, the leveler wants to be flat—your job is just to get it to the right corners. Remember that tile installation pointers that save time and money often come down to the simple act of slowing down during the pour to ensure no air is trapped.
The Gear That Lives in My Truck for Every Job
I don’t leave for a project without my ‘holy trinity’ of tools. First is a high-quality self-leveling cross-line laser; it is the absolute truth-teller when a subfloor looks ‘fine’ but is actually a roller coaster. Second, that high-shear ‘egg-beater’ paddle I mentioned earlier—it’s the difference between a chunky mix and a smooth pour. Finally, I always keep a copy of the TCNA Handbook or access to their digital guides. Even after decades, I still reference industry standards to ensure my flawless floor leveling stays within tolerance for the specific tile I’m laying. Investing in the right gear isn’t about spending money—it’s about buying peace of mind.
#IMAGE_PLACEHOLDER_E#
Your First Perfect Pour Awaits
Taking on a major flooring project can feel overwhelming, but once you break it down into primer, moisture control, and a steady mix, it becomes a sequence of manageable wins. You now have the insider secrets to avoid the cracking, peeling, and bubbling that plague so many DIY attempts. Your home deserves a foundation that is as solid as it is beautiful. Don’t let the fear of a mess stop you from achieving a professional-grade finish. Go grab your buckets, set your laser, and get to work. Have you ever faced a leveling nightmare that almost made you give up? Let me know in the comments below!