
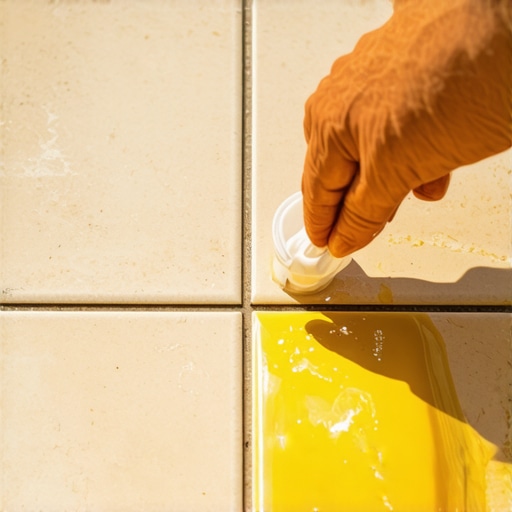
I remember sitting in my sun-drenched breakfast nook with a fresh cup of coffee, feeling incredibly proud of the charcoal-gray tile I’d just finished laying. Fast forward three months, and that deep, moody gray under the floor-to-ceiling windows had morphed into a sickly, sun-bleached beige that looked like it belonged in a dusty garage. It was devastating. I had spent so much time obsessing over the flashlight test for checking floor flatness, yet I completely ignored the giant ball of fire in the sky. Today, I am going to show you exactly how to prevent that solar-powered heartbreak and keep your grout looking like the day you mixed it.
The Sun is Literally Bleaching Your Floor
It is easy to forget that the same UV rays that give us a tan are busy breaking down the chemical bonds in your grout’s pigment. This is especially true if you are using standard cement-based products without the right additives. Early in my DIY journey, I made the massive mistake of thinking all grout was created equal. I grabbed the cheapest bag on the shelf, didn’t bother with a high-quality sealer, and paid for it with a floor that looked ten years old after one summer. You have to realize that the difference between sanded and unsanded grout isn’t just about the gap size; it’s about how that material holds up to environmental stress. According to the Tile Council of North America (TCNA), inorganic pigments are far more light-fast than organic ones, yet most homeowners don’t know which one they are buying.
Does UV-Resistant Sealer Really Work?
You might be skeptical. Can a clear liquid really block the sun? I used to think it was a marketing gimmick designed to squeeze an extra twenty bucks out of me. But after seeing my own work fade, I started testing high-end penetrative sealers with UV inhibitors. The difference is night and day. If you don’t protect the pigment, the sun will oxidize it, and no amount of scrubbing will bring that color back. Before you even think about sealing, you must ensure you mix grout so the color stays perfectly consistent from the start. If the mix is weak or overly watery, the structure is porous, making it an easy target for UV damage. Have you noticed your grout lines looking a little lighter in the sunny spots of your home lately? It might not be dirt—it might be the sun winning the battle. Let’s look at how we can win it back.
Pick Pigments That Can Handle the Heat
The first step in winning the war against the sun starts in the mixing bucket. If you are working in a room with heavy solar exposure, you must choose a grout formulated with high-quality, inorganic pigments. Unlike organic dyes that wither under UV light, inorganic oxides act like a mineral-based sunscreen for your floor. I once tiled a small sunroom in a deep forest green, thinking I was being smart by using a cheap, pre-mixed grout. By October, the area right under the glass door had faded to a sickly mint green, while the corners remained dark. It looked like a mossy rock that had been partially bleached by lye. I had to scrape out the top layer and redo the entire floor. To avoid this, ensure you understand how to mix grout so the color stays perfectly consistent from the start. Consistency isn’t just about aesthetics; it is about density. A weak mix is a porous mix, and a porous mix allows UV rays to penetrate deeper into the grout joint, accelerating the fading process. If you’re working on a sunny room, you should also be aware of why your vinyl plank floor is bubbling near large windows, as extreme heat affects every material in the room.
Seal the Deal with UV Blockers
You cannot rely on the grout’s internal chemistry alone. You need a physical barrier. Most standard sealers are designed to repel water and oil, but they do nothing to stop the sun. You need to look for a high-performance penetrative sealer specifically labeled with UV inhibitors. Think of this like clear-coat on a car; it takes the beating so the paint doesn’t have to. Before you even think about sealing, though, your prep work has to be perfect. If your floor isn’t flat, you’ll end up with ‘pooling’—where the sealer sits too thick in low spots and too thin on high spots. I always recommend using the flashlight test for checking floor flatness before glue or grout. If the surface isn’t uniform, the sealer won’t be either. For those starting from scratch, mastering how to achieve flawless floor leveling before tile laying is the only way to ensure those grout lines are deep and consistent enough to hold the protection they need.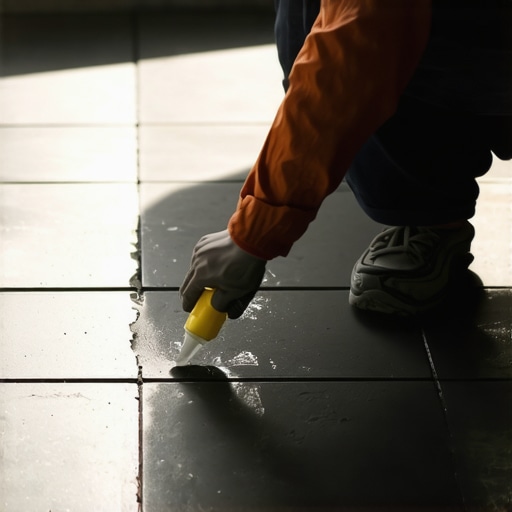
Keep Your Scrubber Away from the Bleach
The most common way people accidentally destroy their grout’s UV resistance is by cleaning it with the wrong chemicals. If you stop using bleach on your grout before you read this, you might actually save your color. Harsh chemicals like bleach and ammonia strip away the protective sealer you just applied, leaving the raw pigment exposed to the sun’s rays. Similarly, the vinegar mistake why it destroys your tile grout is a real threat; the acid in vinegar eats into the cementitious structure of the grout, making it even more susceptible to solar oxidation. Instead, use a pH-neutral cleaner. Proper flooring installation fundamentals leveling for a seamless look means your grout lines are tight and flush, which naturally makes them easier to clean without needing aggressive chemicals. By maintaining the structural integrity of the grout, you are indirectly protecting the color from the daily assault of the sun.
Self-Leveling Compounds Won’t Do All the Work
Most DIYers and even some pros assume that ‘self-leveling’ means you can just dump the bucket and walk away while physics handles the rest. In my years of fixing botched jobs, I have found that ‘self-leveling’ is a massive misnomer. If you don’t help the material move, it will settle into a series of interconnected puddles rather than a flat plane. You need a gauge rake and a spiked roller to truly break the surface tension and release trapped air. I have seen countless homeowners wonder why your self-leveling compound is cracking like a dry lake bed, and often it is because they over-watered the mix trying to make it ‘run’ better. To get it right, you must follow precise floor leveling techniques to achieve flawless surfaces, which includes mechanical agitation. According to the National Wood Flooring Association (NWFA), a floor must be flat within 3/16 of an inch over a 10-foot radius for most hardwood installations, yet most people stop as soon as the floor ‘looks’ flat to the naked eye. 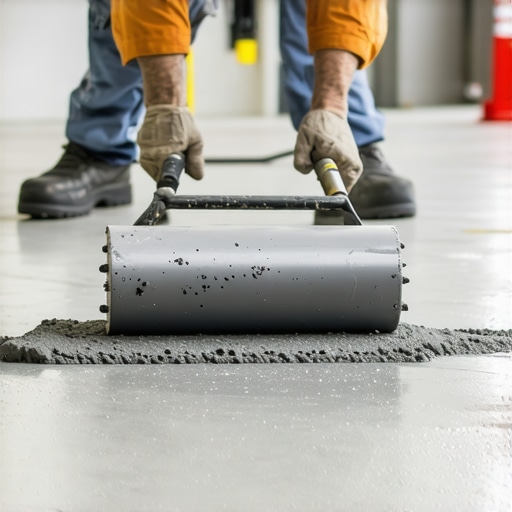
The Moisture Trap That Destroys Everything
Here is a nuance that even seasoned contractors miss: the concrete slab is a living, breathing sponge. I once worked on a project where the leveler looked perfect for two weeks, only to start popping off in giant sheets once the hardwood was installed. The culprit? We didn’t perform a proper moisture test. If the slab is emitting too much vapor, it will push the leveler right off the surface. You must use the bucket test how to check your concrete slab for excessive moisture before you even open a bag of compound. Failing to do this is a recipe for a total floor failure. Before you pour, make sure you know the 3-foot level test for checking subfloor flatness like a pro so you aren’t over-applying material in areas that don’t need it.
Why did my leveling primer peel off the concrete?
This is the ultimate ‘advanced’ frustration. Usually, it is because of ‘laitance’—a weak, milky layer of cement dust on the surface of the concrete. If you prime over that, you aren’t bonding to the slab; you are bonding to dust. You often need to mechanically grind the surface to open the pores of the concrete. If you ignore this, you’ll find why your leveling primer is peeling off the concrete the hard way—usually mid-pour. To ensure the best bond, always look into the best way to mix self-leveler for a perfectly smooth surface, which includes a two-minute ‘slake’ time that many people skip. Have you ever fallen into this trap or had a leveling project go south? Let me know in the comments.I have a confession: I used to be a tool snob who thought high-end gear was just for people with too much money. Then I tried to level a 400-square-foot living room with a regular garden rake and a dream. It was a total disaster. Now, I do not start a job without my 24-inch gauge rake. Unlike a flat squeegee, a gauge rake has adjustable depth settings that ensure you are leaving exactly the right amount of material behind. I prefer the Midwest Rake brand because the cam-set system does not slip mid-pour, which is a nightmare when you are racing against the clock. This is the difference between a floor that is ‘mostly flat’ and one that meets the mastering floor leveling pro secrets for perfect installations standards. I also swear by the spiked roller. It is not just for popping bubbles; it breaks the surface tension of the self-leveler, allowing it to knit together seamlessly into a glass-like finish. If you are struggling with a wavy surface, you might be making one of the flooring installation mistakes to avoid for lasting results by skipping these mechanical aids.
How do I maintain my floor’s level and finish over the years?
Once the leveler is down and the tile or wood is in, the work does not stop. For hardwood, maintenance is all about humidity control. I keep a hygrometer in my main living space to ensure the air stays between 30% and 50% humidity. If it drops too low, the wood shrinks and you will eventually need to know how to repair a loose hardwood plank without tearing up the row. For tile, it is about the integrity of the sealer. You should re-apply a high-quality UV-blocking sealer every two to three years in high-sun areas. This prevents the heartbreak of fading I mentioned earlier. You also need to follow hardwood floor care secrets to longevity and shine by using microfiber mops instead of abrasive brushes that can micro-scratch the finish over time. 
Looking Ahead to the Future of Flooring
I predict we are moving toward ‘smart’ self-leveling systems—compounds that use specialized polymers to virtually eliminate shrinkage and cracking regardless of the subfloor’s movement. We are already seeing this with high-performance fiber-reinforced levelers hitting the market. Also, expect to see more large-format porcelain slabs that require absolute subfloor perfection. If you are not already using precise floor leveling techniques to achieve flawless surfaces, these 4×8 foot tiles will be impossible to install. The margin for error is shrinking every year, and we might even see laser-guided leveling robots within the next decade. According to the NWFA Wood Flooring Installation Guidelines, even minor deviations in subfloor flatness can lead to structural noise and premature finish wear. I challenge you to try the ‘pencil scribe’ trick next time you hit a stone transition; it is a game changer for a professional look. Check out the pencil trick for scribing wood planks against stone fireplaces to see what I mean. Do not just settle for ‘good enough’—your future self will thank you when those floors still look brand new years from now.
Why I Stopped Blaming the Sun for My Faded Grout
After years of trial and error, I realized that fading isn’t an act of God—it is a choice of material. If you want a floor that looks the same in five years as it does today, you have to prioritize inorganic pigments. These mineral-based oxides are fundamentally more stable than the organic dyes found in discount grout bags. I also learned that the biggest threat to your sealer isn’t just the sun, but the friction of dirt. Tiny particles of sand act like sandpaper under your feet, grinding away the UV-protective layer until the raw grout is exposed. Finally, I discovered that achieving flooring installation fundamentals leveling for a seamless look is the only way to prevent the micro-cracking that allows moisture and UV rays to attack the grout from the sides.
The Tools That Changed Everything for My Workflow
I don’t go onto a job site without my Midwest Rake cam-set system anymore. While a regular squeegee relies on your hand’s steady pressure, the cam-set ensures the depth is locked in, which is vital when you are following mastering floor leveling pro secrets for perfect installations. I also highly recommend a Govee WiFi Hygrometer; it sends alerts to your phone if the humidity in a room spikes, allowing you to protect your hardwood before it warps. For those who want the definitive word on tile, the TCNA Handbook is my personal bible. It contains every technical detail needed for a fail-proof install, ensuring you are always installing tiles like a pro.
Go Forth and Conquer Your Next Floor Project
Mastering the complexities of flooring installation isn’t about getting lucky; it’s about following a proven system and respecting the chemistry of your materials. Whether you are prepping for a sunny sunroom or leveling a wonky kitchen floor, your focus on the details today will pay dividends for decades. You now have the blueprint for a step-by-step guide to flooring installation and leveling success. Don’t let the fear of a “bad pour” or a “faded line” stop you. Use the right tools, test your moisture, and always, always protect your work from the sun. Have you ever noticed your grout changing color only in the sunniest parts of your home? Let me know your experience in the comments below!