
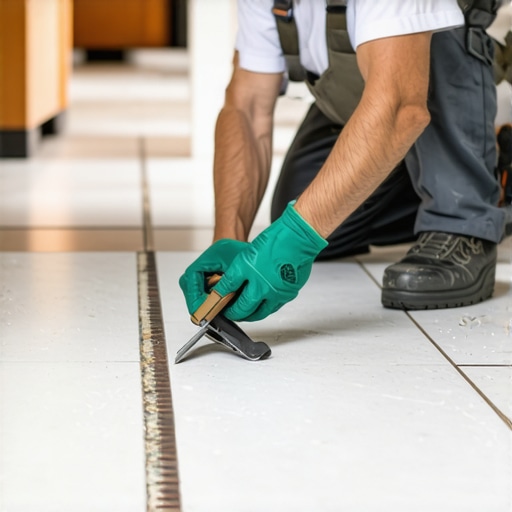
I remember the first time I installed a beautiful new tile floor in my kitchen. Everything looked perfect until a few weeks later when I noticed that some tiles wobbled suspiciously underfoot, and others had tiny ridges where they didn’t quite align. My heart sank. It was a classic case of tile lippage, and honestly, I felt like I had failed. I didn’t want to rip up the entire floor — that seemed extreme and costly. But I also couldn’t live with uneven tiles that made my home look poorly finished.
Discovering a Smarter Way to Handle Tile Lippage
If you’ve ever faced this frustrating issue, you’re in good company. Tile lippage — the height difference between adjacent tiles — can be a real headache, especially when you want a clean, seamless surface without tearing up your whole floor. The good news is, there are practical tricks and techniques that can help you correct this problem effectively, even after the fact. Today, I’ll share my experience and guide you through fixing tile lippage without destructive measures so you can enjoy that perfect floor finish you’re after.
Is It Really Worth Fixing Without Ripping Up the Floor?
Many folks assume that correcting tile unevenness requires starting from scratch. I used to think so, too, until I made a costly mistake early on. I once tried to grind down the high spots with a sander, which made the problem worse by cracking some tiles. That taught me a vital lesson: understanding the root cause and applying the right fix is key. According to flooring specialist experts, avoiding unnecessary demolition not only saves money but also time, and it preserves the integrity of your entire installation.1 So, yes, fixing tile lippage without tearing up your floor is not just possible — it’s often the smarter choice.
Now, if you’re tired of looking at uneven tiles or feeling unsure about how to handle this, stick around. I’ll walk you through proven methods and share tricks I’ve picked up along the way—so you won’t have to suffer through a crooked floor any longer.
Level the Surface Before Reapplication
Start by assessing the highest and lowest spots using a long spirit level or a straightedge. I once grabbed a 4-foot level and placed it across the uneven tiles; this revealed the exact high and low points. To bring the tiles to a consistent height, you can use a self-leveling compound for minor dips, following the steps outlined in floor leveling guide. Pour and spread the compound evenly on the low areas, ensuring you avoid creating new ridges. Wait for the compound to cure fully before proceeding to the next step.
Use Resealing Techniques for Minor Lippage
Applying Thinset with a Notched Trowel
This method worked wonders in my recent project. Remove the problematic tiles carefully, then mix fresh thinset mortar. Spread a layer onto the subfloor or back of the tile using a notched trowel—preferably a 1/4-inch V-notch for larger tiles. Press the tile back into place with a slight twisting motion to squeeze out excess mortar. Adjust the tile until it’s flush with adjacent surfaces, checking with a level along multiple axes. This process is akin to tightening a loose screw on a piece of furniture; it restores stability without disturbing the whole assembly. Ensuring proper primer and well-mixed mortar minimizes gaps and prevents future lippage issues. For detailed instructions, visit flooring installation tips.
Fill Gaps and Ridges with Epoxy or Specialized Grout
Small ridges between tiles can be filled with epoxy resin or a flexible grout designed for uneven surfaces. I recommend mixing a small batch and applying it with a silicone spatula, pressing it into the gap. Once cured, smooth the surface with a damp sponge or fine-grit sandpaper to match the tile surface. This technique is like filling in cracks on a road; it restores the aesthetic and prevents debris accumulation. For a seamless finish, consider matching the grout color to the tile or using a contrasting shade for aesthetic emphasis. This approach is especially effective when restoring older tiles that have shifted slightly over time.
Adjust the Subfloor for Major Issues
When lippage stems from a bouncy or uneven subfloor, secondary measures might be necessary. Using a concrete shims or plywood shims can create a flat platform for tiles, similar to levelling a uneven table before placing a glass. Insert shims beneath loose or uneven sections, then secure with screws, making sure the surface is as flat as possible. This process is critical in preventing future lippage and prolonging the lifespan of your flooring. For detailed guidance, consult flooring leveling resources.
Final Touches: Seal and Protect
After all corrections, sealing the tiles and grout prevents moisture ingress and future shifts. Apply a high-quality penetrating sealer, paying special attention to grout lines. This step is like applying a protective coat over a painted surface; it preserves your work and maintains aesthetic appeal. Regular maintenance, including cleaning with gentle solutions, will keep the surface smooth and even for years to come. Remember, fixing tile lippage is a matter of patience and precision—each step carefully executed brings your floor closer to perfection.
Even seasoned DIY enthusiasts and professional installers alike can fall prey to misconceptions that undermine their projects. One common myth is that perfect flooring hinges solely on choosing the right materials; in reality, the subtle nuances of preparation and execution often dictate success. For instance, many assume that unlevel subfloors are negligible, but neglecting to address unevenness can lead to persistent lippage and premature tile failure. A statistic from flooring experts reveals that over 70% of lippage issues originate from subfloor inconsistencies, emphasizing the importance of meticulous surface preparation.
Are You Overlooking the Hard-to-Spot Mistakes?
One sneaky mistake that even experienced installers make involves misjudging the moisture content of substrates. Using a standard moisture meter without calibrating it properly can give false readings, leading to inadequate curing or bonding issues down the line. According to industry research, improper moisture testing accounts for a significant percentage of tile cracks and grout failures within the first year of installation.
Another often overlooked detail is the significance of correct trowel selection. Contrary to popular belief, larger tiles don’t always require larger notched trowels; instead, the key lies in matching the notch size to the tile’s size and the substrate’s texture. Using a too-large notch can cause excessive thinset, leading to uneven surfaces, while too small can result in insufficient adhesion—both culprits of future tile debacles. Experts recommend referring to specific guidelines, such as those found here.
Precise leveling is another area where misconceptions abound. Many believe that a quick check with a regular level is enough—even in large formats—but subtle undulations are often invisible to the naked eye. Advanced methods involve laser-guided leveling tools or straightedge assessments spanning multiple points. Skipping this step can result in stubborn lippage and aesthetic flaws, especially with high-end hardwoods or large-format tiles. Mastering this nuance can elevate your installation from good to professional-grade. For detailed techniques, look into this resource.
Don’t forget the myth that all adhesive products are interchangeable. In truth, the choice of thinset mortar or adhesive should be driven by factors like ambient temperature, substrate type, and tile material. Using the wrong adhesive can cause issues like delamination or cracking, especially in areas with temperature fluctuations or moisture exposure. Experts advise consulting product datasheets and adhering to manufacturer recommendations to avoid costly errors.
Being aware of these hidden nuances not only saves you money but also ensures a durable, flawless finish. What’s more, recognizing and avoiding these common pitfalls can significantly reduce the need for retouching or rework later on. Want to learn more about professional flooring techniques? Check out this guide for advanced methods and insider tips. If you ever find yourself questioning your approach, remember that detailed planning and attention to detail are your best allies. Have you ever fallen into this trap? Let me know in the comments.
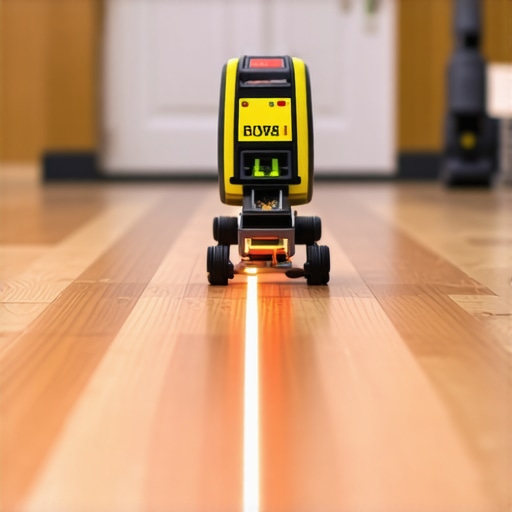
Achieving and maintaining flawless tile and hardwood floors requires more than just skill — it hinges on having the right tools and understanding their specific applications. From leveling systems to moisture detection devices, investing in quality equipment ensures long-term durability and saves you time and money. One indispensable item I recommend is a laser level, which has revolutionized how I approach floor leveling projects. Unlike traditional bubble levels, laser levels project a straight, precise line across large surfaces, making it easier to identify uneven areas and establish accurate reference points. For instance, during a recent hardwood installation, I used a cross-line laser level to verify the flatness of the subfloor before laying the planks, drastically reducing the likelihood of future cupping or gaps.
Another tool I swear by is a high-quality moisture meter. Proper moisture content in substrates and hardwoods is critical for long-term results, yet many overlook this step. I personally prefer a pinless moisture meter because it provides quick, non-destructive readings across multiple points, allowing me to assess humidity variations without damaging the surface. Ensuring the moisture level aligns with industry standards, such as those outlined in this comprehensive guide, is vital to prevent issues like warping or cracking down the line.
For precise tile placement, I rely on a professional grade notched trowel, often a 1/4-inch V-notch, chosen specifically because it offers optimal thinset coverage. Not all trowels are created equal, and selecting the right one can prevent lippage and ensure proper adhesion, especially on larger tiles. When combined with a quality rubber float for grout application, these tools help achieve a seamless, professional look that endures years of foot traffic and moisture exposure. Incorporating these tools into your workflow is a game-changer and lays the foundation for long-lasting results.
Looking ahead, I predict technological advancements like smart moisture sensors and automated leveling systems will become more accessible, streamlining the installation process even further. These innovations will not only boost precision but also help identify potential issues early, heading off costly repairs.
How do I keep my floors in top shape over time?
Routine maintenance is key. Regularly inspecting for signs of unevenness or moisture problems and promptly addressing them with the right tools can extend the lifespan of your floors dramatically. For hardwoods, gentle cleaning with pH-neutral solutions and applying protective coatings will maintain their shine and structural integrity. For tiles, sealing grout lines annually and cleaning with non-abrasive cleaners prevent staining and cracking. Small investments in quality tools and proactive upkeep are your best defense against deterioration. If you’re eager to master these maintenance routines, check out this expert guide for detailed tips and product suggestions.
Finally, don’t underestimate the power of proper documentation and planning. Using laser levels to mark your layout before installation and moisture meters to verify conditions can save countless hours down the road. Ready to elevate your flooring game? Try incorporating a laser level into your next project — you’ll wonder how you ever managed without it.
Lessons that Turn Challenges into Wins
One of the most valuable lessons I learned is that patience and meticulous planning outperform rushed attempts, especially when dealing with tile lippage. Small missteps, like neglecting subfloor preparation, can snowball into costly fixes later. I’ve found that taking my time to assess every layer—subfloor, moisture levels, and surface flatness—prevents unnecessary headaches. Additionally, understanding that no single fix is a magic bullet pushes me to combine techniques—like leveling compound, thinset adjustments, and sealing—for a durable, seamless finish. Lastly, embracing a continuous learning mindset, such as staying updated with industry resources, makes me more confident in tackling complex flooring projects, transforming frustration into satisfaction.
Tools and Tricks That Elevate Your Flooring Game
Over the years, certain tools have become indispensable in my arsenal. A laser level, for example, is a game-changer for ensuring straight and even tile layouts—something that standard bubble levels can’t match. I trust professional leveling secrets because they provide insights into precision techniques that prevent future issues. A quality moisture meter is equally critical, helping me verify ideal conditions before proceeding, thus avoiding problems like warping or grout failure. Combining these with a good notched trowel and high-quality epoxy grout creates a winning workflow that results in long-lasting, visually stunning floors.
Your Turn to Transform Spaces with Confidence
Remember, tackling tile and hardwood flooring isn’t just about following steps—it’s about embracing craftsmanship, patience, and continuous improvement. With the right mindset and tools, you can turn a challenging project into a source of pride. Whether you’re fixing lippage in an existing floor or planning a new installation, every successful step boosts your confidence and elevates your space. Don’t shy away from experimenting and learning; each project is a chance to refine your skills and create something beautiful. Ready to take the plunge and make your flooring dreams a reality? Share your thoughts or questions below—I’d love to hear about your experiences and help you get started on your next project.