
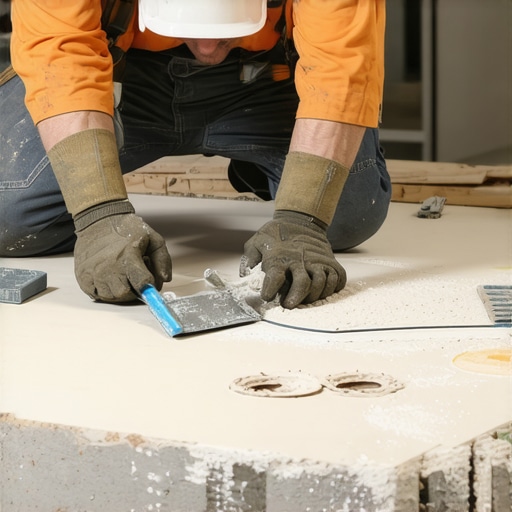
This one time, I was halfway through a flooring project when I noticed something that made my stomach sink. A tiny pinhole in the self-leveling underlayment had appeared, disrupting the otherwise smooth surface I had worked so hard to perfect. That small flaw seemed insignificant at first, but I knew if left unattended, it could lead to cracks, uneven tiles, and costly repairs down the line. My lightbulb moment? Realizing that these tiny pinholes aren’t just cosmetic—they’re sneaky culprits of bigger problems, especially if you’re aiming for flawless floors. Are you tossing tiles over a surface riddled with invisible flaws, unaware of the tiny pinholes that could be sabotaging your efforts?
The Impact of Tiny Holes on Your Floor’s Longevity
Those little pinholes in your self-leveling underlayment might look innocent, but they can act like silent villains in your flooring story. When moisture seeps through or air pockets form, they weaken the overall structure, leading to cracks, warping, or uneven surfaces that ruin the visual appeal and durability of your flooring. Ignoring these small imperfections can cost you in repairs and replacements sooner than you’d like. Fortunately, understanding why these pinholes occur and how to seal them effectively can save you time, money, and headaches in the long run. For detailed insights into common installation pitfalls, check out this guide on flooring mistakes to avoid.
Is Repairing Pinhole Flaws Worth the Effort?
Honestly, I used to think patching up surface imperfections was just extra work. My early mistake? Not investing enough time in preparing the substrate properly. I skipped the crucial step of thoroughly cleaning and priming the surface before pouring the underlayment, which made pinholes more likely. Now I know better, and so do my floors. Proper preparation and sealing can extend the life of your flooring and save you from revisiting the job in a few years. Want to learn how to fix those pesky pinholes efficiently? Stick with me—I’m about to share the insider tips that made my floor look perfect and stay that way.
Prep the Surface for a Flawless Finish
Start by thoroughly cleaning the area around the pinholes with a stiff-bristled broom or vacuum to remove dust, debris, and loose particles. Use a damp cloth to wipe the surface and let it dry completely. This step is crucial because any dirt or moisture can prevent the patching material from adhering properly, leading to future cracks or reappearances.
Choose the Right Sealant or Patching Compound
Opt for a high-quality, self-leveling patching compound or a specialized primer designed for underlayment repair. In my experience, a primer with a fine tip applicator makes sealing tiny pinholes more precise and less messy. When I repaired a project last summer, I found that using a quick-setting epoxy mixed to a thin consistency worked well for small imperfections, providing a durable, smooth surface.
Apply the Sealant Precisely
Use a fine-tipped spatula or a syringe to carefully fill each pinhole with the chosen compound. Avoid overfilling; just a thin layer that fills the hole is sufficient. If you’re dealing with multiple pinholes, work systematically to prevent gaps or overlaps. My secret? I divided the area into sections and completed each before moving on, ensuring consistency and avoiding drips. This meticulous approach resulted in a surface that looked almost untouched after curing.
Ensure Proper Curing and Surface Preparation
Allow the patched areas to cure fully, according to the manufacturer’s instructions. Typically, this means waiting at least 24 hours in a dry environment. To prevent accidental damage or dirt contamination, avoid walking on or disturbing the patch during this period. Once hardened, lightly sand any uneven spots with fine-grit sandpaper or a sanding block to achieve a smooth, level surface ready for the next flooring layer.
Total Attention to Detail Minimizes Future Problems
By following these steps precisely, I was able to eliminate visible pinholes that could have compromised the integrity of my floor. This process is similar to baking: measuring carefully, applying with precision, and respecting curing times ensure a resilient, flawless finish. For more comprehensive guidance on floor leveling techniques, check out this detailed guide. Remember, a little extra effort at sealing tiny flaws today saves you headaches and costly repairs tomorrow.
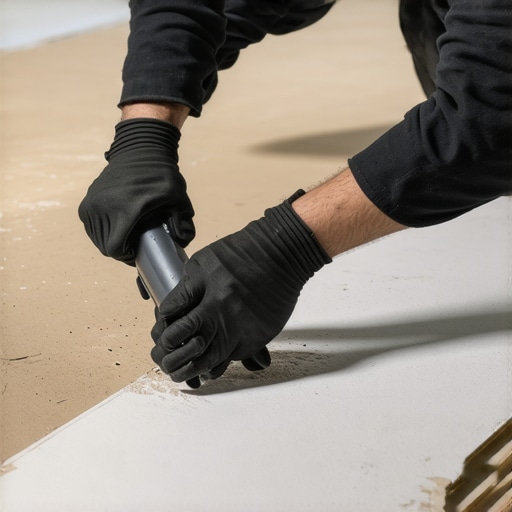 While many believe that flooring installation is primarily about selecting the right materials and following basic steps, the real nuances often trip up even seasoned DIYers and professionals alike. One widespread misconception is assuming that leveling surfaces isn’t crucial if the floor looks flat to the naked eye. In reality, even minor dips or humps can lead to tile cracking or squeaky hardwood over time, especially if the subfloor isn’t perfectly prepared. Many overlook the importance of precise floor leveling, which is covered in depth in this comprehensive guide.
Another common myth revolves around adhesive application. Some think that more glue or mortar ensures better bonding. However, excessive adhesive can cause unevenness, leading to lippage or tile sinking. The secret lies in applying the recommended thinset layer, which ensures a stable and flat surface, as discussed in this resource.
Aspiring homeowners often believe that choosing high-end materials guarantees longevity. Yet, without proper installation techniques, even the most premium flooring will fail prematurely. For instance, hardwood floors need precise acclimation and expansion gaps to prevent buckling—details that experts emphasize in this article.
The
Keep It Running: Essential Tools for Longevity
To ensure your flooring remains pristine and durable over the years, investing in the right tools is crucial. I personally swear by a high-quality moisture meter like the Tramex CME5, which allows me to accurately assess subfloor moisture levels before installation—a step that prevents future issues like warping or mold. For hardwood floors, a microfiber mop combined with a pH-balanced cleaner helps maintain shine without damaging the finish, as detailed in this expert guide. When it comes to tile maintenance, a precision grout saw and a sealing applicator kit are indispensable for periodic grout upkeep, extending the life of your investment.
Long-Term Results Require Consistent Care
Achieving lasting beauty involves routine inspections and maintenance. I recommend setting a schedule to check for grout cracks or loose tiles, addressing small issues before they escalate. Using a dedicated floor buffer with a soft pad during periodic polishing keeps hardwood floors gleaming and minimizes scratches, as explained in this resource. For vinyl or laminate, applying a protective top coat annually can prevent yellowing or dulling, especially in high-traffic areas. Embracing these practices preserves the aesthetic appeal and structural integrity of your floors for decades.
Scaling Up: Preparing for Larger Projects
When you plan to redo a significant area, proper planning and professional-grade equipment become worthwhile. Rent a propane-powered floor grinder for leveling uneven surfaces before installing new flooring—this saves time and ensures evenness, minimizing future problems. Incorporate digital measuring tools like laser levels for precision alignment, which I find indispensable for large-scale installations. Additionally, software like FloorDesigner allows me to visualize the layout beforehand, reducing waste and accidental misalignments. These tools optimize efficiency and set the stage for flawless results.
How Do I Maintain Flooring Over Time?
Consistency is key. Regular cleaning with the right products, prompt repairs of scratches or dents, and strategic sealing can prolong your floor’s lifespan. For hardwood floors, I routinely apply a urethane or polyurethane finish, which resists wear and moisture buildup. Tile floors benefit from annual grout sealing to keep water and dirt from penetrating and causing deterioration. Moreover, avoiding excessive moisture and using furniture pads prevents scratches and indentations. Staying proactive with these maintenance routines ensures your floors remain stunning and functional for years to come.
Future of Flooring Maintenance
Advancements in smart home technology suggest that the future of flooring care will involve IoT-enabled sensors that monitor environmental conditions and alert homeowners to potential issues like humidity spikes or water leaks. This integration will empower homeowners to act proactively, preserving their flooring investments longer and more efficiently. As the industry evolves, staying updated with the latest tools and techniques will keep your floors in perfect shape, saving money and stress over time.
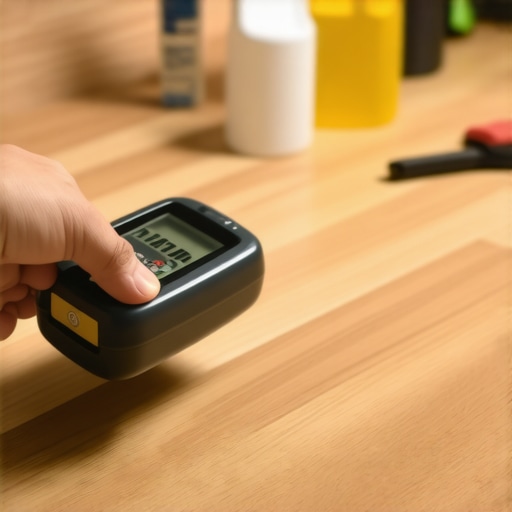
For example, high-tech moisture sensors can detect subtle changes in subfloor conditions, preventing problems before they manifest visibly. Implementing these innovations today can provide peace of mind and extend your floors’ lifespan. Try integrating a moisture meter into your routine—it’s a game-changer in preventive maintenance.
What I Wish I Knew When I Started Laying Floors
One of the most valuable lessons I learned is that even the tiniest flaw can compromise an entire flooring project. Over time, I realized that investing extra effort in precise surface preparation and sealing pinholes not only saves money but also results in a stunning, long-lasting finish. These insights came from my mistakes and subsequent victories, emphasizing that attention to detail really pays off in flooring installation.
Tools and Resources That Elevated My Flooring Game
Having the right tools makes all the difference. I rely on a high-quality moisture meter like the Moisture Meter for accurate readings before installation. For surface preparation, a precision grout float and a calibrated laser level, which you can find in this guide, have been game-changers. These resources ensure my projects meet professional standards and stand the test of time.
Embracing Continuous Improvement for Flooring Success
The journey to perfect flooring is ongoing. I encourage you to routinely inspect your floors, address small issues promptly, and stay updated with innovations like smart moisture sensors discussed in this article. Remember, a proactive approach transforms a good project into a great one, and your dedication today will reward you with floors that remain beautiful for decades.
Ever Felt Stuck on a Small Step in Flooring Installation?
Share your experience below—I’d love to hear about challenges you’ve faced and how you overcame them. Together, we can elevate our flooring skills and create stunning, durable spaces that truly stand out.