
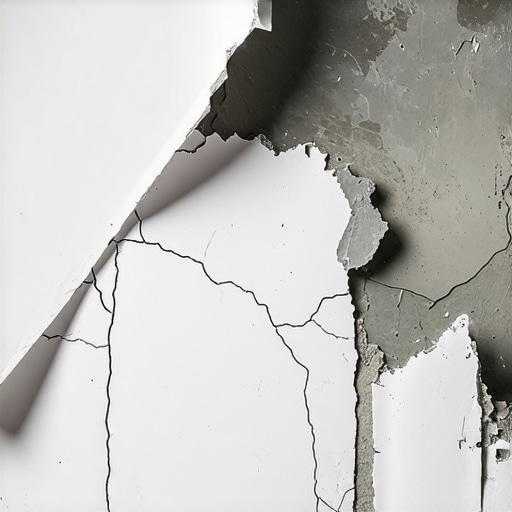
I’ll never forget the moment I walked into my basement and saw the unsightly, curling edges of my freshly applied self-leveling compound, peeling away in big sheets. It was like the concrete was rejecting my efforts to create a perfect, smooth surface. Frustration simmered as I realized I had made a classic mistake—one that many DIYers and even pros stumble upon.
What Went Wrong and Why It Matters
If you’ve experienced similar issues with peeling self-leveler, you’re not alone. This problem isn’t just about aesthetics; it affects the longevity of your flooring and can lead to costly repairs down the line. When self-leveling compound separates from the concrete, it compromises the entire flooring installation—especially if you’re laying tiles, hardwood, or vinyl over it. So, understanding the root causes is crucial.
Is Self-Leveling Compound Really Worth the Effort?
Early on, I underestimated the importance of surface preparation. My mistake was skipping a thorough cleaning and not ensuring the concrete was properly primed. According to industry experts, poor prep work is one of the leading causes of adhesion failure. A study by Flooring Installation Fundamentals highlights that proper surface prep can boost adhesion success rates significantly.
By sharing my misstep, I hope to help you avoid the same pitfalls. The good news is, with a few straightforward steps, you can achieve a flawless, durable self-leveling pour that sticks and stays put long-term.
Ready to dive into how to prevent your self-leveler from peeling? Let’s get started.
Prep the Surface Like a Pro
Start by thoroughly cleaning the concrete to remove dust, grease, or debris. Use a vacuum and mild detergent, then rinse and let dry completely. This step is critical—think of it as washing a car before waxing; any dirt left behind will compromise adhesion. Once cleaned, conduct a moisture test such as the plastic sheet method; if moisture is present, address it before proceeding to prevent future peeling or bubbling. During my first attempt, I skipped this, and the self-leveler started to peel within days, highlighting its importance. Proper cleaning and moisture mitigation set the foundation for success.
Use the Right Primer and Tackle the Trowel Technique
Applying a high-quality primer designed for concrete surfaces ensures optimal bonding. Focus on areas prone to moisture or higher porosity. As I learned from trial and error, neglecting priming caused adhesion failure—so don’t cut corners here. When pouring the self-leveling compound, employ a notched trowel matching the product’s specifications to spread the mix evenly, avoiding air pockets or thin spots. Remember, just like smoothing icing on a cake, consistency and coverage are vital for a flat finish.
Control the Pour and Let It Flow
Pour the compound steadily in small sections, working from the farthest corner towards the exit point to prevent trapping air behind your progress. Use a gauge rake or smoother to gently level the surface, following the manufacturer’s recommended trowel angles. During my first pour, rushing caused uneven spots; a deliberate, controlled pour yielded a much smoother result. Allow the compound to self-level naturally, but monitor it to prevent overflow or pooling. This step is akin to guiding a stream of water—smooth, steady, predictable.
Ensure the Surface Cures Properly
After pouring, avoid any foot traffic or additional weight for the recommended curing time—often 24-48 hours. Keep the area at a consistent temperature and humidity to prevent cracks or bubbles. I once hurried the process by walking on it too early, which left impressions that complicated leveling later. Patience here means a flawless finish; think of it as baking bread—you need to let it fully rise before slicing.
Inspect and Correct Before Laying Flooring
Once cured, use a straightedge or laser level to identify any low or high spots. Minor imperfections can be sanded with a diamond grinder or filled with additional self-leveler, but avoid overloading the surface—asked yourself if the slope might affect your flooring’s durability. I caught and fixed small dips before installing tiles, saving myself from future cracks or uneven wear. Attention to detail during this stage makes all the difference in the long-term longevity of your flooring.
For more tips on flawless installation, review the comprehensive floor leveling methods and ensure every step aligns with industry standards. Mastering these core techniques will help you create a stable, durable base that withstands the test of time.
When it comes to floor leveling, many believe that simply applying self-leveling compound and laying tiles or hardwood is enough for a flawless finish. However, even experienced professionals often overlook critical nuances that, if ignored, can compromise the entire project.
One common myth is that surface prep is just about cleaning and drying. In reality, the type of primer used, the moisture content, and the subfloor’s porosity levels play a pivotal role in adhesion and long-term durability. According to flooring installation experts, neglecting these subtleties can lead to peeling, cracking, or uneven surfaces years down the line. You might think you’ve done enough, but a detailed assessment with specialized tests, like the in-depth moisture analysis discussed in this guide, can reveal hidden issues.
Another misconception involves the timing between pouring and curing. Many assume waiting 24 hours suffices, but advanced projects demand controlled environments with specific humidity and temperature adjustments. Failing to maintain these conditions, especially in variable climates, can cause cure irregularities leading to subtle but damaging imperfections. For seasoned installers, understanding the science behind proper curing, which is covered thoroughly in precise leveling techniques, is essential.
Now, let’s address a question that tests even the most diligent DIYers: How do you ensure that your subfloor’s flexibility doesn’t cause future cracks or unevenness? The answer lies in evaluating the subfloor’s stiffness and incorporating expansion joints where necessary. An overly flexible subfloor will transmit uneven stresses, especially under large tiles or heavy hardwoods. Experts recommend performing a 3-foot level test and considering potential reinforcement techniques to mitigate this issue.
Are you aware that the wrong choice of underlayment can also introduce hidden problems? Cheap or incompatible underlayment materials might degrade or shift over time, creating micro-movements that crack tiles or cause squeaks. Trusted sources, like specialist advice, emphasize selecting underlayment based on your flooring type and environment.
Finally, beware of the trap of rushed installation. Many skip critical curing or bonding phases to save time, but this shortcut often results in costly repairs down the line. Investing time in proper surface conditioning, precise leveling, and environmental control, backed by expert techniques found at professional secrets, will pay dividends in durability.
Have you ever fallen into this trap? Let me know in the comments. Remember, mastering these nuances makes the difference between a floor that lasts and one that needs replacing sooner than expected. Let’s keep digging deeper—your perfect floor is within reach.
Keep It Working: Tools I Recommend for Flooring Projects
Achieving durable, flawless floors isn’t just about techniques—having the right tools and knowing how to maintain them can extend your project’s life and save you money. I personally swear by a high-grade oscillating multi-tool, like the Fein MultiMaster, which allows precise grinding and sanding in tight spots, especially when correcting minor imperfections on uneven substrates. Its versatility in handling scraping, sanding, and cutting tasks makes it invaluable for long-term upkeep and any future repair jobs.
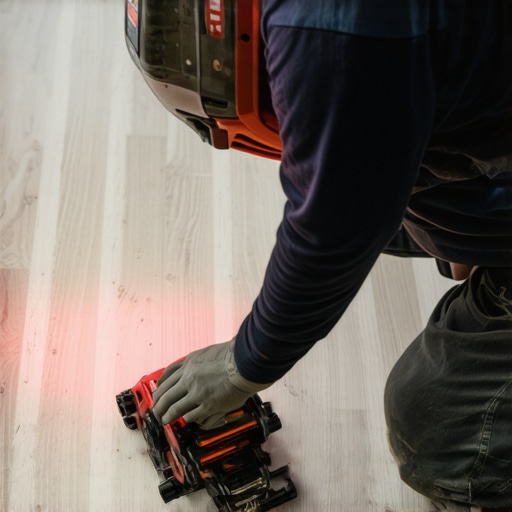
For surface leveling, I prefer using a laser level, such as the Bosch GLL 55, which provides accurate, quick readings across large areas. It’s essential for keeping your floor perfectly flat, which directly impacts the longevity of your flooring. Proper leveling prevents uneven wear and reduces the risk of cracks developing over time, as detailed in this resource.
When it comes to sealing and ongoing maintenance, I recommend using a microfiber mop, like the O-Cedar Microfiber Quick-Connect, combined with a pH-neutral floor cleaner designed for hardwood or tile, depending on your flooring type. Regular cleaning with proper tools maintains surface integrity, ensuring that dirt and grime don’t cause premature deterioration or scratches. Regular cleaning and inspecting your floors every few months will help spot early signs of wear or damage, saving you extensive repairs later.
Future-Proof Your Floor with Smart Maintenance
Looking ahead, technological advancements are shaping flooring care. Smart sensors embedded beneath the surface can now detect moisture or structural shifting, alerting you to issues before they become costly problems. These innovations promise to revolutionize how we approach long-term floor care, making it easier than ever to keep floors pristine and stable over decades.
Don’t forget, consistent maintenance is key. Make it a habit to clean your floors regularly with the right tools and to check for early signs of damage. For example, addressing small dips or cracks early on with targeted repairs can prevent significant problems down the road. For comprehensive guidance, review these hardwood floor care secrets and adopt a routine tailored to your flooring type.
How do I keep my floors in top shape over time?
Implementing scheduled inspections, using quality cleaning tools, and investing in advanced monitoring technology can extend the life of your flooring. Start by incorporating a regular vacuum with a soft brush attachment to prevent scratches, and periodically deep-clean with pH-neutral solutions. Additionally, consider the long-term benefits of professional inspections—an expert can identify subtle issues early, ensuring your investment remains protected. Remember, thoughtful maintenance, combined with reliable tools, guarantees your floors stay beautiful and functional for years to come.
Lessons That Changed My Approach to Flooring Projects
One of the biggest eye-openers was realizing how overlooked surface prep really is. Skipping thorough cleaning and moisture testing not only led to peeling but also taught me that a strong foundation is everything. Another insight was how the choice of primer can make or break adhesion—something I initially underestimated. Lastly, adapting to environmental factors like humidity during curing was crucial; rushing this step almost cost me my entire project.
Tools and Resources That Elevate Your Flooring Game
My go-to laser level, the Bosch GLL 55, ensures perfect flatness and prevents uneven wear down the line, making it invaluable. The Fein MultiMaster multi-tool offers precise corrections for minor imperfections, saving time and materials. For expert guidance, I highly recommend exploring the comprehensive techniques at this resource. Lastly, maintaining floors with quality tools like microfiber mops and pH-neutral cleaners keeps them looking fresh and extends their lifespan.
Your Next Step Toward Floor Perfection
Embarking on your flooring journey with patience, knowledge, and the right tools is the difference between a quick fix and lasting durability. Remember, mastering the nuances of proper surface preparation, environmental control, and curing times isn’t just technical—it’s about caring for your space long-term. Take action today and transform your home into a showcase of craftsmanship and resilience.
What has been your biggest challenge in achieving a perfectly leveled floor? Share your experiences below—I’d love to hear your story!
,