
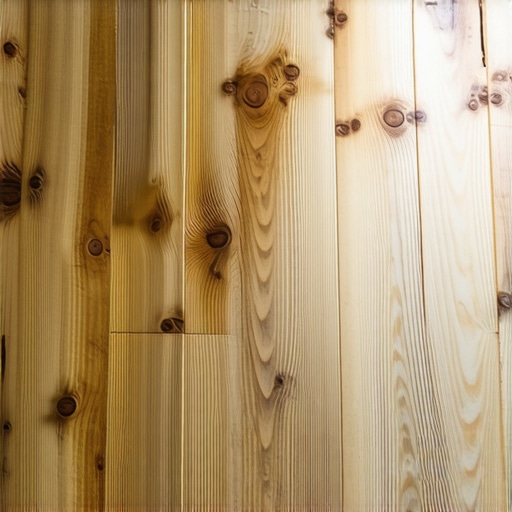
I remember the day my hardwood floor started to warp beneath my feet, a silent invasion I didn’t see coming. It was late afternoon when I stepped onto a spot that felt a bit softer than usual. At first, I thought I’d spilled something or maybe needed to lift my cleaning game. But as the days went by, that soft spot turned into a visible bubble, and I realized water had been seeping in silently, wreaking havoc from beneath. That lightbulb moment taught me how crucial it is to recognize early signs of water damage in hardwood floors—before rot sets in and costs a fortune.
Why Early Detection of Water Damage in Hardwood Floors Matters
Water infiltration isn’t just about a quick spill or a leaky pipe; it’s a sneaky culprit that can compromise your entire flooring investment. Hardwood floors are particularly vulnerable because water can seep into the grain and promote mold, which leads to structural weakening and health hazards. According to the National Wood Flooring Association, water damage is the leading cause of hardwood floor failure, often resulting in extensive repairs or replacements. Recognizing the subtle signs early on can save you thousands and keep your home safe.
Is Water Damage in Hardwood Floors Really That Easy to Miss?
Trust me, I made that mistake early on—thinking a ‘soft spot’ was just a dip or a minor settling issue. My biggest mistake was ignoring these warning signs, which only allowed water to intrude further. If you’re wondering whether minor signs are worth investigating or brushing off as normal wear, you’re not alone. Many homeowners dismiss early indicators because they seem trivial, but small issues can escalate rapidly. Do you remember the last time you overlooked a little leak or discoloration? These small clues often hide the bigger problem.
If you want to prevent costly repairs and preserve the beauty of your hardwood floors, understanding what to look for is essential. So, let’s delve into the practical steps to identify early water damage—because a proactive approach can mean the difference between a minor fix and a major overhaul. Ready to become your home’s water damage detective? Check out our comprehensive guide on [flooring installation and leveling](https://tiletrendshop.com/how-to-achieve-flawless-floor-leveling-before-tile-laying) to understand how proper installation can also help mitigate water intrusion risks.
Assess the Subfloor Thoroughly
Before patching or leveling, inspect your subfloor for moisture, cracks, and softness. Use a moisture meter to ensure dryness, especially in basements or areas prone to humidity. Soft spots might indicate rot or excessive water damage, which must be addressed before proceeding. Remember, a stable base is the foundation of a durable floor, much like a solid foundation supports a house.
Prepare the Surface Precisely
Remove any debris, old adhesive, or loose material from the subfloor. Use a scraper or vacuum for cleaning. Then, mark uneven areas with a straightedge or laser level. Think of this step as drawing a map of your terrain—knowing the highs and lows guides your next moves and prevents surprises later.
Choose the Right Leveling Compound
Select a self-leveling compound suitable for your subfloor material and moisture conditions. For concrete slabs, opt for a product with quick-setting properties. For plywood, ensure compatibility to prevent future cracks. Consider the product’s flowability and drying time; a good choice will replicate a smooth, flat surface, much like pouring pancake batter to cover the pan evenly.
Mix and Apply with Precision
Mix the leveling compound according to manufacturer instructions, avoiding air pockets. Use a gauge rake or trowel to spread the mixture onto low spots, working from the highest point inward. Use a trowel to feather edges, creating a seamless transition. During installation, I once had a mess where the compound set too quickly because I skipped the mixing instructions; a reminder that precision saves time and material.
Ensure Proper Curing and Testing
Allow the compound to cure fully—typically 24 hours, but check specific product guidance. Once cured, test the surface with a straightedge or level. Spot check for high and low points, ensuring variation is within acceptable limits (usually under 1/8 inch over 10 feet). This step is critical; skipping it risks uneven floors that can cause squeaks or tiles to crack.
Address Persistent Challenges
If unevenness remains, identify recurring issues like substrate flex or improper mixing. Reinforce weak areas with additional materials or consult more detailed guides like this resource for advanced methods. Remember, patience and accuracy in this phase pay off with a smooth surface ready for hardwood installation.
Maintain a Clean Work Environment
After leveling, clean all tools and the work area thoroughly. Any leftover debris can interfere with adhesive bonding or generate bumps. Think of this as preparing a clean canvas—your meticulous prep determines the final masterpiece’s quality.
Prepare for Flooring Installation
Once the surface is verified flat and dry, proceed with your hardwood installation, following best practices for spacing, adhesive, and acclimation. Proper preparation here ensures your beautiful flooring will last and resist water infiltration, protecting your investment for years to come.
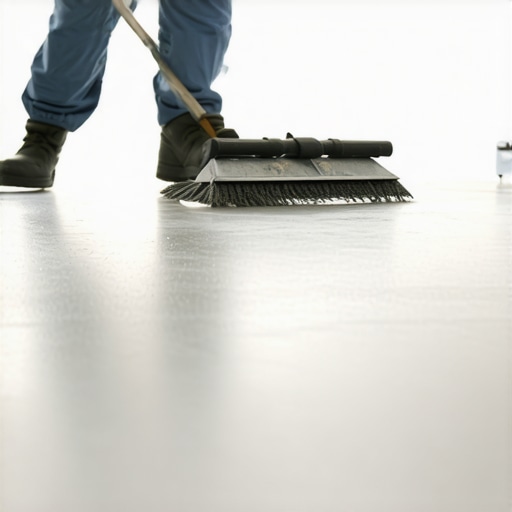 While many believe that achieving a perfectly level floor is just a matter of applying leveling compounds and following basic procedures, the reality is far more nuanced. A common myth is that “more adhesive equals a better bond,” but in truth, using excessive or incorrect materials can trap moisture and lead to future failures. Advanced installers understand that the interaction between subfloor materials, humidity levels, and curing times significantly impacts the final outcome. Skipping the step of verifying subfloor moisture content with a reliable meter can result in alignment issues decades down the line, as moisture can cause wood expansion, contraction, and warping—issues that experts from sources like the National Wood Flooring Association warn about.
One of the most overlooked details is the importance of surface prep for both tile and hardwood floors. Many homeowners or DIYers neglect thorough cleaning and priming, inadvertently trapping air bubbles or debris that compromise adhesion and smoothness. This mistake often leads to uneven surfaces, cracking, or squeaking, detracting from the aesthetic and structural integrity. To avoid these pitfalls, consult comprehensive guides such as this resource, which emphasizes meticulous surface preparation.
When it comes to tile installation, many assume that the type of tile is the primary concern; however, the real secret lies in the notched trowel selection and thinset mixing consistency. Advanced practitioners know that inadequate trowel notch sizes can cause insufficient mortar coverage, leading to hollow spots and tile lifting over time. Similarly, improperly mixed thinset at incorrect temperatures can cause crumbling or cracking. Mastering these details—often considered minor—can vastly improve the longevity and appearance of your tiled surfaces.
A particularly advanced aspect involves the subtle interaction between hardwood finishes and environmental factors. For instance, applying certain finishes too early in a high-humidity environment can trap moisture under the surface, causing bubbling or peeling. Expert refinishing professionals recommend checking local climate conditions and curing times meticulously, as outlined in this guide. Recognizing these nuances prevents costly rework and ensures your hardwood floors age gracefully.
Think about this: Many homeowners miss the importance of perimeter expansion gaps, assuming they’re just aesthetic or optional. In reality, neglecting this can lead to buckling and structural damage as wood expands and contracts with temperature and humidity fluctuations. Correct installation practices include precise measurements and allowances—not just for aesthetics but to maintain the floor’s health over time. For more insights, see this detailed article.
Have you ever fallen into this trap? Let me know in the comments. Remember, understanding these subtle but vital details distinguishes a professional-quality installation from a beginner’s patchwork. Mastering these nuances will not only save you time and money but also extend the life of your floors dramatically.Maintaining flawless floors over time requires the right tools and consistent methods. I personally swear by a high-quality moisture meter like the Tramex FM3—it allows me to accurately monitor subfloor conditions before each project, preventing moisture-related issues that can compromise flooring longevity. When it comes to leveling, my go-to is the Sovej UltraFill self-leveling compound, which I trust for its ease of application and reliable finish, especially on large areas. Investing in a decent laser level, such as the Bosch GLL 3-80, helps me ensure perfect flatness, reducing the need for touch-ups later. For tile installation, I recommend a professional-grade notched trowel like the Marshalltown T256DL; its precise teeth help achieve optimal mortar coverage, ensuring tiles bond securely and evenly. I also use a rubber grout float for finishing, which leaves minimal residue and prevents grout squeegee marks. To keep equipment in top shape, I prioritize cleaning tools immediately after each job; for example, using warm water and a gentle brush on trowels prolongs their sharpness and effectiveness. Looking ahead, I see trends moving toward automated leveling systems and smart moisture sensors that provide real-time data, making long-term project scalability more efficient. If you’re planning a large-scale installation or renovation, consider integrating these tools into your routine. How do I keep my floors looking great year after year? Regular maintenance is key. I recommend sealing hardwood floors every few years using a finish like Bona Traffic HD, which offers durability and enriches the natural beauty. For tile, cleaning with pH-neutral solutions preserves grout integrity and prevents discoloration. Don’t forget to address minor issues promptly; small scratches or grout chips can be repaired easily if caught early, saving your floors from larger problems down the line. Think of it as preventive healthcare for your home. Additionally, for long-term success, scheduling periodic inspections—especially for water-sensitive areas—helps catch potential issues before they escalate. This proactive approach aligns with recommendations from the National Wood Flooring Association, emphasizing regular check-ups to extend floor life. If you’re scaling up your flooring projects, using modular tools like the Rapid Set 55-Minute Quik-Repair allows quick patching and leveling, streamlining large area work. For comprehensive guidance, I highly suggest reviewing resources like this detailed guide. Remember, precise tools combined with consistent maintenance practices keep your floors beautiful and durable for decades. Want to try an advanced tip? Use a smartphone-controlled moisture sensor to monitor subfloor conditions remotely—it’s a game-changer for large projects and long-term upkeep.
The Hardest Lesson I Learned About Floor Leveling and Installation
One of the most profound lessons I discovered was that meticulous surface preparation is the hero behind flawless flooring. Skipping detailed inspection and thorough cleaning often leads to uneven surfaces, which become glaring issues later on. Embracing patience during the curing process and trusting precise measurements can save you from costly mistakes and rework. Every project reinforced that investing time upfront pays off in the long run.
Practical Tools That Make My Floor Projects Easier
Having the right tools is essential. I rely on a high-quality moisture meter like the moisture meter to assess subfloor conditions accurately, which prevents water-related issues. A laser level helps me keep surfaces perfectly flat, ensuring that floors are both beautiful and durable. For mixing leveling compounds, I prefer a dependable trowel that provides uniform application, reducing uneven patches. Trusting these tools has streamlined my workflow and improved results.
Step Into Your Flooring Future with Confidence
Embarking on your flooring or tile project might seem daunting, but remember: each carefully executed step builds toward a stunning, long-lasting finish. Embrace the learning curve, equip yourself with reliable tools, and never underestimate the power of detailed preparation. Your perfect hardwood or tile floor is within reach—commit to the process, stay patient, and watch your space transform. Ready to give your home that professional touch? Your journey to flawless floors starts now!