
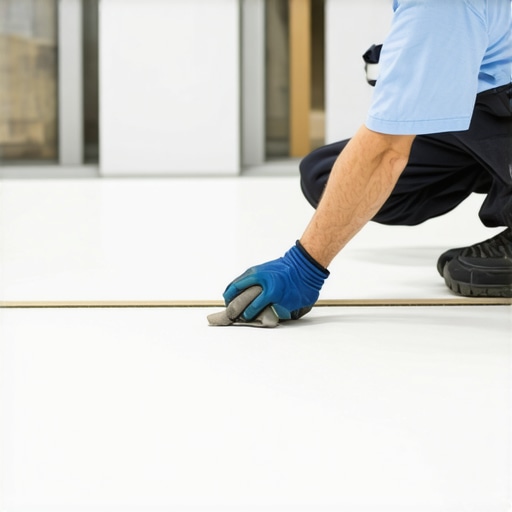
I’ll never forget the frustrating day I thought I had nailed my tile installation, only to step back and see uneven gaps and a lopsided floor that made my heart sink. Ever had that moment where you swear everything looked perfect during the process, but then reality hits with an awkward, uneven finish? That was me early on, and it taught me a valuable lesson about the hidden complexities of tile laying, especially with porcelain. Sometimes, the difference between a professional-looking result and a questionable mess comes down to understanding the nuances of thinset application techniques.
The Secret Sauce: When Double-Butter Makes All the Difference
If you’ve delved into flooring projects, you’ve probably heard of different spreading techniques, but the double-butter approach is a game-changer. This method involves applying a base layer of thinset, then a second layer on top, kind of like butter on bread — it ensures better adhesion and a flatter surface, which is crucial for large porcelain tiles. I’ve discovered that skipping this step often leads to lippage, cracks, or uneven seating, especially when dealing with tiles that are a bit more temperamental or when the subfloor isn’t perfectly level. For more on how to deal with floor leveling issues, check out this article.
Is the Double-Butter Technique Just Hype?
This question haunted me initially. I worried I was overcomplicating what seemed like a simple process. Early on, I made the mistake of rushing the buttering step and applying thinset in one go, which led to poor coverage and uneven tiles. Trust me, I learned the hard way that properly executing this technique saves you from headaches later. The double-butter approach allows the thinset to adapt perfectly to the tile’s back and the substrate, resulting in a more durable and flawless surface. Curious about common mistakes and how to avoid them? Visit this resource.
If you’ve faced similar struggles, you’re not alone. Many DIY enthusiasts and professionals alike stumble over these tricky details. But the good news is, mastering the double-butter method can drastically improve your results and extend the life of your tile installation. Ready to learn the step-by-step process that will elevate your flooring game? Let’s get into it and turn that frustrating experience into a confident, professional-looking finish.
Prep the Surface Thoroughly
Before applying any thinset, ensure your subfloor or substrate is flat, clean, and dry. Use a laser level or a long straightedge to identify high and low spots; fix uneven areas with floor patches or self-leveling compounds. This initial step is crucial because even the best installation techniques can be compromised by an uneven base. Remember, a stable foundation is like setting a well-leveled stage for a performance — it dictates the quality of the entire act.
Gather Your Tools and Materials
Prepare high-quality thinset mortar suitable for porcelain tiles, a notched trowel (commonly 1/4″ x 3/8″ for large porcelain), mixing bucket, a margin float, a rubber mallet, and a level. Optional tools include a spiked roller for removing air bubbles and a grout float for finishing. Having everything ready prevents rushed application, which can cause inconsistencies. Think of it as assembling your paintbrushes and palette before starting an art project — preparation leads to smoother execution.
Apply the First Thinset Layer
Start by spreading a generous layer of thinset onto the substrate using your notched trowel, working in small manageable sections. Hold the trowel at a 45-degree angle and drag it steadily to create uniform ridges. This base layer acts as a bonding bed, much like spreading butter on bread before adding another layer. Be sure to cover the entire area evenly, avoiding gaps and thin spots. Applying an even coat ensures optimal adhesion and prevents voids under the tile.
Set the Tiles Properly
Lay the porcelain tile onto the freshly applied thinset, pressing firmly and twisting slightly to seat it in place. Use a rubber mallet and a level to tap down and align the tile, ensuring it is flush with neighboring tiles. Check for levelness frequently; imagine aligning tiles like books on a shelf — precision here keeps everything straight and professional-looking. Avoid sliding or rocking the tile once it touches the thinset, as this can create air pockets or uneven seating.
Important: Use Spiked Roller to Remove Bubbles
After placing each tile, roll over its surface with a spiked roller to expel trapped air. This technique, akin to popping bubbles in bubble wrap, ensures better contact and adhesion. It also helps flatten any minor ridges created by the trowel ridges, promoting a flatter finished surface.
Apply the Second Thinset Layer (The Double-Butter Step)
Once the first layer of tiles is firmly set, prepare a fresh batch of thinset mortar. Spread a thin layer over the back of each tile with the margin float or the notched side of your trowel, applying it evenly—this is your “second butter.” Be diligent, as uneven application here can cause lippage or tiles sitting unevenly. The goal is to create a bonding cushion that fills gaps and ensures a uniform, flat surface. Think of this step as applying a second layer of butter on bread to ensure an even coating, giving the tiles a perfect seat.
Press and Adjust for Perfection
Place the tile back into its original position, pressing down firmly. Use your level and the rubber mallet to gently tap and adjust the tile until it is perfectly flush with adjacent tiles. If a tile appears high or low, lift it slightly, reapply thinset, and reseat. This meticulous adjustment, similar to aligning picture frames on a wall, results in a seamless surface. Allow the tiles to settle for a few minutes before proceeding to ensure the thinset bonds well without shifting.
Final Checks and Corrections
After laying all tiles using this double-butter approach, walk the surface to identify any inconsistencies. Use a straightedge or level to verify flatness. For tiles that are slightly uneven, gently tap or lift and adjust as needed. Allow the thinset to cure fully—typically 24 to 72 hours—before grouting or walking on the surface. This patience pays off by preventing future lippage or cracking. With this method, your tile installation will stand the test of time, looking professionally done, even for a DIY project.
While installing hardwood, tile, or leveling floors, many DIYers and even some pros overlook subtle details that can make or break the final result. One common misconception is that following the standard guidelines—like using the right adhesives or leveling compounds—is enough. However, there’s a nuanced factor often ignored: the influence of environmental conditions on your materials during installation. Humidity, temperature fluctuations, and even the season can significantly affect how your flooring settles and bonds. For instance, a recent study published in the Journal of Building Physics highlights that temperature variations impact the curing process of self-leveling underlayments, leading to micro-cracks and adhesion failures if not properly managed. This is why meticulous site preparation and climate control are often underestimated steps in our quality checklist.
Why do seasoned professionals pay so much attention to ambient conditions during installation?
Because these factors ensure the longevity and durability of your floors—beyond just the initial appearance. Too often, homeowners assume that a flawless surface right after installation guarantees lasting beauty, but volatile conditions can cause unforeseen issues down the line, like cupping, gapping, or warping, especially in engineered wood or large-format tile. To avoid these advanced pitfalls, always monitor your job site’s humidity and temperature, and follow manufacturer recommendations for acclimation and curing times. Remember, floors are a long-term investment, and overlooking these nuanced environmental factors is a trap that can cost you heavily in repairs or replacements later. For a comprehensive guide on managing these challenges, explore this detailed resource. Don’t let hidden nuances sabotage your project—master them for professional results. Have you ever fallen into this trap? Let me know in the comments.
Keeping It Working: Essential Tools and Maintenance Tips
When it comes to maintaining hardwood and tile floors, having the right tools can significantly extend their lifespan and keep them looking pristine. Personally, I swear by a high-quality microfiber mop paired with a pH-neutral cleaner recommended by flooring experts; this combo effectively removes dirt without damaging delicate surfaces. For hardwood floors, I regularly use a specialized floor buffer equipped with a soft pad, which helps restore shine and remove micro-scratches without the need for abrasive chemicals. Learn more about hardwood maintenance secrets here.
For tiles, particularly large porcelain slabs, a grout cleaning machine with adjustable brushes allows for deep cleaning of the grout lines, preventing staining and mold buildup. Additionally, investing in a dampness meter helps monitor moisture levels in the subfloor, which is crucial when considering long-term issues like warping or tile crack formation. These tools, combined with regular inspections, serve as your first line of defense against costly repairs down the road.
How do I maintain my floors to prevent long-term damage?
Implementing a routine maintenance schedule is vital. For hardwoods, this means reapplying a protective finish every few years and using furniture pads to avoid scratches. For tiles, sealing grout lines annually prevents staining, while checking for cracked tiles early stops small issues from escalating. Moreover, managing indoor humidity levels—ideally between 35-55%—can prevent wood expansion or contraction, factors that often lead to gaps or buckling. Expert tips on maintaining level floors and preventing issues emphasize consistent care as the key to durable, beautiful floors.
Looking towards the future, smart sensors embedded in floors could monitor moisture and structural integrity continuously, alerting homeowners to issues before they become visible or costly. Such innovations might revolutionize flooring maintenance, making it even more proactive and less labor-intensive.
If you want to explore advanced maintenance techniques, I recommend trying a natural, oil-based polish on hardwood floors, which penetrates the wood to deepen its color and add a resilient layer. Regularly applying this can reduce the frequency of refinishing and preserve your flooring’s beauty. Remember, a little investment in proper tools and routine care now can save you a lot of headaches and expenses later. Ready to give it a shot? Start with your existing buffer and a gentle polishing compound—your floors will thank you.
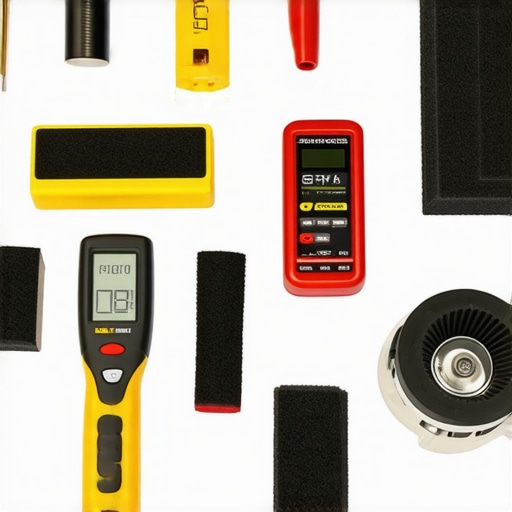
Imagine a well-organized toolkit with a floor buffer, moisture meter, and grout cleaning machine. These tools are your allies in ensuring your flooring remains stunning for years to come. Proper maintenance is not just about cleaning—it’s about proactive care, understanding the specifics of your material, and using the right methods to keep everything in tip-top shape. For more insights into perfecting your floor upkeep, visit this resource.
Lessons Only Experience Can Teach Me About Flooring Mastery
One of the hardest lessons I learned was that no matter how carefully you plan, small details like proper thinset application can make or break your project. Discovering that double-buttering wasn’t just a gimmick but a game-changer transformed my approach entirely. Patience and meticulous prep—especially in surface leveling—have saved me countless headaches, proving that craftsmanship is often in the fine print.
I realized that environmental factors such as humidity and temperature subtly influence adhesion and curing times. Ignoring these factors initially led to cracked tiles and uneven surfaces, teaching me to always monitor site conditions. Lastly, I understood that diligent upkeep after installation—regular sealing, cleaning, and moisture control—can extend your flooring’s lifespan beyond expectations, turning a good job into a great investment.
The Tools and Knowledge That Turn a Good Flooring Job Into a Great One
My go-to resources include the comprehensive guide “How to Spot a Bad Tile Job” which helps me identify mistakes before grout dries, saving time and money. For tools, I swear by a high-quality notched trowel and a moisture meter, which ensure precise application and environmental control. Additionally, books like “Mastering Floor Leveling” deepen my understanding of surface prep, empowering me to achieve professional-level results.
Embrace the Challenge and Elevate Your Flooring Game
Taking on flooring projects can seem daunting, but with the right mindset and dedication to learning, you can create stunning, durable floors that stand the test of time. Remember, mastery is built through practice, patience, and curiosity. So, get your tools ready, stay attentive to details, and don’t shy away from experimenting—your perfect floor awaits. Are you ready to turn your next flooring project into a personal win? Let me know your biggest challenge below.