
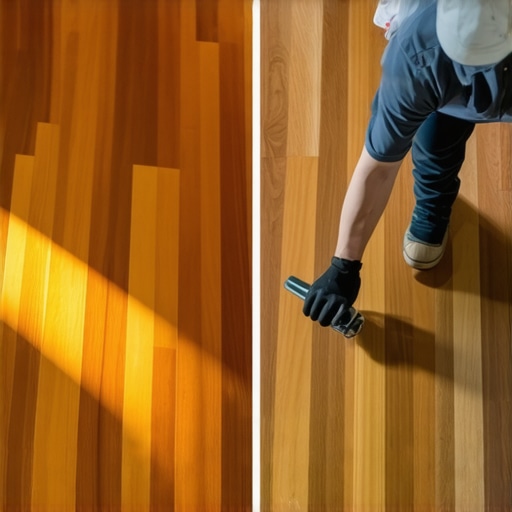
Imagine this: I was knee-deep in installing a beautiful pre-stained hardwood floor, feeling pretty confident. But then I noticed a small gouge in the finish—nothing drastic, just a minor scratch. I thought, “No problem, a quick touch-up should do.” Turns out, that tiny scratch turned into a full-blown headache. The color match was off, and trying to blend the repair only made things worse. It hit me then—pre-stained hardwood is trickier to fix than the site-finished variety, and I was about to learn that the hard way.
The Hidden Challenge of Fixing Pre-Stained Hardwood Floors
From that moment, I realized that the very thing that makes pre-stained hardwood so appealing—its ready-made color—can become a real obstacle when it’s time to repair or fix minor flaws. Unlike site-finished flooring, where you can adjust the stain on-site, pre-stained planks have a fixed color that’s difficult to replicate perfectly. This means that even small damages can turn into noticeable imperfections, often requiring more extensive work or even replacement than you’d like.
Ever Wondered If It’s Worth the Hassle?
I’ve made the mistake early on of assuming I could do minor repairs on pre-stained floors just like with site-finished ones. Spoiler alert: that was a mistake. The fixed color profile means the repair area often stands out, making it look worse than the original damage. According to flooring expert Bob Vila, “Repairs on pre-finished hardwoods can be tricky because matching the stain and finish perfectly is almost impossible without professional tools and techniques.” So, if you’ve faced similar frustrations, you’re not alone—you’re just in the early stages of learning what makes these floors different.
In this post, I’ll share practical insights and tips honed over years of experience, helping you avoid costly mistakes and achieve the best possible outcome if repairs become necessary. Trust me, knowing the nuances of pre-stained versus site-finished flooring can save you time, money, and headaches in the long run. Ready to dive into the real solutions? Let’s go!
Assess the Damage Thoroughly
Begin by inspecting the area carefully using a good flashlight to identify whether the damage is surface-level or deeper. For minor scratches or dents, a quick assessment allows you to decide if a simple touch-up suffices or if more extensive repair is needed. A helpful tip is to run your fingernail over the scratch; if it catches, more than just superficial work is required.
Matching Color and Finish Effectively
Since pre-stained hardwoods have a fixed color, replicating a perfect match involves strategic steps. First, obtain a small sample or hidden section of the flooring for testing. Use a matching stain or a combination of dyes to approximate the existing color. Remember, testing on an inconspicuous area reduces the risk of noticeable mismatches. For a smoother finish, lightly sand the damaged area with fine-grit sandpaper to remove raised edges. Be cautious not to sand too aggressively, which can alter the wood’s surface.
Practice Blending Techniques for Better Results
Apply your stain mixture in thin layers, allowing each to dry completely before adding the next. Use a small brush or a cotton swab for precision, especially around edges. Feather the stain outward from the center of the damage to blend seamlessly. Slightly dampen a clean cloth to gently buff the area after staining, helping the repair integrate smoothly with the surrounding finish.
Refinishing Small Repairs for Seamless Look
After the stain has dried, applying a compatible polyurethane or finish coat enhances durability and visual consistency. Use a clear coat with the same sheen as the original—matte, satin, or gloss. To avoid streaks or brush marks, opt for a foam applicator or a high-quality brush. Lightly sand the repaired area with very fine grit between coats to ensure a flat, even surface. This process mitigates the appearance of patches or repairs.
Tackle Deep Damage with Replacement
If the damage extends beyond superficial adjustments—like deep gouges or cracked planks—consider replacing the affected boards. Carefully remove the damaged planks by prying up with a tapping chisel or pry bar. Prepare matching boards beforehand by selecting pre-stained planks aligned with your existing flooring. Install new planks, ensuring they sit flush and level with surrounding boards. Use a level or laser guide to verify, referencing floor leveling techniques to achieve seamless integration.
Seal and Protect the Repaired Area
Finally, applying a thin coat of finish or sealer over your repair helps protect against future damage and ensures longevity. Match the curing time recommended for your finish. Be aware that over-application can cause uneven gloss or build-up, making the repair visible. Regular maintenance and cautious foot traffic will keep your floors looking pristine for years to come.
Navigating the nuances of repairing pre-stained hardwood requires patience and attention to detail. Remember, the goal isn’t just fixing the damage, but restoring harmony to your flooring’s appearance. For more expert tips on flooring repair and installation, visit this resource.
Many enthusiasts and even seasoned homeowners fall prey to misconceptions about hardwood floors, flooring installation, and tile work. It’s worth questioning some of the widely accepted beliefs that can hinder your project’s success. For example, a common myth is that “all hardwood floors are equally durable,” but in reality, species, finish quality, and installation methods dramatically influence longevity. Overlooking these nuances can lead to premature wear or costly repairs. Another misleading idea is that “DIY installation is as foolproof as hiring professionals,” which often ignores the crucial skills required for proper subfloor assessment, leveling, and precise tile placement, potentially causing later issues like uneven surfaces or cracked tiles. To avoid these pitfalls, understanding the advanced aspects—such as the importance of proper floor leveling techniques and the impact of subfloor moisture—is essential.
What advanced signs should professionals look for during floor leveling to prevent future problems?
Experts recommend using a laser level or a long straightedge combined with the fall line to detect subtle subfloor imperfections that can cause uneven tiles or squeaks. These detailed inspections, referenced in guides like floor leveling techniques, are often overlooked but are pivotal in achieving a flawless finish. Additionally, understanding the chemistry behind adhesives and sealers helps prevent issues like grout cracking or finish peeling, which are frequent complaints. Trusting outdated DIY rules instead of current best practices leads to costly mistakes; for instance, using the wrong trowel notch size for large-format tiles or neglecting proper expansion gaps can cause tiles to pop or crack prematurely. Moreover, myths about “quick fixes”—such as over-relying on surface treatments without addressing underlying subfloor problems—trap many into recurring issues. According to industry expert Bob Vila, detailed assessments and tailored solutions are key to durable installs and long-lasting beauty. Learn how design choices influence repair strategies and avoid common installation errors. Remember, recognizing these misconceptions and adopting a nuanced approach can save you time, money, and frustration. Have you ever fallen into this trap? Let me know in the comments.
To ensure your flooring investments stand the test of time, employing the right tools and adopting effective maintenance routines are crucial. Quality equipment not only streamlines installation and repair processes but also preserves the beauty and durability of your floors over the years. One of my go-to tools is a high-precision laser level, like the Bosch GSL2 Professional, which guarantees perfectly level surfaces, especially during floor leveling projects. Its accuracy helps prevent uneven tile or wood installations that could lead to costly repairs down the line.
Investing in the Right Equipment Pays Off
For flooring preparation, I rely heavily on a drum sander from brands like Palmgren, paired with fine-grit sandpaper. This combination allows me to remove surface imperfections and smooth out the wood before finishing, ensuring a flawless appearance. When it comes to adhesive application, a notched trowel with the correct size—such as the 1/4-inch square notched trowel for large-format tiles—helps achieve optimal bonding without excess material. Using the proper trowel, as discussed in this resource, prevents future failures and extends the lifespan of your installation.
In addition to tools, regular cleaning and ongoing maintenance extend the integrity of your floors. For hardwoods, I recommend periodic refinishing with high-quality polyurethane, which can be easily reapplied using a lambswool applicator for smooth coverage. Tile floors benefit from a yearly sealant application to protect against moisture ingress, especially in wet areas like bathrooms or kitchens. Use a penetrating sealer designed specifically for ceramic or porcelain tiles for best results.
Predicting Future Trends in Floor Maintenance
Looking ahead, technology will likely introduce smart sensors capable of monitoring humidity, temperature, and the wear levels of flooring materials in real time. These innovations could automate maintenance alerts, helping homeowners catch issues early and prevent costly repairs. Staying informed about advances in flooring technology will become an essential part of long-term flooring care.
How do I keep my hardwood and tile floors in prime condition over time?
Implementing a consistent cleaning routine using pH-neutral cleaners and avoiding harsh chemicals preserves finish quality. Additionally, placing rugs or felt pads under furniture prevents scratches and dents. For tiles, paying attention to grout health by regular cleaning and timely resealing maintains the overall aesthetic. Remember, small, regular maintenance tasks done proactively make a significant difference in the longevity and appearance of your floors. For detailed guidance on leveling and installation, explore this comprehensive article.’}]}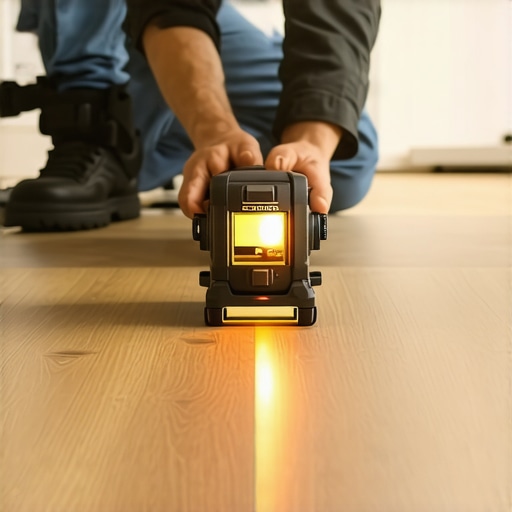 ,
,
Three Deep Truths I Wish I Knew About Hardwood Fixes
First, matching pre-stained hardwood with a repair isn’t just about color—it’s a delicate dance of patience, testing, and subtlety. Rushing can lead to mismatches that stand out worse than the initial scratch. Second, the myth that all damage can be easily concealed with a little stain is dangerous—sometimes, replacement is the wiser choice. Finally, understanding the nuances of finish sheen and application techniques is crucial; a poorly blended repair can ruin an entire floor’s look, making professional advice a worthy investment.
My Top Picks for Flooring Success Resources
The first tool I swear by is the Laser Level from Bosch. Its accuracy prevents uneven surfaces that can turn into future repair nightmares. Next, this comprehensive flooring guide has saved me countless hours, especially when it comes to predicting potential problems. And for selecting the right hardwood or tile, this resource on material choice demystifies the process, ensuring lasting beauty and ease of repair down the road.
Embrace Your Role in the Transformation Journey
Remember, mastering the art of flooring repair is a blend of knowledge, patience, and confidence. Your enthusiasm and willingness to learn will make each project a step towards creating a space that reflects your unique style and care. Don’t hesitate to start small, celebrate progress, and always seek out expert advice when faced with tough spots. Your hardwood floors and tile areas are silent witnesses to your dedication—treat them with the care they deserve, and they will reward you with years of enduring beauty.