
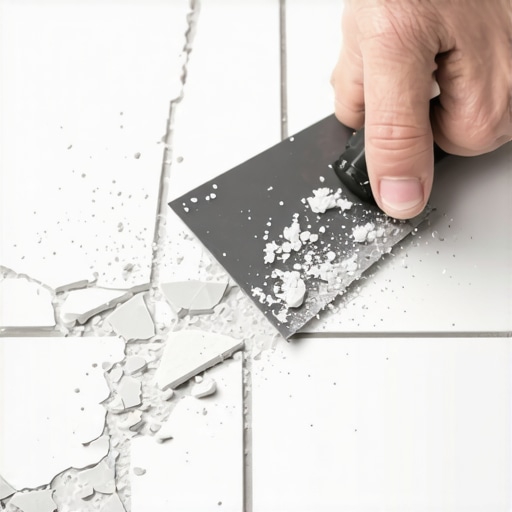
I’ll never forget the moment I watched a freshly cut porcelain tile crack into sharp shards right under my saw blade. All that effort, and suddenly, a single mistake sent my project into chaos. It was like watching a slow-motion train wreck—I knew I had used the wrong blade, but I didn’t realize just how critical it was at the time. That lightbulb moment taught me that the right tools aren’t just about convenience; they are essential to preventing costly mistakes, especially with delicate materials like porcelain.
The Hidden Cost of Using the Wrong Blade on Porcelain Tiles
Ever since my early days trying to cut porcelain, I learned that not all blades are created equal—some are designed specifically for hard materials, and using the wrong one can result in shattered tiles, uneven cuts, and endless frustration. The truth is, many DIYers and even seasoned pros underestimate how critical choosing the right blade is. A blade ill-suited for porcelain causes more than just cracks; it can ruin your entire project, adding time and expense you didn’t anticipate.
Is All the Buzz About Specialized Blades Just Overhyped?
I used to think that any diamond blade would do the trick—until I experienced the mess firsthand. Early on, I made the mistake of relying on a cheap, all-purpose blade. The result? Chips, shatter, and wasted material. It was a painful, costly lesson that convinced me: investing in a high-quality, diamond-tipped blade designed for porcelain is absolutely worth it. Not convinced? The difference is backed by experts who warn that using improper blades significantly increases the risk of tile breakage (see detailed flooring installation mistakes).
If you’re facing a project involving porcelain tiles, skip the guesswork—understanding why choosing the right blade matters will save you headaches down the line. Let’s explore how you can avoid these pitfalls and ensure your cuts are clean, precise, and, most importantly, safe for your tiles. Ready to prevent those costly shatters? Keep reading for the practical tips and secrets I wish I knew from the start.
Select the Right Blade for Porcelain Tiles
When I first tackled a bathroom renovation with porcelain tiles, I learned the hard way that using a standard blade was a recipe for disaster. I chose a low-quality all-purpose blade, which caused splintering and uneven cuts. To avoid this, invest in a high-quality, diamond-tipped blade explicitly designed for porcelain. These blades have a special bond that can handle the hardness without chipping the tile. Always verify compatibility and read reviews before purchasing, and remember that the right tool will save time and materials in the long run. For detailed guidance on selecting the best tools, check this resource.
Prepare the Tile and Workspace
Proper preparation is key to precise cuts. Measure twice, mark clearly with a fine pencil, and use painter’s tape along the cut line to prevent chipping. Secure the tile firmly on a stable, non-slip surface—clamp it if necessary. Wearing safety goggles and a dust mask is vital, especially when working with porcelain dust, which can become airborne. Having a clean workspace minimizes errors and accidents. I once neglected to tape my tile, resulting in tiny chips extending beyond my cut line, forcing me to re-cut. Always double-check measurements before proceeding.
Set Up the Saw and Make the Cut
Using a wet saw with the correct blade, set the water flow to keep the blade cool and reduce dust. Align your cutline with the blade, ensuring the tile is supported evenly to prevent wobbling. For straight cuts, use a guide or fence to maintain a consistent line. When making curved cuts, carefully mark the radius and use a jigsaw fitted with a diamond blade. During my first attempt, I misaligned the guide, resulting in a slightly jagged edge that was visible after installation. Take your time, double-check your alignment, and proceed slowly for the best results.
Master the T-Shape and Precision Techniques
To avoid cracks, score the tile first with a manual cutter for small pieces, then snap along the score. For large or intricate cuts, use the wet saw, and always support the tile fully to prevent stress points. Applying gentle, continuous pressure minimizes stress on the material. When I cut an irregular hole for plumbing, I experimented with a hole saw and a diamond drill bit, drilling slowly with water lubrication, which prevented cracking. Practice makes perfect—test on scrap tiles to refine your technique before working on your project tiles.
Final Checks and Cleanup
After cutting, inspect the edges for chips or rough spots. Smooth any imperfections with a diamond file or abrasive pad. Remove tape and dust thoroughly, as leftover debris can affect grout adhesion and overall finish. I learned this after rushing through cleanup, which caused grout haze around my tiles. Proper finishing ensures your project looks professional and stands the test of time. Remember, patience during this phase pays off with a flawless appearance and durable installation.
Many believe that achieving a flawless floor is simply about following basic steps: prepare the subfloor, apply the right leveling compound, and lay the tiles or hardwood. However, seasoned professionals know that the real mastery lies in understanding the subtle nuances that can make or break a project. One common misconception is that all leveling compounds are created equal; in reality, choosing the wrong type can lead to long-term issues like cracking or delamination. For instance, quick-setting self-levelers might seem convenient, but they may not provide the necessary bonding strength for heavy traffic areas, as highlighted by flooring experts (see more).
Another frequent mistake is underestimating the importance of surface flatness at a microscopic level. Many DIY installers focus solely on visual flatness, but subtle ridges or dips—less than 1/8 inch—can cause tile lippage or uneven hardwood finishes. Advanced installers utilize laser-guided levels or the “feather edge” technique to ensure precision, often overlooked by amateurs. Paying attention to these delicate details is what guarantees a professional finish that lasts.
Am I Overlooking the Floor’s Structural Behavior When Installing?
Absolutely. Floors are dynamic systems affected by temperature fluctuations, humidity variations, and subfloor movement. Ignoring these factors can result in problems like buckling or gaps over time. For example, wood expands and contracts with humidity changes, which is why experts recommend acclimating materials before installation—something many skip, leading to unexpected warping. Moreover, understanding how subfloor deflection impacts leveling is crucial. A weak or improperly supported subfloor can undermine even the best installation. To master these nuances, it’s helpful to consult comprehensive guides such as this resource.
What surprises many is that achieving a perfect, durable floor isn’t just about the right materials—it’s about precision, understanding subsurface behaviors, and anticipating how the environment influences your work. Many overlook these advanced considerations, leading to pitfalls like delamination, uneven surfaces, or early deterioration. Learning to read the subtle cues and investing in proper techniques will elevate your craftsmanship significantly. So, next time you start a flooring project, ask yourself: am I paying enough attention to these hidden factors? Have you ever fallen into this trap? Let me know in the comments.
Keep Your Floors in Top Shape with the Right Tools
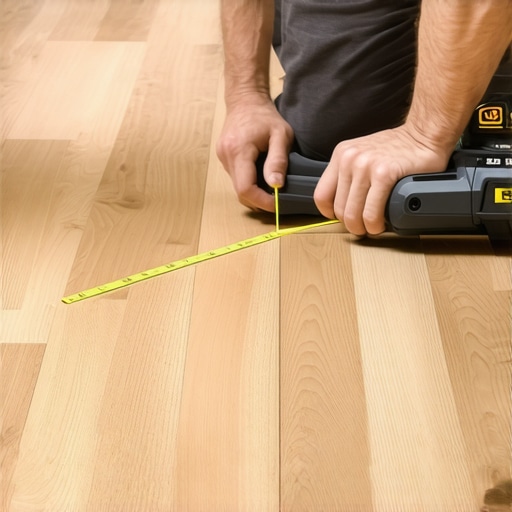
Maintaining beautiful flooring over time demands more than just initial installation skills; it requires the right tools and a proactive maintenance routine. Personally, I swear by a high-quality angle grinder fitted with a diamond blade for ongoing tile repairs. This versatile tool allows me to make precise cuts to replace damaged tiles or adjust edges without tearing up entire sections of my floor. For hardwood floors, a floor buffer equipped with a soft pad is invaluable for buffing out minor scratches, restoring shine, and prolonging the life of your finish. Investing in these specific tools ensures that small issues don’t escalate into costly repairs, saving you time and money in the long run.
Best Practices for Flooring Upkeep
Regular cleaning is vital for long-term durability. Use a microfiber mop with a pH-neutral floor cleaner to prevent residue buildup that can dull surfaces or cause discoloration. For hardwoods, I recommend periodically applying a high-quality finish rejuvenator, which penetrates the wood surface to fill tiny scratches and preserve its appearance. Additionally, placing felt pads under furniture legs prevents scratches and dents. Consistently inspecting your flooring for signs of wear allows you to address issues early—be it loose grout in tiles or minor cracks in wood—before they grow into major problems. Remember, preventive care extends the life of your investment significantly.
Adapting Maintenance Strategies for Longevity
As flooring materials evolve, so do maintenance technologies. For instance, newer tile adhesives and sealants offer improved moisture resistance, which is crucial in humid environments. I keep an eye on industry updates to incorporate these innovations into my projects. For example, using a vapor barrier underneath the subfloor can prevent moisture migration, which often causes tile delamination or hardwood warping, especially in basements or bathrooms. To stay ahead, I regularly consult authoritative resources such as this guide on flooring installation pitfalls and how to avoid them, ensuring my maintenance routines are aligned with cutting-edge standards.
How Do I Maintain Flooring Effectively Over Time?
One key method involves scheduling routine inspections—monthly or quarterly—to identify and fix minor issues before they escalate. For tiles, this might mean checking grout lines for cracks or loose tiles and applying sealant as needed. For hardwood, it entails monitoring scratches or signs of wear and reapplying protective finishes when necessary. Keep tools like a grout pen or touch-up kit handy for quick repairs. Remember, consistency is essential; neglecting small problems can lead to expensive renovations down the line. The future of flooring maintenance leans toward smart systems that monitor environmental conditions and alert homeowners to potential risks, making proactive care more accessible. Start integrating these small, specific steps today: try sealing a grout line or buffing out a scratch—you’ll be amazed at how much longer your floors stay gorgeous.
Little Lessons That Changed My Approach to Flooring
- Investing in the right tools, like a specialized diamond blade, can save you hours of frustration and prevent costly tile breakage. Trust me, the difference is night and day.
- Preparation is everything. Marking meticulously and taping along cut lines not only preserves the tile but also ensures precision—a small step that yields big results.
- Mastering the art of support and alignment during cutting avoids stress fractures. Support your tiles fully and proceed slowly—patience pays off with perfect edges.
- Understanding how environmental factors such as humidity and subfloor stability impact your installation can prevent future issues like buckling or uneven surfaces. Educate yourself on these nuanced questions to stay ahead.
Tools and Wisdom That Keep Floors Looking New
- My go-to resource for selecting quality tiles and understanding installation best practices is this comprehensive guide. It’s a trusted source that keeps me updated on industry standards.
- For mastering the technical side of leveling, this step-by-step tutorial has been invaluable—user-friendly yet thorough.
- Ever since I started using Pro Secrets for Perfect Floor Leveling, my projects have noticeably improved, with smooth, durable surfaces that impress every time.
Your Next Step: Take Action Today
Remember, the key to flooring that lasts a lifetime isn’t just about initial precision—ongoing maintenance and an understanding of the subtle environmental influences are equally vital. Embrace these lessons, equip yourself with expert-recommended tools, and approach each project with patience and confidence. Your dream floor is within reach—start today and watch your skills transform.
What part of the flooring process do you find most challenging? Share your experience below—I’d love to hear and help troubleshoot!