
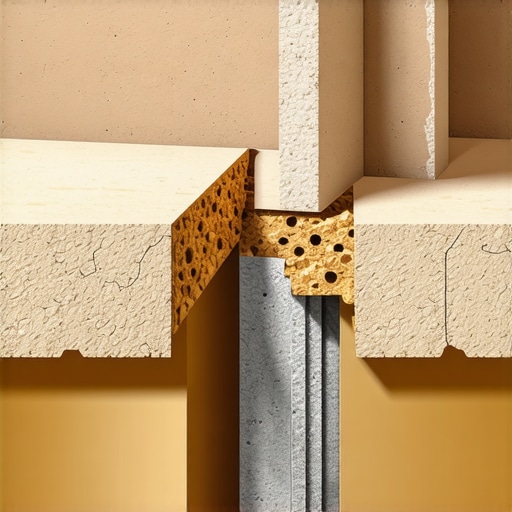
Ever been frustrated by that uneven patch under your new tile or hardwood? I remember the moment vividly—trying to lay a beautiful floor only to discover a stubborn dip or low spot that refused to cooperate. It was a lightbulb moment for me, realizing that if I wanted a flawless finish, I needed a clever trick up my sleeve. That’s when I stumbled upon what’s affectionately called The Shingle Hack. Initially skeptical, I quickly learned it’s a game-changer.
The Secret to a Level Subfloor without Massive Demolition
Have you ever worried that fixing uneven floors is a nightmare designed to drain your patience and wallet? Believe me, I’ve been there. Early on, I made a critical mistake: thinking that a quick layer of mud or self-leveler would solve everything instantly. Nope! Instead, I learned that understanding the root of low spots is essential. The Shingle Hack involves stacking thin layers—like shingles—of plywood or other materials to gradually build up the low areas, creating a perfectly flat surface. This method saved me from ripping out slabs of concrete or pulling up my freshly finished floor. For a detailed step-by-step process, check out this comprehensive guide on floor leveling fundamentals.Identify and Mark the Low Spots
Start by thoroughly inspecting your subfloor, looking for dips or uneven areas. Use a long straightedge or a straight piece of lumber across the surface—any gaps underneath indicate low spots. Mark these areas clearly with a pencil or painter’s tape. I once used a simple chalk line at my friend’s living room to visualize the uneven sections before starting repairs, which made the process smoother.
Prepare the Surface
Clean the subfloor meticulously, removing debris, dust, or loose material. This ensures good adhesion for the leveling compounds or shims. I used a vacuum and a damp cloth to prep the area, that way I avoided trapping dust under the plywood shims later. Remember, a clean surface is the foundation for a sturdy, flat floor.
Choose Your Building Materials
Select the appropriate shims, plywood, or leveling mortar based on the severity and size of the low spots. For minor dips, thin plywood strips work well; for deeper areas, self-leveling concrete or mortar is more suitable. I opted for ¼-inch plywood shims layered gradually when fixing a uneven corner in my hallway, which prevented me from tearing out the entire subfloor.
Layering Thin Plywood Shims
Cut plywood strips to fitting sizes—think of stacking shingles to build up a roof. Place the first shim beneath the low area, then add subsequent layers if necessary, securing each layer with construction adhesive. Ensure each piece is snug to prevent movement. Once stacked, press down firmly to seat the layers, avoiding gaps that could cause future unevenness. I remember carefully layering shims under a sagging section, working slowly to ensure every layer was flush and stable.
Apply Self-Leveling Compound for Fine Tuning
For minor imperfections, pour a self-leveling mortar over the entire surface. Follow the manufacturer’s mixing instructions precisely—the wrong consistency leads to pooling or incomplete leveling. Use a rake or a trowel to help spread the compound evenly, working quickly before it begins to set. I poured a small batch of leveling mortar and used a long floor squeegee to achieve a seamless surface, which saved me hours of sanding afterward.
Sanding and Finishing
Once the leveling compound cures, lightly sand any high spots or rough patches to achieve a smooth surface. Wear a fine-grit sander or sanding block, and take care to avoid removing too much material. I learned this the hard way when I over-sanded a section, creating new dips. After smoothing, vacuum the area thoroughly to remove dust, preparing it for your final flooring installation.
Verifying Flatness
Re-assess the surface with a straightedge or level to confirm the low spots are filled and the floor is even. Use a measuring tool or a straightedge at multiple points across the entire floor. This step prevents surprises once your tile or hardwood is installed. I once missed a small dip that caused a tile to crack later—a lesson in double-checking before laying down your finished floor.
Prevent Future Unevenness
Address moisture issues, subfloor rot, or structural shifts that can cause new dips. Installing an uncoupling membrane can also help accommodate minor movement without compromising flatness. Remember, proper preparation and attention to detail are your best tools for achieving a professional-looking, durable floor.
When it comes to laying tile, hardwood, or any flooring, many homeowners fall prey to misconceptions that can compromise the final result. One widespread myth is that a perfectly flat subfloor isn’t crucial, leading some to skip proper leveling and face issues like cracking or uneven surfaces later. However, experts emphasize that meticulous floor leveling is vital for durability and visual appeal; even minor dips can cause significant problems over time, as discussed in the comprehensive guide on floor leveling.
What advanced mistakes do experienced installers warn against?
Many seasoned pros caution against rushing the prep work, especially assuming that self-leveling compounds will automatically fix underlying structural issues. Over-application or improper mixing can lead to pinholes, bubbles, or soft spots which undermine the stability of the entire floor. A study published by the National Institute of Building Sciences highlights that proper surface preparation is responsible for over 80% of successful flooring installations. Additionally, some believe that choosing the thickest mortar or leveling compound guarantees a flat surface. In reality, applying excessive material can cause leveling compounds to crack or delaminate as they cure. To master proper techniques, it’s beneficial to review floor leveling secrets from industry experts. Beware of the trap of underestimating moisture content, which can lead to adhesive failure or wooden floors warping over time. Always perform moisture tests before installation, particularly over concrete substrates. Lastly, installing flooring without considering expansion gaps can result in buckling or buckling during temperature fluctuations. Remember, even the highest-quality materials require proper installation protocols to perform their best. If you’re interested in avoiding these pitfalls, check out the article on professional tile installation strategies that covers essential preparation steps. Have you ever fallen into this trap? Let me know in the comments.
Consistent Maintenance for Long-Lasting Floors
Once you’ve achieved a flawlessly level subfloor and installed your flooring, regular upkeep becomes crucial. Investing in the right tools can significantly extend the lifespan of your floors and maintain their aesthetic appeal. Personally, I swear by a high-quality microfiber mop paired with a pH-neutral cleaner for hardwood floors. This combo ensures you’re cleaning without stripping protective finishes or introducing moisture that could cause warping. For tile surfaces, a soft-bristle brush combined with a gentle, grout-safe cleaner helps keep dirt and grime at bay, especially in textured tiles where dust tends to hide.
Essential Equipment to Make Maintenance Easier
To keep your floors in tip-top shape, I recommend having an electric vacuum with adjustable settings designed for different flooring types. The one I use features a soft brush attachment that prevents scratches on hardwood and delicate tile surfaces. Additionally, a steam mop can be beneficial for deep cleaning, but only if your flooring type is compatible—always consult the manufacturer’s recommendations.
Another tool I find indispensable is a rubber squeegee. It’s perfect for removing excess water after mopping, especially on engineered wood or vinyl floors. Also, keeping a spare set of microfiber cloths handy helps prevent cross-contamination and allows for quick touch-ups.
Tech to Help Track Floor Condition
In the digital age, monitoring your floor’s condition can be streamlined with moisture meters and digital laser levels. Regular moisture readings over concrete slabs can prevent potential issues like mold or warping, especially if you live in a humid climate. For example, checking moisture content before and after seasonal changes helps you catch any unusual fluctuations early. Incorporate these readings into your maintenance routine to ensure long-term stability.
Planning for Future Repairs and Scaling Up
As your home evolves, so will your flooring needs. Investing in modular tools and materials allows for easier scalability. Keep spare flooring materials, adhesives, and leveling compounds on hand, so you’re prepared for repairs or expansions. When it’s time to renovate or extend your current flooring, revisit the key principles of floor leveling techniques to ensure seamless integration.
How do I maintain my floors over time?
The secret lies in consistency. Regular cleaning with appropriate tools, monitoring moisture levels, and addressing minor issues promptly will save you money and effort in the long run. Predicting future trends, such as the rise of smart home maintenance systems, suggests that integrating sensor-based tools for humidity and wear detection may become standard practice. Embrace these technologies early, and you’ll keep your floors pristine for years to come.
For an extra layer of protection, I recommend trying the advanced leveling techniques discussed earlier. Precision isn’t just for installation—it’s equally vital during maintenance to ensure the surface remains even and durable over time. Remember, a well-maintained floor reflects your home’s personality and keeps its value high. So, invest in the right tools now, and your floors will reward you with long-term beauty and function.
The Hardest Lesson I Learned About tile,hardwood floors,flooring installation,floor leveling
- Always double-check your moisture levels before installing flooring; overlooking this can lead to long-term warping or buckling that’s costly to fix. A trusty moisture meter became my best friend.
- Rushing the leveling process? That almost always spells trouble. Taking the extra time to layer plywood shims carefully and verifying with a straightedge saved me from headaches down the line.
- I used to believe that self-leveling compounds alone could fix all unevenness—until I encountered stubborn dips. Combining shims with mortar layers provided a more reliable, durable solution.
- Ignoring structural issues beneath the subfloor, like rot or moisture damage, only postponed problems. Addressing these foundational problems upfront is crucial for long-lasting results.
- My biggest breakthrough was realizing the importance of thorough surface prep. Cleaning dust and debris before applying leveling compounds ensured a stronger bond and a smoother finish.
My Essential Toolkit for Flooring Success
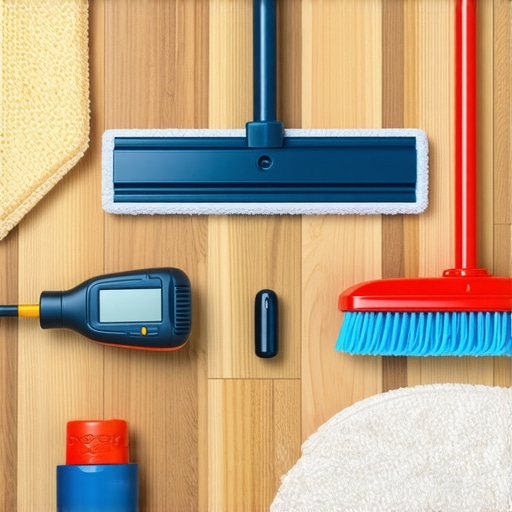
- Moisture Meter: Essential for assessing subfloor health—trust me, it prevents costly surprises.
- Long Straightedge: Critical for verifying flatness across large areas, guiding precise adjustments.
- High-Quality Adhesives and Shims: These make layering and stabilization much more manageable, especially in tricky low spots.
- Power Sander and Finishing Tools: Necessary for achieving that perfect smooth surface after leveling.
- Reference Reading on flooring fundamentals: No substitute for learning from expertly curated content like the comprehensive guides available online.
Believe in Your Craft and Keep Moving Forward
Transforming a rough subfloor into a flawless foundation for tile or hardwood is more than just a project—it’s a craftsmanship journey. Remember, every challenge faced enhances your skills and confidence. With patience, the right tools, and a willingness to learn from each step, you’ll create floors that not only impress but stand the test of time. Your home deserves that level of dedication—so roll up your sleeves, embrace the process, and enjoy the rewarding results. Ready to take the next step in achieving flooring perfection? Share your experiences or questions below—I’d love to hear your story.