
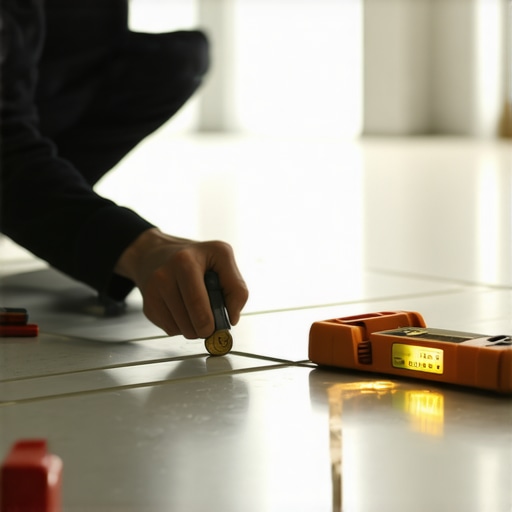
Ever had that sinking feeling when your newly laid tile seems just a tad off, like a stubborn wobble that no amount of grout can fix? I remember the moment vividly—standing in my living room, staring at the uneven surface, realizing I’d overlooked a simple step that could’ve saved me hours of headache. That lightbulb moment led me down a path of discovery about the Penny Test for checking tile flatness, a quick and surprisingly effective method I now swear by.
Why a Flat Floor Matters More Than You Think
Imagine walking into a room with tiles that aren’t quite level. It’s that nagging feeling, the kind that makes your eye twitch every time you step onto an uneven patch. Not only does a flat surface boost the aesthetic appeal, but it also prevents ongoing issues like cracked tiles and loosened grout. In fact, according to experts, uneven floors can lead to costly repairs down the line, especially if ignored during the initial installation phase.
Question to Consider: Are You Overlooking This Tiny but Critical Step?
Here’s the thing—early in my DIY journey, I made a critical mistake: I took the surface for granted. I assumed that once the subfloor was level enough, the tiles would follow suit. Turns out, that’s not always true. That mistake taught me the importance of a simple tool that can reveal hidden dips: the humble penny. It might sound too simple, but I’ve tested and refined this method, and it has paid off immensely.
If you’ve ever struggled with uneven tiles or worry that your flooring isn’t as perfect as it could be, you’re not alone. Many homeowners and even pros miss this crucial step, leading to issues that could’ve been prevented with a little knowledge and the right technique. Want to learn exactly how I use a penny to check for level spots? Stay tuned, because in the next section, I’ll walk you through my practical, step-by-step process. For more expert tips on flooring installation, check out this comprehensive guide that changed how I approached tile work.
Prepare Your Tools and Space
Start by gathering a handful of standard pennies—at least three—along with a tape measure, chalk line, and a straightedge. Clear the area of debris to ensure an accurate assessment. I recall my first attempt, where I thought a quick glance was enough; instead, I ended up removing several uneven tiles. That was a sinking feeling that prompted me to develop a systematic approach.
Identify Critical Spots Using the Penny Method
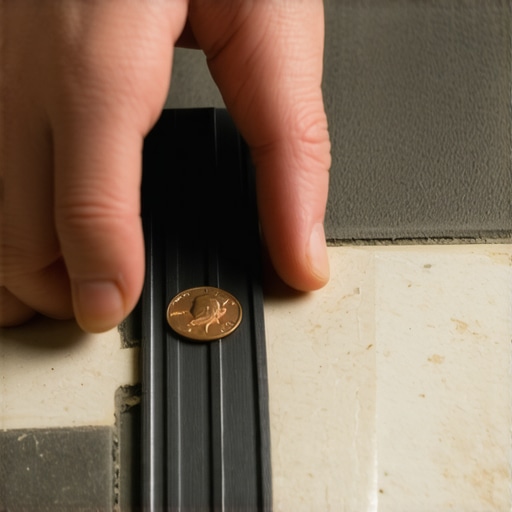
Lay the straightedge across the floor surface in areas prone to dips—doorways, near cabinets, or random spots that catch your eye. Place a penny with the head facing upward underneath the straightedge at the test point. If the penny slips or isn’t snugly wedged, you’ve identified a low spot needing correction. I once knelt to test precisely in the corner of a kitchen, where I suspected a dip. The penny rolled away easily, revealing a hidden depression that the tile man had missed.
Fine-Tune the Floor with Leveling Techniques
Once you’ve pinpointed uneven areas, mark them with chalk for clarity. Apply a thin layer of self-leveling compound over the low spots, following the manufacturer’s instructions carefully. For larger dips, you might need to pour in sections, preventing premature setting by working swiftly. I learned this the hard way—pouring too much at once caused sagging, so I now work in small batches and use a spike roller to evenly distribute the compound, ensuring a flat surface.
Check Your Progress Frequently
After leveling, wait the specified curing time, then repeat the penny test. Reassess by placing the straightedge and penny in the same spots. If the penny remains snug and the straightedge is level across the surface, you’re ready for tile layout. Skipping this step might lead to uneven tiles that can’t be fixed later or require costly repairs—something I experienced firsthand, lifting several tiles after noticing a subtle wobble.
Document and Double-Check Before Proceeding
Take photos or make notes of the problem areas, especially if they span multiple spots. Confirm that all low points have been addressed by reapplying the penny test in a grid pattern. This ensures a solid foundation, and a well-leveled subfloor saves time and money during the tiling process. For comprehensive tips, check out this detailed guide.
Beware of Common Pitfalls
Remember not to rush the drying phase of leveling compounds—premature tile laying can lead to cracking. Also, avoid over-applying compound in hopes of quick fixes, which can create uneven surfaces and hide underlying issues. Patience and precision are your best allies. For more on avoiding mistakes, see this resource.
Debunking Popular Myths About Flooring Accuracy
Many homeowners believe that a perfectly level subfloor is all it takes to ensure flawless flooring. However, this is a common misconception. In my experience, meticulous attention to the nuances of substrate preparation and understanding the subtle quirks of different flooring materials are what truly lead to a professional finish. For instance, some assume that using just a ruler or a standard level suffices, but precise techniques like the advanced leveling methods are essential for truly flat and long-lasting results.
The Hidden Trap of Relying Solely on Visual Inspection
A widespread mistake is trusting the naked eye to detect uneven spots. While surface imperfections are noticeable, hidden dips or high spots often go unnoticed without proper tools. A key advanced mistake is overlooking subtle dips that can cause significant issues over time, such as tile cracks or warping. Using tools like a laser level or a precision straightedge combined with a thoughtful test—like the pro secrets for perfect leveling—elevates your accuracy and prevents future repairs.
Why Overlooking Moisture and Material Expansion Is a Costly Error
Many DIYers ignore the impact of moisture content or temperature variations on flooring materials. For example, hardwood floors can expand and contract, leading to buckling if not installed with appropriate gaps or acclimation periods. Studies, including those cited by flooring experts, reveal that ignoring these factors increases failure rates dramatically. Recognizing how to incorporate these nuances—by allowing materials to acclimate properly and planning expansion gaps—can distinguish a good installation from a poor one. For detailed strategies, consider reviewing expert tips on flooring mastery transferred from industry standards.
Summing Up: Attention to the Details that Matter
Achieving a flawless floor requires more than just surface-level efforts. It involves understanding the complexities of material behavior, tool usage, and precise measurement and correction techniques. Don’t fall into the trap of oversimplification or assuming that common tools and visual cues are sufficient. Instead, embrace the advanced practices—like detailed subfloor assessment and material-specific installation protocols—that ensure your flooring stands the test of time. For comprehensive guidance to perfect your process, check out this step-by-step guide. Have you ever fallen into this trap? Let me know in the comments.
Keeping It Working: Essential Tools for Durable Flooring
Maintaining professional-grade flooring over years requires investing in the right tools that ensure longevity and ease of maintenance. One indispensable device I recommend is a laser level, such as the Bosch GCL100-50G, which offers unparalleled accuracy in checking floor flatness and regularly verifying adjustments during ongoing maintenance. Its ability to project clear, level lines across large surfaces saves hours of manual checking and reduces errors, particularly critical when dealing with hardwood floors or tile installations. Additionally, a high-quality moisture meter, like the Wagner MMC220, enables ongoing assessment of subfloor conditions before performing any repairs or reapplications, ensuring that moisture-related issues won’t undermine your long-term results.
For cleaning and periodic touch-ups, a microfiber mop paired with gentle, pH-balanced cleaners extends the life of your floors while preventing damage. I personally use a vinyl floor scrubber with adjustable agitation settings, as it allows me to remove dirt without scratching delicate finishes. Moreover, when dealing with uneven patches or areas that need leveling, my go-to product is a commercial-grade self-leveling compound like LevelQuik by Ardex, which offers quick curing times and excellent adherence, providing a stable foundation for subsequent refinishing or resealing. These tools, combined with routine checks, help maintain the integrity of your flooring investments over decades.
What steps can you take to keep your floors looking and functioning like new? Regular inspections and timely repairs are essential as wood and tile surfaces are subject to wear, moisture fluctuations, and shifting substrates.
Looking toward the future, innovations like smart sensors integrated with flooring systems might revolutionize maintenance. Structures embedded with IoT devices could alert homeowners to issues like moisture seepage or structural movement before visible damage occurs, helping to prevent costly repairs down the line. Embracing such technologies now can set the groundwork for seamless, minimal-maintenance floors in the coming years. To optimize your current setup, I suggest trying out my recommended laser level and moisture meter – they make routine maintenance efficient and effective.
For techniques on achieving perfect surface flatness, review the detailed methods available at this resource. Regularly using these tools and techniques ensures that your flooring remains beautiful and functional over the long haul. How do you plan to integrate these maintenance practices into your flooring routine? Share your thoughts in the comments and take the first step by testing your subfloor with a quality moisture meter today.
What I Didn’t Expect About Floor Flatness That Changed Everything
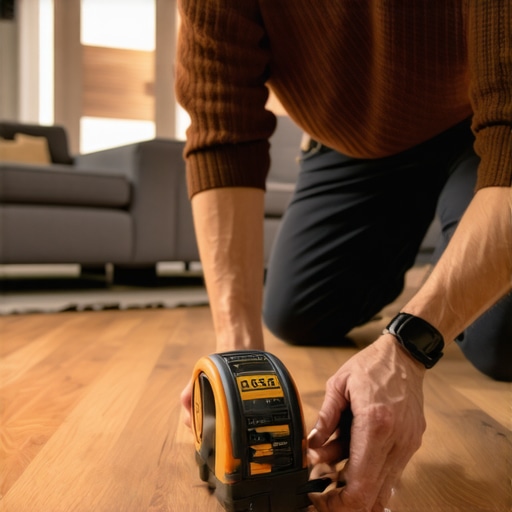
One of the most eye-opening lessons I learned was the importance of assessing my subfloor beyond just visual inspection. I once thought that a rough look was enough, but a simple penny test revealed hidden dips that could have undermined my entire tile project. Real-world experience taught me that precision isn’t just for professionals—it’s a necessity for lasting results.
How I Discovered the Power of DIY Tools That Save Time and Money
Investing in tools like a quality laser level and moisture meter transformed my approach. I found that these devices not only provided accurate readings but also gave me confidence during repairs and adjustments. Their reliability made me realize that doing your homework upfront pays dividends in the long run.
Why Ignoring Small Details Can Lead to Big Problems Later
Skipping steps like rechecking with a penny after leveling might seem convenient, but it can cause subtle issues that snowball over time. A tiny dip might seem insignificant but becomes a major headache if tiles crack or grout fails prematurely. Patience and thoroughness are the real secrets to professional-looking floors that last decades.
Tools That Turned My Floor from Good to Great
Among the game-changers are self-leveling compounds, spike rollers, and high-grade straightedges. Using these meticulously ensures a perfectly flat foundation, which is the backbone of beautiful, durable flooring. Personally, I trust products like Ardex LevelQuik because they are reliable and widely recommended by industry pros.
Stepping Into the Future of Flooring Maintenance
Looking ahead, smart sensors and moisture monitors will likely become standard, helping homeowners maintain their floors with minimal fuss. Embracing such technology now means better long-term care and fewer surprises. For ongoing maintenance, tools like laser levels and moisture meters remain indispensable—making routine checks effortless and effective.
Have you ever missed a small step that caused bigger issues later? Share your story below, and let’s learn together how to elevate our flooring projects to the next level.
,