
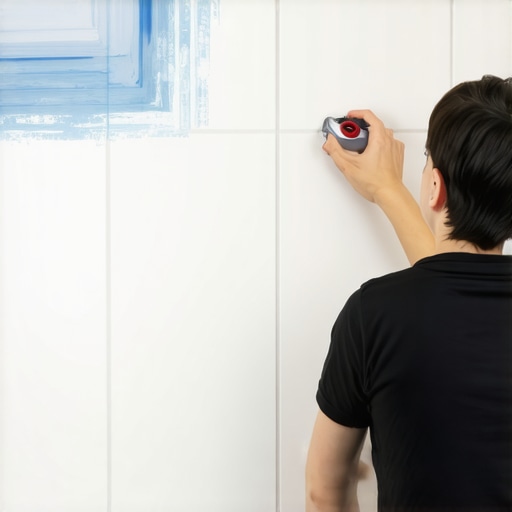
I vividly remember the first time I tackled a small tile project in my bathroom—everything was perfect until I reached the corners. No matter how carefully I applied the grout, the mess was undeniable. It looked like a child’s finger painting instead of a professional finish. I was frustrated, and honestly, a bit embarrassed to show it off. That lightbulb moment came when I discovered the painter’s tape trick for grouting inside corners. A simple technique that transformed my work from amateurish to sleek.
Why Grouting Corners Can Turn into a Nightmare—and How to Fix It
Let’s face it: grouting tight inside corners is one of those tasks that can really test your patience. Tiny gaps, uneven edges, and smudges can all ruin the look of your pristine tile installation. Over time, I learned that the devil’s in the details, and small mistakes early in the process can lead to big headaches later. The painter’s tape trick is a game-changer—it’s easy to implement and really boosts the precision of your grout lines.
Is the Painter’s Tape Trick Overhyped? You Bet It’s Worth Trying
I’ll admit, I was skeptical at first. I remember making the classic mistake of rushing through taping, only to peel away tape that pulled up freshly applied grout or left sticky residues. Early on, I didn’t realize the importance of proper technique—like pressing the tape down firmly or removing it at just the right time. Once I mastered these finer points, my corners looked so much cleaner.
If you’ve ever struggled with uneven grout lines or spent hours cleaning up excess, you’re not alone. Many DIY enthusiasts fall into the trap of thinking it’s just about patience, but the truth is, small tools and smart techniques, like this one, make all the difference. Curious to see how it works? Keep reading, and I’ll guide you through every step, so your next project ends with a professional edge.
Prepare Your Workspace Carefully
Before starting, clear the area and set up your tools—rags, painter’s tape, a grout float, sponge, and a utility knife. I once attempted to grout corners in a rush, which led to smudges that took hours to clean. Taking a few minutes to prep can save you double the time later. Ensure the surfaces are dry and free of dust for optimal adhesion.
Apply Painter’s Tape for Precision
Stick painter’s tape along the edges of the tiles where the grout will go—think of it as creating a stencil. Press the tape firmly to prevent grout from seeping underneath. During my first attempt, I lightly placed the tape and ended up with uneven edges. To avoid this, use a putty knife to press the tape down snugly and remove it immediately after grouting, before the grout dries—this minimizes mess and sharpens your lines.
Mask the Corners Effectively
Carefully line the tape at both sides of the corner, ensuring it doesn’t bunch or lift. When applying grout, work slowly in small sections, pressing grout into the joint with the float at a 45-degree angle. I remember rushing through a corner, which caused gaps—no matter how much I cleaned, the result wasn’t professional-looking. Take your time—precision beats speed here.
Shim the Gaps for Evenness
Use plastic spacers or shims to keep the corner gap consistent if necessary—think of it as adjusting a picture frame. When I installed my tiles, I found that slight shifts in spacing created uneven lines. Constantly check with a level or a straight edge to keep everything aligned. This step is especially crucial for large tiles or irregular shapes.
Cleanup and Final Touches
Peel away the painter’s tape while the grout is still soft—this prevents smudging or pulling dried grout. Use a damp sponge to smooth the grout lines, cleaning it frequently to prevent residue buildup. Afterward, inspect the corners and touch up any imperfections with a small brush. In a past project, rushed cleanup left behind sticky grout remnants, which I had to scrub off later. Patience now guarantees a neat finish.
Tips for Flawless Corners Every Time
- Work in small sections to maintain control over the grout application.
- Keep your tools damp; dry tools can scratch or unblend grout.
- Remove tape at the right moment, usually within 15-30 minutes—wait too long, and it’ll tear the grout.
- Practice makes perfect—consider practicing on scrap tiles to get a feel for grout consistency and application techniques.
Achieving neat corners is all about attention to detail. For more insights on avoiding common installation mistakes, you might find this resource helpful: Flooring Installation Mistakes to Avoid.
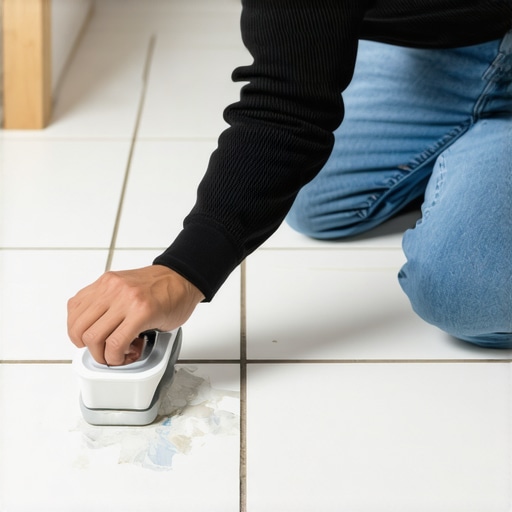 While many assume that installing tile or hardwood floors is simply about laying materials, the true intricacies lie beneath the surface. One prevalent myth is that leveling the subfloor is a quick step, but in reality, inadequate preparation here can lead to cracking and uneven surfaces down the line. Experts emphasize that meticulous floor leveling is essential for a seamless finish; skip this, and you risk ongoing issues that are expensive to repair.
Why Do Many Installers Overlook Accurate Floor Leveling, and What’s the Hidden Nuance?
Studies show that even minor deviations in subfloor flatness can result in significant aesthetic and structural problems over time, highlighting the importance of precise leveling. Many fall into the trap of applying quick-fix solutions like self-leveling compounds without thorough assessment—these often fail, especially if underlying issues like moisture or structural shifts aren’t addressed. Instead, a combination of detailed inspections and professional techniques, such as mechanical grinding and proper moisture barriers, ensures durability. I recommend checking out resources like this guide on achieving flawless floor leveling for advanced insights. An overlooked aspect is understanding the difference between leveling and subfloor stabilization; even a perfectly flat surface won’t hold if it’s unstable or damp. Therefore, investing time in the initial assessment pays dividends in long-term performance. Often, contractors focus solely on the surface finish, but proper subfloor preparation is the unsung hero that prevents future failures. Keep in mind, comprehensive preparation includes verifying the subfloor’s moisture content, structural integrity, and flatness—skipping these checks is a costly oversight. Always remember that the accuracy of your base determines the quality of your entire flooring project. Before installing, consider consulting detailed floor leveling challenges and solutions. Do you think your current approach to subfloor prep covers all these nuances? If not, it might be time for a reevaluation. Patchy results or unexpected cracks can often be traced back to neglecting this critical step. Have you ever fallen into this trap? Let me know in the comments.Maintaining your tile and hardwood floors over the years requires more than just routine cleaning—it calls for using the right tools and adopting strategic upkeep routines. Personally, I swear by a high-quality microfiber mop combined with a pH-neutral cleaner to preserve the finish without stripping away protective layers. Investing in a damp-dry vacuum specifically designed for hard floors ensures you remove abrasive debris that can scratch surfaces over time, extending the life of your investment.
For sanding and refinishing hardwoods, I recommend a variable-speed orbital sander with a dust collection system. It’s crucial because it minimizes airborne dust, which can settle into your finish and cause uneven wear or discoloration. Regularly inspecting your floor for signs of moisture intrusion is equally important; I utilize a moisture meter to catch issues early before they escalate into structural problems. This proactive approach aligns with professional guidelines from sources like Mastering Floor Leveling.
Predictions indicate that floor maintenance tools will become increasingly smart and connected, enabling real-time monitoring of humidity, wear, and even quantifying dirt levels for optimized cleaning schedules. Embracing this trend can save homeowners and professionals alike significant time and expense.
How do I maintain my floors over time? I follow a disciplined routine—using specialized tools for cleaning, performing periodic inspections, and scheduling professional check-ups for areas prone to moisture or heavy traffic. Additionally, I implement preventive measures such as installing door mats and using furniture pads, which significantly reduce scratches and indentations.
For example, I highly recommend trying a UV-rated hardwood floor cleaner combined with a microfiber mop—this duo effectively preserves the finish and keeps your flooring looking pristine. Don’t forget, regular maintenance extends the lifespan of your floors, saving you money and avoiding the hassle of premature replacements. Interested in more advanced techniques? Check out The Ultimate Guide to Floor Leveling for professional secrets that make maintenance even easier.
The Hardest Lessons I Learned About Flooring Installation
One of the most impactful lessons I discovered was that rushing through corner finishing can undo months of careful preparation. I once skipped the tape trick, thinking it was unnecessary, only to spend extra hours correcting uneven grout lines and fixing glare spots. That experience taught me that patience and attention to detail are non-negotiable—taking the time to perfect edges leads to professional-looking results that last.
My Unexpected Insight Into Subfloor Prep
Another lightbulb moment was realizing how vital proper subfloor leveling truly is. I believed that a quick skim of self-leveling compound would suffice, but I later learned that meticulous assessment, moisture barriers, and precise grinding made a world of difference. Skipping these steps might seem tempting for speed, but it’s a false economy—lasting durability depends on a solid foundation.
Tools and Resources That Elevated My Game
Over time, I found that investing in quality tools like a damp work sponge, a high-precision moisture meter, and a sturdy contour gauge transformed my approach. I highly recommend checking out this guide on achieving flawless floor leveling; it provided me with detailed techniques that minimized errors. Additionally, interactive forums and video tutorials from trusted sources helped me troubleshoot tricky corners and uneven joints, saving both time and effort.
Embrace Your Inner Craftsman—Start Today
The path to perfect flooring isn’t paved solely with technical know-how—it’s about developing confidence in your skills and savoring the process. Whether you’re installing hardwood or tile, remember that small steps—like precise corner masking—add up to a remarkable transformation. Today’s your chance to elevate your skills and create spaces that inspire pride. So why not pick up that trowel or grout float and give it your best shot? Your flawless floors await.