
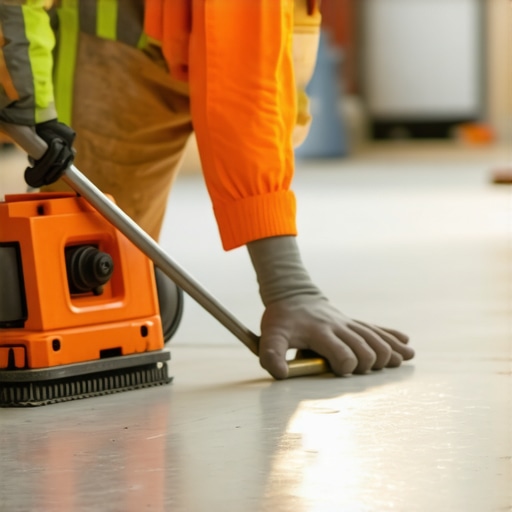
Ever spent hours laying down beautiful tile or hardwood, only to stand back and notice it’s uneven? I’ve been there—frustrated, second-guessing every step, feeling like my perfect project was slipping away. It wasn’t until a lightbulb moment that I realized the culprit: a simple, yet often overlooked technique—the Mirror Test for checking leveler smoothness before flooring. Ensuring a flawless, level surface isn’t just about appearance; it’s about longevity and safety too.
Why a Smooth, Level Subfloor Matters More Than You Think
When I first started my DIY renovations, I brushed off the importance of how even my floor was. I thought a quick glance might suffice. Spoiler alert: it doesn’t. A subfloor that’s even by just a fraction of an inch can cause tiles to crack, hardwood to squeak, and laminate to bubble. Not to mention the potential for tripping hazards. Experts agree that proper surface preparation is vital; in fact, proper leveling can prevent costly repairs down the line—some failures costing thousands to fix, as highlighted in common installation mistakes.
Have you ever faced uneven flooring after installation, despite your best efforts?
The truth is, many DIYers and even pros overlook a simple yet critical step. Early on, I made a rookie mistake—assuming a self-leveling compound was enough without verifying its smoothness. That oversight led to gaps and an uneven surface, making the entire finished floor look amateurish. That’s when I discovered the importance of the mirror trick—an inexpensive, straightforward way to verify the levelness of your underlayment or self-leveler. Once I incorporated this into my routine, my floors looked professional and held up perfectly over time.
Ready to find out how a mirror can be your secret weapon for flawless floors? Let’s dive into the technique that changed my flooring game, and could do the same for yours. Want to learn more about proper floor leveling methods? Check out comprehensive guides on the ultimate guide to floor leveling for expert tips.
Prepare Your Workspace and Gather Tools
Start by clearing the area and gathering essential tools like a high-quality spirit level, a long straight edge, a measuring tape, and a sturdy mirror. Having these on hand ensures a smooth process and accurate results. As I once learned the hard way, rushing through tool gathering often led to overlooked imperfections, causing me to redo sections later—costing time and money.
Check the Subfloor’s Current State
Inspect the subfloor for obvious bumps, dips, or damage. Use the straight edge and level to identify high and low spots. Mark problematic areas with a pencil. If the surface is severely uneven, a self-leveling compound might be necessary before proceeding. Remember, starting with a quality inspection prevents compounding issues down the line.
Use the Mirror to Detect Humps and Dips
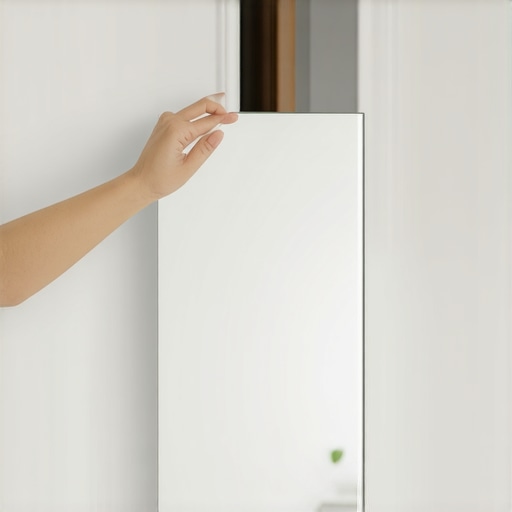
Place the mirror vertically against the floor in different areas; tilt it until you see the ceiling’s reflection clearly. If you notice distortions, such as the ceiling appearing warped or uneven, it indicates irregularities. This simple visual check reveals high spots that a level alone might miss. I once thought my floor was flat until I used the mirror, and the reflection exposed a troublesome bump that was invisible to the eye—learning that saved my project from future cracking issues.
Mark and Address Uneven Spots
Identify and mark high points with a pencil. For minor dips, consider using a self-leveling compound, following the manufacturer’s instructions precisely. For high spots, sand them down with a rubbing stone or sander. Ensure you smooth out the surface completely. This precise approach guarantees your base is truly flat, preventing tiles or hardwood from lipping or cracking later. To verify, rerun the mirror test after each adjustment.
Confirm Levelness with the 2-Foot Level-Test
After adjustments, place a 2-foot level across the marked areas to confirm flatness. The level should sit flush with the surface without gaps. For larger areas, use a longer straightedge to ensure uniformity. In my experience, skipping this step led to uneven installation, but patiently double-checking has allowed me to achieve professional-looking results consistently. Want more tips on subfloor prep? Check out this detailed guide.
Final Verification Before Underlayment or Flooring
Perform the mirror test one last time in different sections, especially in corners and transitions. If the ceiling’s reflection appears distorted or the mirror shows unexpected bumps, address those areas until satisfied. Remember, even small imperfections can cause significant issues later. Once confirmed, proceed confidently with your flooring installation, knowing your subfloor is truly level and ready for the next step.
 Many homeowners believe that laying tile or hardwood is a straightforward task, but in reality, there are nuanced pitfalls that can sabotage even experienced DIYers. One common myth is that a perfectly level subfloor isn’t essential—as long as the surface appears flat, many think they can proceed. However, subtle imperfections can cause long-term issues like cracks or squeaks. Experts emphasize that precise floor leveling techniques, such as thorough inspection and using tools like mirrors to detect high spots, drastically reduce future repair costs. Overlooking these details often leads to an “oops” moment when tiles crack or hardwood planks warp after installation.
A significant trap is the assumption that self-leveling compounds will compensate for unevenness without proper surface prep. Many skip the step of verifying the compound’s consistency and smoothness, resulting in an uneven surface that compromises the entire floor’s integrity. For advanced readers, understanding the importance of adhesion tests and moisture barriers is vital. For example, studies show that improper moisture management can lead to tile grout crumbling within months, increasing maintenance costs.
By questioning traditional methods and adopting refined, expert techniques—like meticulous subfloor inspection, proper tool usage, and adherence to proven leveling protocols—you can ensure a durable, flawless finish. Do you think surface leveling is overemphasized, or is it the secret to professional results? Share your experience below.
Are you curious about mastering these advanced floor leveling methods? Check out this comprehensive guide to flawless surfaces to elevate your project. Remember, skipping critical steps might seem harmless initially but can lead to costly mistakes later. Precision and attention to detail are your best allies for long-lasting, beautiful flooring.
Gear Up with the Right Tools for Durable Flooring
Investing in high-quality, specialized tools is crucial for ensuring your flooring remains in top condition long-term. I personally swear by a calibrated laser level—it provides unparalleled accuracy for checking floor flatness and helps catch subtle imperfections early, reducing costly future repairs. For smoothing self-leveling compounds, a steel trowel with a comfortable grip ensures even application and minimizes streaks, which can cause adhesion issues down the line. Don’t overlook the importance of a moisture meter; maintaining proper moisture levels is essential, especially for hardwood floors, to prevent warping or gaps over time. Using a durable, dustless sander can drastically cut down cleanup time and prolong the life of your finish. Over the years, I’ve perfected my toolkit to include an oscillating multi-tool, perfect for tight spots and detailed sanding—saving me from renting extra equipment and reducing expenses. Keeping these tools sharp, calibrated, and well-maintained translates into smoother installation and easier upkeep over the years.
Routine Maintenance That Protects Your Investment
Once your flooring is installed, regular care plays a pivotal role in its longevity. For hardwoods, initiating a monthly cleaning routine with a pH-neutral cleaner helps preserve the finish and prevents buildup that can cause scratches or dullness. Periodic inspection for signs of wear, such as loose tiles or squeaky hardwoods, allows for prompt repairs that avert bigger issues. Applying a suitable sealant every few years maintains moisture resistance and enhances color depth—this is especially vital in high-traffic areas. I recommend setting up a maintenance schedule aligned with the manufacturer’s recommendations; for example, these tips can extend your floor’s life significantly. Remember, small preventative measures are far easier and cheaper than major overhauls down the line.
Will You Keep Your Floors Looking New? Simple Maintenance Habits Make a Difference
How do I maintain my flooring over time? The key lies in consistent cleaning, avoiding excessive moisture, and prompt repair of any damages. For tile floors, sealing grout lines annually prevents staining and cracking, which can compromise the entire surface. Hardwood floors benefit from climate control; maintaining stable humidity levels—ideally between 35-55%—curbs expansion and contraction that lead to gaps or buckling. Incorporating entry mats and felt pads on furniture minimizes scratches and dents. As trends advance, smart sensors and IoT devices may soon alert homeowners to moisture or temperature fluctuations, adding a layer of proactive protection. Embracing these practices now ensures your investment pays off for decades. To elevate your maintenance routine further, explore expert advice from seasoned professionals through specialized resources or consider consulting flooring specialists on their site. Start today by trying one advanced tip—like setting up a moisture barrier inspection—to keep your floors in pristine condition for years to come.
What I Wish I Knew Before Starting My First Floor Leveling Job
One of the most valuable lessons I learned was that nothing replaces a meticulous inspection—skipping this step was my biggest rookie mistake, which taught me the importance of patience and attention to detail in achieving a perfectly level surface.
Why Rushing the Mirror Test Can Cost You Later
I used to assume that a quick glance with a mirror was enough, but I found out the hard way that taking your time to perform the mirror trick reveals subtle high spots or dips invisible to the naked eye—saving you from uneven floors and costly repairs down the line.
Choosing the Right Tools Makes All the Difference
Investing in quality tools like a calibrated laser level and sturdy straightedge transformed my workflow. These tools provided accuracy and confidence, preventing mistakes that can lead to uneven flooring and weakened durability over time.
Seeing the Floor with Different Eyes—The Power of Visual Checks
Performing the mirror test in multiple directions and in various lighting conditions helps catch flaws that might otherwise go unnoticed. Adopting this habit is what truly elevated my flooring projects from amateur to professional quality.
Comments are closed.