
The Cardboard Hack for Sliding Heavy Fridges Over New Tiles

I remember the moment vividly—my heart sank as I watched my heavy fridge jolt and scrape across the freshly laid tiles, leaving behind ugly scratches and marring the pristine surface. The realization hit me hard: moving appliances over delicate new flooring isn’t just about muscle; it’s about strategy. That lightbulb moment came when I discovered a simple yet effective trick—using cardboard sheets as sliding pads. It transformed my moving experience and saved me a lot of stress and costly repairs.

Protecting Your Floors While Moving Heavy Appliances

Moving heavy appliances like fridges and washing machines over new tiles can feel like a high-stakes game. Without proper precautions, you risk scratching, cracking, or otherwise damaging your beautiful flooring. Early on, I made the mistake of relying solely on towels or dragging furniture directly—an approach that nearly cost me a repairing bill.
The good news is, with a bit of ingenuity, you can safeguard your investment while making the move much easier. In this post, I’ll share the exact method I used—known among DIY enthusiasts as ‘The Cardboard Hack’—and guide you through how to do it right.

Prepare Your Surface Before Moving

Start by clearing the area of any debris or obstacles to prevent trip hazards. If your floor has a glossy finish, gently clean it with a damp cloth to remove dust that could cause slipping as you move appliances.

Gather Your Materials and Tools

Assemble cardboard sheets, furniture dollies, sliders, moving straps, and blankets. For flooring protection, thick cardboard is ideal as it distributes weight evenly, acting like a bed of feathers for your appliances.

Use Cardboard Sheets as Sliding Pads

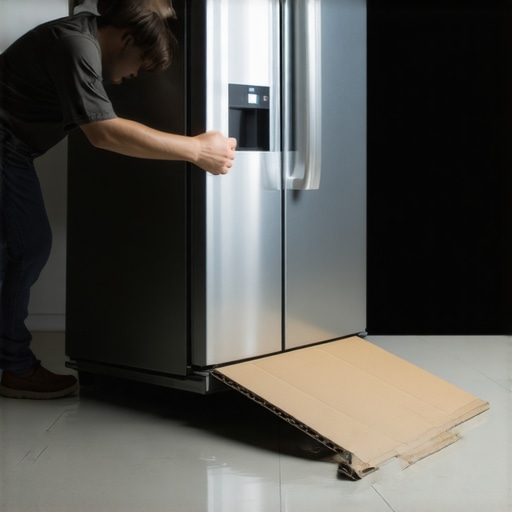
Lay large, flat cardboard sheets under the appliance’s legs or base. Secure them with painter’s tape to prevent slipping. This minimizes friction and acts like a slip-and-slide, making moves smoother and safer.

Case in Point: My First Try

Once, I tried stacking a few towels beneath my refrigerator, but they bunch up and cause uneven movement. Switching to sturdy cardboard sheets made a world of difference, allowing me to glide the heavy appliance effortlessly across the tile floor without scratches.

Position the Appliance Correctly

Attach the sliders or place cardboard underneath strategically, especially at points where the appliance has uneven weight distribution. Check that the appliance is balanced; tilting can cause the cardboard to shift or snag, risking damage to the floor or appliance.

Coordinate and Move

Have at least two people coordinate the movement. Push gently, keeping the appliance close to the floor to distribute pressure evenly. Use your legs, not your back, to generate power—think of yourself as a chess piece sliding gently across a checkered board.

Keep Movement Smooth and Controlled

Move slowly to avoid sudden jerks. As you push, monitor the cardboard’s position. If it shifts or bunches, pause, reposition, and proceed. This cautious approach prevents scratches and preserves your floor’s integrity.

Post-Move Maintenance

After successfully placing the appliance, carefully remove the cardboard sheets. Inspect your floor for any inadvertent marks or scratches. If you notice minor scuffs, apply a suitable hardwood or tile protector to maintain your surface’s pristine condition.

Additional Tips and Tricks

Use furniture straps for better control and leverage. For really stubborn appliances, consider a heavier-duty moving mat or even a
dolly with rubber wheels to reduce impact on flooring. For more insights on maintaining your flooring’s appearance, visit Hardwood Floor Care Secrets.
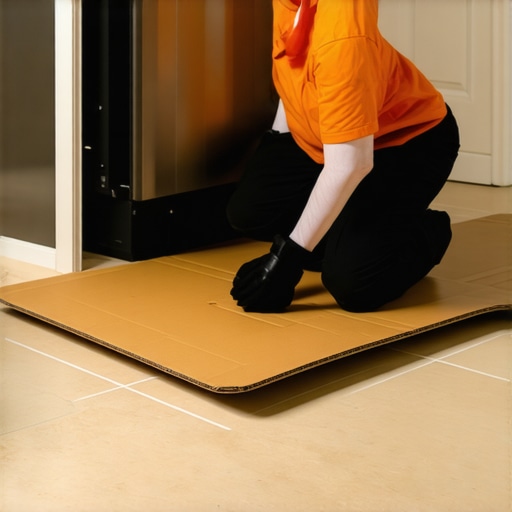
Person moving heavy appliance on cardboard sliders over tile flooring with protective gearEven seasoned DIYers and homeowners often fall prey to myths surrounding hardwood floors, flooring installation, and floor leveling. One pervasive misconception is that pre-mixed leveling compounds are always sufficient for a perfectly flat surface. In reality, as experts from reputable sources like the [Ultimate Guide to Floor Leveling](https://tiletrendshop.com/the-ultimate-guide-to-floor-leveling-for-a-perfect-finish) highlight, custom mixing the right ratio of water and compound ensures optimal adhesion and levelness. Relying on commercial mix ratios without testing can lead to uneven floors and future cracking.

Another trap many encounter involves tile installation, where the mistaken belief is that using too much thinset guarantees better adhesion. In fact, excess thinset can create uneven bonding, causing lippage and uneven surfaces. Skilled installers understand that proper trowel notch and consistent application are crucial. For a deeper understanding, visit [Mastering Floor Leveling](https://tiletrendshop.com/mastering-floor-leveling-pro-secrets-for-perfect-installations) to learn advanced techniques.

A common myth in hardwood flooring revolves around abrupt temperature changes: some think that massive temperature swings won’t affect the wood if the home is sealed. Conversely, experts agree that uncontrolled expansion and contraction can cause cupping and gaps. Regular acclimation before installation, as detailed in [Hardwood Floor Care Secrets](https://tiletrendshop.com/hardwood-floor-care-secrets-to-longevity-and-shine), is essential for stability.

Misunderstanding the importance of substrate preparation also leads to trouble; many believe that a subfloor’s role is minimal. However, improper leveling or moisture issues beneath can doom the entire project. The subtle nuances—like checking moisture levels with tools or ensuring the substrate is structurally sound—are often overlooked. Learn more about this at [Precise Floor Leveling Techniques](https://tiletrendshop.com/precise-floor-leveling-techniques-to-achieve-flawless-surfaces).

Advanced installers know that not all leveling compounds are created equal. Some formulations are designed for specific substrates like concrete versus plywood. Using the wrong type can lead to delamination or cracking over time. To avoid this, consult [Pro Secrets for Perfect Installations](https://tiletrendshop.com/installing-tiles-like-a-pro-step-by-step-strategies-for-2025), which emphasizes selecting the correct products for your unique situation.

The myth that larger tiles automatically mean easier installation is also widespread. In fact, larger tiles require more precise substrate preparation and specialized adhesives to prevent warping or lippage. Due to their size, even minor substrate unevenness becomes glaringly obvious. For tips on handling large-format tiles, see [Why Large Format Tiles Require a Deeper Thinset Bed](https://tiletrendshop.com/why-large-format-tiles-require-a-deeper-thinset-bed).

Understanding and avoiding these misconceptions can save you time, money, and frustration. Now, think about your recent or ongoing projects—have you ever fallen into this trap? Let me know in the comments! Proper knowledge is the most powerful tool for flawless flooring.Maintaining your hardwood, tile, or leveled flooring over time requires a combination of the right tools and disciplined upkeep. Investing in quality equipment not only prolongs the lifespan of your floors but also simplifies future repairs or upgrades.

Essential Tools for Ongoing Floor Care

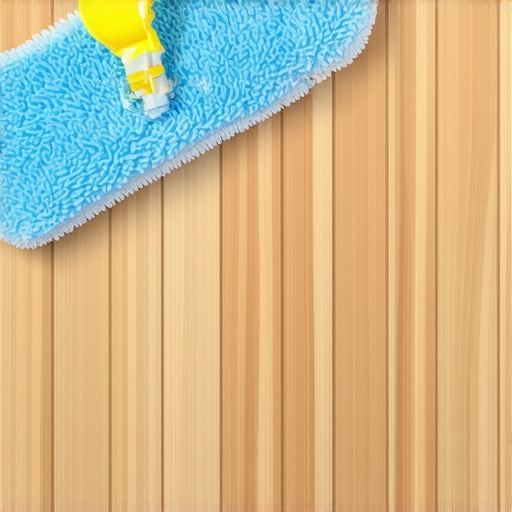
First and foremost, a high-quality microfiber mop is indispensable for routine cleaning. Unlike traditional mops that can push dirt into grout lines or scratch surfaces, microfiber absorbs dust and grime effectively without causing damage. I personally prefer the O-Cedar Microfiber Flip Mop because of its durability and versatility, allowing me to switch between damp and dry cleaning effortlessly.

For deep cleaning, a steam cleaner designed for tile and sealed hardwood surfaces is invaluable. Steaming can remove stubborn grime and sanitize your floors without the use of harsh chemicals. I highly recommend the Bissell SteamShot for its portability and effective cleaning power.

To monitor and maintain optimal moisture levels—crucial for hardwood longevity—I use a digital hygrometer. Maintaining humidity between 30-50% helps prevent wood cupping and cracking. The EXTECH MO290 model provides precise readings and has a durable probe for spot checks in tight spaces.

Tools That Facilitate Better Maintenance

Using a specialized grout brush can keep grout lines sealed and free from mold or mildew, especially in high-moisture areas. Stick to brushes with stiff bristles to effectively clean without damaging the surrounding tiles.

Applying a quality sealant periodically is vital. I apply a top-quality hardwood and tile sealer every 2-3 years. A sprayer like the Wagner Control Spray Max allows for even application, preventing uneven wear and protecting your investment.

Beyond tools, software like scheduled maintenance apps can remind you of upcoming tasks such as re-sealing or inspections. Regular check-ins—visual inspections for cracks, chips, or loose grout—can catch issues early before they escalate into costly repairs.

Predictions for the Future of Floor Maintenance

Advancements in nano-coatings and smart sensors are set to revolutionize how we care for floors. Imagine floors with integrated sensors that alert you when moisture levels fluctuate or when sealants need reapplication. As these technologies become more affordable, maintaining your floors will turn into a proactive and automated process, ensuring long-term beauty and durability.

How do I keep my flooring in prime condition over time?

Focus on routine cleaning with gear tailored to your specific surface—like microfiber mops for dust, steam cleaners for deep grime, and moisture meters to control humidity. Regularly inspect for early signs of wear, and reapply sealants based on manufacturer recommendations. Investing in quality tools upfront can save significant money and effort in the long run. For detailed techniques, check out expert-guided flooring strategies.

A person using a microfiber mop alongside a digital hygrometer for floor upkeep

Lessons Only the Pros Usually Find Out the Hard Way

One eye-opening lesson I learned was that no matter how careful you are, overlooking tiny details can cause big problems down the line. For example, I once assumed that a quick sweep was enough to prep the subfloor, but it turned out that microscopic debris caused uneven leveling. Now, I always double-check and use a damp cloth for dust removal. Additionally, I realized that using the wrong type of leveling compound or mixture ratio was a rookie mistake; precision in mixing makes the difference between a flawless floor and one that cracks over time. Lastly, I discovered that abrupt temperature changes during installation—like exposing newly laid tile to direct sunlight—can lead to warping and uneven grout lines. These lessons have shaped my approach to ensure durability and beauty in every project.