
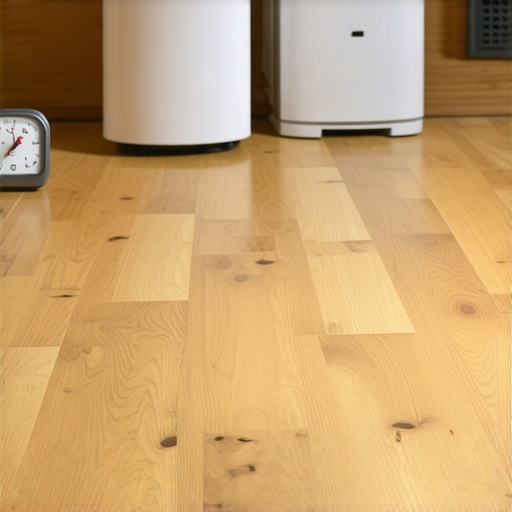
Ever had your beautiful hardwood floor suddenly look like a series of gentle waves after a particularly humid summer? I remember the first time it happened—my heart sank as I watched those perfectly laid planks start to curl upward at the edges. It was a lightbulb moment for me, realizing that even the best installer can be caught off guard by Mother Nature’s mood swings. If you’ve faced this frustrating problem—cupping, as it’s called—you know how it can ruin the look of your entire room and cause lasting damage if not addressed promptly.
Why Humidity Can Turn Your Hardwood Floor Into a Warped Disaster
The truth is, hardwood floors are like sponges—they soak up moisture from the air. During humid months, excess moisture causes the wood to expand, and because the edges are often constrained by nails or adhesives, the center pushes upward, creating what we call cupping or crowning. This not only affects the visual appeal but also risks cracking and further damage over time. Understanding this process is the first step towards preventing it.
Is Humidity Control Overhyped or Essential for Long-Lasting Floors?
I made a costly mistake early on—I underestimated the importance of a consistent humidity level. I thought I could just install the floors and maintain my usual indoor climate, but the subtle changes in moisture levels are sneaky. Today, I’ll share proven strategies—based on my own experience—to keep your hardwood floors flat and pristine, even when humidity levels swing wildly. For more in-depth insights, check out this guide on floor leveling challenges.
So, have you ever caught your floors warping or cupping during the humid months? You’re not alone. And the good news is, with a few actionable steps, you can protect your investment and keep your home looking its best. Ready to discover how to maintain that flawless, level finish no matter what the weather throws at you? Let’s dive into practical solutions that really work.
Secure the Subfloor Before Starting
Think of the subfloor as the foundation of a building—if it’s uneven or weak, everything above will be compromised. I once started a bathroom tile project without checking the subfloor, and within weeks, I noticed cracks and loose tiles. To avoid this, use a proper floor inspection method like the flashlight test to identify ridges and dips (see how here). Tighten loose joists with the wood shave trick—by slicing thin shavings to level out high spots, creating a smooth, supportive surface. Ensuring your subfloor is solid is the first step towards a flawless finish.
Level and Prepare with Precision
Apply Self-Leveling Underlayment
When the subfloor has minor irregularities, self-leveling compound is your best friend. Remember, the key is thorough mixing with the right paddle speed to prevent lumps (learn the tip here). Pour from a height to get an even spread and use a screed for larger areas—it’s like using a giant trowel to smooth out imperfections. During my last project, I learned to work quickly on warm days because thinset dries faster (note this tip), but patience and swift action led to a perfectly flat surface.
Double-Check with the Coin Test
After the compound cures, confirm its uniformity by the coin slide test—a simple way to verify flatness. If it wobbles or the coin tilts, apply a second layer of leveling compound and re-test. Remember, a flawless base prevents future issues like grout cracking or tile cracking, which can happen if you skip this step.
Control Environmental Conditions Constant
During installation, control humidity and temperature as if you’re managing a delicate plant—somewhat, because moisture levels directly affect your materials. Use dehumidifiers or humidifiers to maintain a stable range (ideally 40-60% humidity). I once ignored this advice during a summer installation, and the floor warped in less than six months. Installing a hygrometer helped me monitor real-time conditions and avoid future problems.
Incorporate Quality Tools for Better Results
Invest in quality tools like a T-mold or expansion joint to manage movement gaps—especially in large spaces. These are critical for accommodating natural expansion and contraction, avoiding cracks and buckles. For joints, I used a spacing guide during my last tiling project, which ensured consistent gaps and professional aesthetics. Additionally, experimenting with tile design accents can elevate your hardwood floor’s style, seamlessly blending functionality with beauty (see design ideas here).
Prevent Future Damage with Proper Edge Treatments
Finish your floors with appropriate trim and transition strips, and undercut door casings for a flush, clean appearance. I once failed to do this, and seasonal shifts caused large gaps along the baseboards—an avoidable mistake. Use a small saw to undercut door frames and match the expansion allowances needed for your flooring type. Doing this ensures your floors stay protected and look sharp for years to come.
Many homeowners believe that implementing flooring, whether tile or hardwood, is a straightforward process, but this misconception can lead to costly mistakes. One widespread myth is that choosing the most popular flooring material automatically guarantees a perfect result. In reality, the success of your installation depends heavily on understanding the specific nuances and conditions of your space, such as subfloor preparation and environmental factors. For example, neglecting proper subfloor assessment can result in uneven surfaces that cause tiles to crack or hardwood to warp over time. Instead, invest time in detailed inspection and preparation, as outlined in our comprehensive flooring guide.
A common mistake is assuming that all leveling compounds are interchangeable. Many installers overlook the importance of selecting the right type based on the substrate and moisture conditions. Using a standard compound where a fast-setting or high-flexibility option is needed can lead to uneven floors and joint cracking. This is backed by expert advice from flooring specialists, emphasizing the critical nature of product selection for long-lasting results.
Advanced installers know that floor leveling isn’t just about applying a compound but involves mastering techniques like the precise application methods to avoid introducing new problems. For example, over-application of leveling compounds in an attempt to fix underlying issues can cause surfaces to become too thick, increasing the risk of material failure. Recognizing these pitfalls is essential for professionals aiming for seamless finishes.
From my experience, a particularly insidious trap is underestimating environmental influences, especially humidity variations, which can subtly undo your work over time. Even meticulously installed tiles and well-leveled floors can distort if the ambient conditions aren’t properly managed. According to a study by the National Wood Flooring Association, fluctuations in moisture levels are a leading cause of flooring failures, particularly in regions with high humidity. Therefore, I always recommend integrating environmental control systems during installation, similar to how climate control is vital in maintaining HVAC efficiency.
Considering tile and hardwood floors together, the interplay between these materials can be overlooked. For example, improper transition thresholds can lead to cracking or uneven surfaces when materials expand or contract at different rates. The key lies in understanding the building science behind material movement, which is often neglected by DIYers. For more details on how to manage such complexities, see our tips on elevating your flooring design.
In summary, the real secret to flawless flooring installation goes beyond selection and basic tools. It involves mastering hidden nuances—like precise subfloor assessment, choosing the right leveling products, controlling environmental factors, and understanding material interactions. These details are what differentiate a professional finish from a rookie job. Remember, rushing through these critical steps can cost you in the long run. Dive deeper into each aspect and ensure your next project stands the test of time. Have you ever fallen into this trap? Let me know in the comments.
Invest in Precision Equipment to Ensure Lasting Results
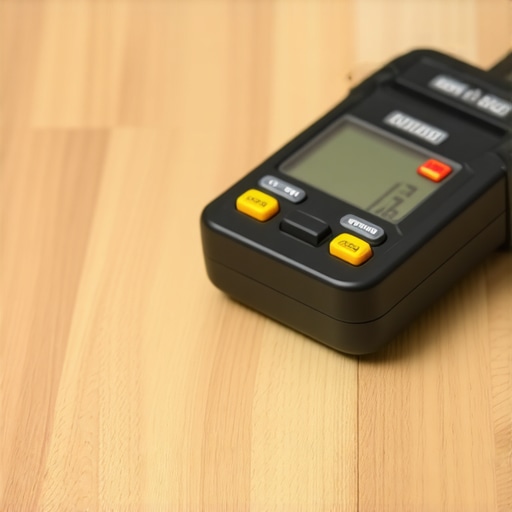
Using high-quality, specialized tools is essential for maintaining the integrity of your flooring over time. For example, I personally rely on a digital moisture meter like the “Protimeter Grain Moisture Meter” to regularly check humidity levels in the subfloor and ambient air, preventing issues like cupping or buckling. This device provides immediate readings, allowing me to make informed decisions about climate control or repairs before problems escalate. Additionally, a professional-grade flooring sander, such as the **Lagler Hummel**, ensures that refinishing hardwood floors remains efficient and produces a uniform surface, extending the life of your floors.
Streamline Maintenance with Smart Software Solutions
Modern technology has revolutionized flooring maintenance. I recommend using environmental monitoring apps like **SensorPush** to keep continuous track of humidity and temperature levels in different rooms. These compact sensors sync with your smartphone and alert you when conditions deviate from the optimal range (around 40-60% humidity for hardwood). By proactively managing these environmental factors, you can prevent long-term damage. For tile installations, software such as **ProSpec** assists in project scheduling and managing repair routines, making the entire maintenance process less overwhelming and more effective.
Predict the Future of Flooring Upkeep
Looking ahead, the trend is shifting towards more integrated, sensor-based solutions that provide real-time data on environmental conditions directly to your device. This will enable homeowners and professionals to perform preemptive maintenance, significantly reducing costly repairs down the line. Investing in such technology now lays the foundation for easier, more reliable upkeep in the future.
How can I keep my floors in top condition over time?
The key is to establish a regular maintenance routine that incorporates both the right tools and smart strategies. For hardwood floors, routine cleaning and periodic refinishing prevent scratches and wear, while monitoring moisture ensures the wood doesn’t swell or shrink. For tile and concrete, sealing joints and washing surfaces with gentle cleaners maintain their appearance and prevent mold or staining.
For more insights on avoiding common pitfalls in flooring maintenance, review our comprehensive guide. Investing in quality tools like a moisture meter and employing timely cleaning routines can dramatically extend your floor’s lifespan. Remember, early detection of issues is the best defense—so equip yourself with the right tech and make maintenance a priority. Try setting up a moisture monitoring schedule using sensors; it’s an advanced step that pays off in the long run.
Lessons That Took Me Too Long to Learn About Flooring Success
One of the most significant lessons was realizing that even small imperfections in subfloor prep can cascade into major issues later—like tile cracks or warped hardwood. It’s tempting to skip detailed inspections, but that oversight can cost you dearly in time and money. I once ignored the flashlight test, only to find uneven spots after installation, highlighting the importance of thorough groundwork. Also, I underestimated the impact of environmental controls—thinking a dehumidifier was optional—until seasonal changes caused my floors to curl and buckle months after finishing. These experiences reinforced that patience and meticulous attention to detail are vital for lasting results.
Tools and Guides That Changed How I Approach Floor Installation
I rely heavily on the comprehensive installation tips from Tile Trend Shop, which save me from common pitfalls. A quality moisture meter like the Protimeter Grain Moisture Meter has been invaluable for monitoring humidity levels, preventing cupping and buckling. Additionally, the step-by-step leveling guide provides clear, actionable steps that elevate my craftsmanship. These resources, combined with high-precision tools, have become cornerstones of my flooring projects—ensuring consistent, professional results every time.
Embracing the Future with Confidence in Flooring Maintenance
Looking ahead, I’ve started integrating smart sensor technology like the environmental monitoring devices. They give real-time data on humidity and temperature, allowing me to make proactive adjustments before issues become visible. This tech-savvy approach has transformed maintenance from reactive to preventive, boosting the longevity of my floors. I encourage you to consider adopting such tools—it’s an investment in peace of mind and the long-term beauty of your hardwood and tile installations. Remember, mastery lies in consistently refining your process and staying informed about emerging solutions—your floors will thank you for it.