
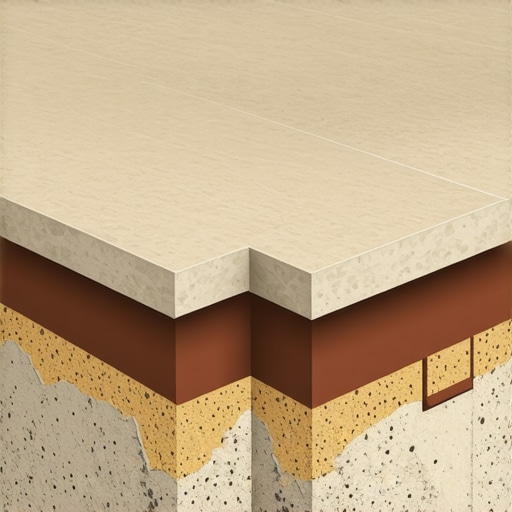
Have you ever stepped onto a freshly tiled floor only to feel that unsettling bounce beneath your feet? That nauseating squeak or jiggle can be a real nightmare, turning your beautiful new space into a constant source of worry. I remember the first time I laid tile in my bathroom—excited, proud, ready for a stunning upgrade. But as soon as I walked across the surface, I knew something was off. That dull thud and slight sway told me I’d overlooked an essential detail: the condition of my subfloor.
Why You Can’t Ignore a Bouncy Subfloor
It might seem harmless at first, but a loose or unstable subfloor can spell disaster for your flooring project. Over time, that slight bounce worsens, leading to cracked tiles, grout lines breaking apart, and even structural issues that can cost a fortune to repair. The problem is, many DIY enthusiasts or even some professionals skip the critical step of assessing subfloor stability before starting the installation. I made this mistake early in my career, rushing into tiling without pinpointing potential issues, which resulted in cracks and a wobbling floor—even after spending hours and money on what I thought was a perfect job.
Recognizing this early can save you from future headaches. Whether you’re installing tile, hardwood, or vinyl, understanding your subfloor’s condition is the foundation of success. Proper evaluation not only ensures longevity but also guarantees your efforts don’t go to waste. It’s like building a house on sand—no matter how beautiful the finish, it won’t hold. Luckily, once I learned how to identify a bouncy subfloor, my projects turned out smoother and more durable.
Is Detecting a Bouncy Subfloor Actually Worth the Hype?
At first, I wondered if all the fuss about subfloor assessments was overkill. But then I realized that ignoring this step was a costly mistake. Trust me, it’s worth the extra effort. Detecting issues early through simple tests can prevent tiles from cracking or buckling down the line. If you’ve faced similar doubts or uncertainties, you’re not alone. Learn to spot the telltale signs, and your future self will thank you. Want some proven techniques? Check out [precise floor leveling methods](https://tiletrendshop.com/precise-floor-leveling-techniques-to-achieve-flawless-surfaces) to master your prep work.
So, how do we identify these stubborn, hidden problems lurking beneath your surface? It’s easier than you think, and I’ll walk you through the practical methods to keep your floors perfectly even and sound, ensuring your tile stays spectacular for years to come. Ready to get your hands dirty and become a floor assessment pro? Let’s dive into the test that saved my project and can save yours too.
Perform the Push Test for Hidden Instability
Start by gently prying up a corner of the flooring with a flat bar, mimicking how a mechanic checks for loose parts. If the subfloor shifts or feels loose, you’ve identified a major issue. In my own experience, I once noticed a slight give when I pressed with my foot during a routine check and decided to investigate further—turns out, nails had come loose, and the entire board was sagging. Fixing it early prevented future cracking and wobbling.
Check for Squeaks and Creaks in Place
Walk the area directly and listen for telltale sounds. Squeaks often indicate the subfloor is no longer firmly attached, especially if they persist when you walk in a specific spot. For heavier areas, I used a weighty book and pressed down repeatedly to amplify any movement—this revealed a loose section that needed fastening before the tile installation. Addressing squeaks before tiling is crucial to avoid cracks or looseness later.
Use a Spirit Level to Detect Uneven Surfaces
Place a high-quality spirit level across the floor in multiple directions. Any gaps between the level and surface point to unevenness—think of it as measuring a wobbly table to stabilize it. I once discovered a 3/8-inch slope in my bathroom subfloor, which I corrected with proper leveling compound, saving me from future tile cracks. For large areas, consider using a laser level for accuracy and efficiency, especially when working with large-format tiles that highlight even minor dips, as detailed in this guide.
Tapping Test for Loose Subfloor
Use a rubber mallet or your hand to tap the surface systematically like a doctor with a stethoscope. Hollow sounds indicate sections where the subfloor isn’t properly secured. I remember hearing a distinct echo in my hallway after initial installation, prompting me to re-adhere the loose areas with proper underlayment adhesive—this extra step enhanced the floor’s longevity dramatically. This simple test can save you from costly repairs down the line.
Inspect for Moisture or Damage
Look for discoloration, warping, or swelling, as moisture can weaken subfloor adhesion. I once ignored a damp patch under the bathroom vanity, which later caused the plywood to delaminate and resulted in uneven tiles. Before installing tiles or hardwood, dry and treat any signs of moisture, following guidelines in this comprehensive article. Proper assessment now prevents structural failures and tile cracking later.
Mark and Prioritize Repairs
Map out areas needing reinforcement—loose boards, sagging spots, or uneven patches—and plan targeted fixes. Whether it’s screwing down loose plywood, adding underlayment, or applying leveling compounds, precise repairs create a solid foundation. After assessing my kitchen subfloor, I patched up several weak spots with self-leveling underlayment, which resulted in a smooth, stable surface perfect for tile adhesion, demonstrating that a thorough evaluation pays off.
When tackling flooring projects, many believe that following standard procedures guarantees success. However, in my experience, there are subtle nuances and misconceptions that can trip up even seasoned DIYers. For instance, a widespread myth is that leveling floors with quick-setting compounds is a one-size-fits-all solution; in reality, choosing the right leveling method depends on the specific subfloor conditions, as detailed in this comprehensive guide. Rushing to lay tiles or hardwood without thorough inspection often leads to costly failures later, such as cracked tiles or squeaky floors. Recognizing the importance of proper subfloor assessment might seem tedious, but it’s the cornerstone of lasting results.
One advanced mistake I’ve seen many make is neglecting moisture testing, especially in regions prone to humidity fluctuations. High moisture levels can cause hardwood floors to expand, contract, or buckle over time, despite correct installation techniques. Experts recommend conducting multiple moisture tests to ensure subfloor dryness, which protects your investment—an insight backed by studies from the National Wood Flooring Association.
Another misconception involves the selection of adhesives and grouts. Some believe that generic products work fine; however, using specialized, floor-specific adhesives prevents issues like delamination or grout cracking. For example, large-format tiles require flexible thinsets to accommodate potential movement without cracking, a topic covered in this article.
Are you aware of the hidden pitfalls that can undermine your flooring project? One overlooked aspect is the impact of environmental conditions during installation. Temperature and humidity fluctuations must be controlled to ensure materials cure properly and bond firmly. Ignoring this can lead to uneven surfaces or adhesive failure.
For even more advanced insights and to debunk common misconceptions that can ruin your project, I highly recommend exploring this expert column. The devil truly is in the details—the difference between a flawless floor and one riddled with issues often comes down to understanding and navigating these nuances. Have you ever fallen into this trap? Let me know in the comments.
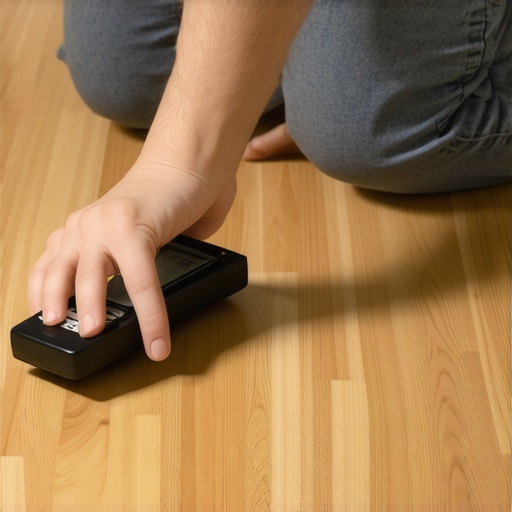
Maintaining your flooring, whether it’s tile or hardwood, demands the right tools and a systematic approach to ensure durability and beauty over time. I personally swear by high-precision moisture meters like the Protimeter Aquant; they allow me to monitor moisture levels beneath the surface, preventing issues like buckling or cracking. Regular inspections with such tools help catch problems early, especially in areas prone to humidity fluctuations. For cleaning, I prefer using pH-neutral floor cleaners that won’t degrade sealants or finishes, extending the lifespan of hardwood floors and tiles alike. Remember, proper maintenance isn’t just about cleanliness—it’s about preserving the integrity of the materials beneath the surface.
In the near future, I foresee a move toward integrated smart monitoring systems embedded within flooring materials. These would continuously track environmental conditions and alert homeowners or professionals about potential issues. This integration could revolutionize how we maintain floors, shifting from reactive to proactive care. To stay ahead, incorporate reliable moisture meters and adhere to a scheduled maintenance routine based on the manufacturer’s recommendations or expert insights from guides like this comprehensive floor leveling guide.
How do I maintain my floors over time?
Establish a regular cleaning schedule using suitable products, inspect for signs of moisture intrusion or damage, and promptly address minor issues before they escalate. For hardwoods, consider periodic refinishing with quality sealants to protect against scratches and wear—consulting resources like this expert advice can help you determine optimal intervals. For tiles, checking grout integrity and sealing exposed joints annually helps prevent water ingress and deterioration. Utilizing specialized tools like grout whiteners or gentle abrasives can refresh the surface without damaging the material, saving money and extending the aesthetic appeal. Consistent maintenance, paired with the right equipment, can make your flooring stand the test of time and shifting environmental conditions.
When caring for hardwood floors, avoid using excessive water during cleaning—this can lead to warping. Instead, employ microfiber mops combined with dampened solutions designed for wood. For tiles, especially in high-traffic areas, I recommend applying a stone sealer every couple of years to prevent staining and water damage. Investing in the right tools, such as soft-bristle brushes for grout lines and UV-resistant surface protectants, ensures you preserve your flooring’s look and structural integrity. Regular upkeep not only sustains your investment but also keeps your home’s aesthetic pristine for years to come.
Lessons I Wish I Learned Sooner About Floor Preparation
- I underestimated how much a tiny movement or squeak could sabotage my entire tile project, leading to cracks and wasted effort—patience with thorough assessment is key.
- Neglecting moisture testing in humid seasons almost cost me a complete redo; now I always double-check the subfloor’s dryness to protect my work.
- Choosing the wrong leveling technique for my unique subfloor caused uneven tiles, but learning the right methods from trusted guides transformed my approach.
- Dealing with stubborn squeaks after installation taught me that identifying and fixing these issues early saves headaches and future repairs.
- Proactive inspection and repair of loose boards and dips turned my flooring into a durable, long-lasting surface that I can be proud of.
Tools and Resources That Upgraded My Flooring Game
- The Ultimate Floor Leveling Guide – My go-to for understanding how to address uneven surfaces effectively.
- Tile Installation Tips – These pointers helped me avoid costly mistakes and streamline my project.
- Hardwood Refinishing Tips – Essential for maintaining and restoring hardwood floors for years to come.
- Expert Support – Whenever I hit a snag, consulting experienced professionals provided clarity and confidence.
Your Next Step Toward Flawless Floors
Creating a durable, beautiful floor is within your reach when you pay attention to unseen details like subfloor stability and moisture levels. Embrace the learning process and remember, mastery comes with persistent effort and the right guidance. Don’t let hidden issues undermine your hard work—invest in proper assessment now and enjoy lasting results. Ready to turn your flooring vision into reality? Your perfect surface awaits!
Comments are closed.