
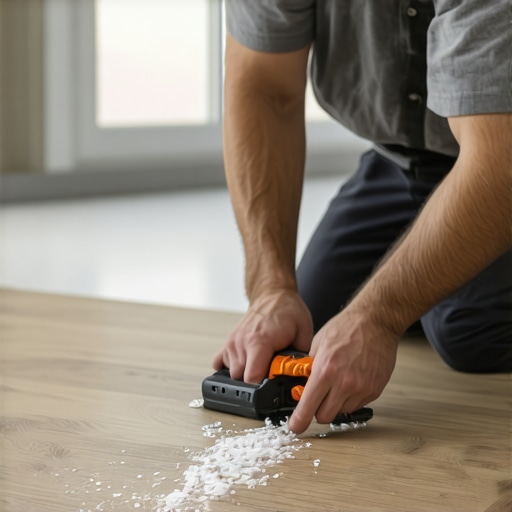
One afternoon, I stepped into my living room and noticed a strange bubble forming on my luxury vinyl plank flooring. Just like that, my peaceful Sunday turned into a flooring nightmare. I remembered thinking, “Did I do something wrong during installation?” or “Is this bubble going to ruin the entire floor?” That lightbulb moment made me realize how delicate and frustrating bubbling can be, especially when you’re trying to avoid tearing up your entire room.
The Hidden Challenge of Bubbling Vinyl Planks
Bubbling in LVP flooring isn’t just an eyesore—it can be a sign of underlying issues like improper installation, moisture problems, or trapped air beneath the surface. The good news? You don’t always have to tear up the floor to fix it. Over the years, I’ve learned effective techniques that save your time and keep your room intact. If you’ve ever faced this sticky situation, you’re not alone. Many homeowners grapple with bubbling, but with a little patience and the right approach, you can restore your floor without major demolition.
Is Repairing Bubbling Vinyl Worth the Hype?
Early in my DIY journey, I made the mistake of panicking and ripping up a plank prematurely. It was daunting, messy, and costly. I later discovered that many issues stem from simple causes like surface contamination or slight moisture infiltration. Repairing bubbling isn’t just a quick fix; it’s about understanding what caused it in the first place. Studies show that proper installation and moisture control significantly extend the lifespan of your flooring, making repairs not just cosmetic but a way to preserve your investment (learn more about installation fundamentals).
Now, let’s delve into proven methods to tackle this problem head-on, so you can stand proud of your beautiful, bubble-free floor once again.
Secure the Loose Plank Carefully
Start by gently lifting the bubbled section with a flat pry bar or putty knife, applying even pressure to avoid damaging surrounding planks. During one diy project, I carefully pried up a bubble near a doorway, revealing trapped air and moisture underneath. Removing the plank provides direct access for the next steps.
Prepare Your Workspace and Supplies
Gather a clean cloth, some adhesive suitable for vinyl planks, a utility knife, and a roller. To prevent further damage, clear the area and lay down protective coverings. Once, I used painter’s tape to mark the area, ensuring precision during repairs. Proper prep makes the process smoother and less messy.
Re-adhere or Replace the Affected Section
If the plank is salvageable, apply a thin layer of vinyl flooring adhesive to the back of the lifted plank and press firmly into place, smoothing out air pockets with a roller. I once re-glued a small section, which bonded well after a few hours. For severely damaged planks, replacing the entire section might be necessary—match the new piece carefully to the existing flooring.
Address Underlying Moisture Issues
Before re-adhesion, test for moisture with a concrete moisture meter. High humidity or leaks underneath can cause recurring bubbling. I once delayed repairs until I identified and fixed a plumbing leak, saving myself from future headaches. Ensuring proper vapor barriers or sealants under the flooring is critical for long-term stability.
Level the Surface Before Reinstallation
Uneven subfloors can lead to bubbling. Use a self-leveling compound or floor patching material at low spots. I applied a thin coat of self-leveler to a patchy area, achieving a perfectly flat surface that prevented future bubbles. Follow manufacturer’s instructions carefully and wait until the compound cures completely before proceeding.
Test and Complete the Repair
Once adhesive sets, gently press the plank to ensure full contact and smoothness. Walk on it lightly to check for any new bubbles forming. If all looks good, apply finishing touches like baseboards or trim. Remember, meticulous surface prep and moisture control are vital for a lasting fix—this approach is the secret behind professional results (see more about flooring prep).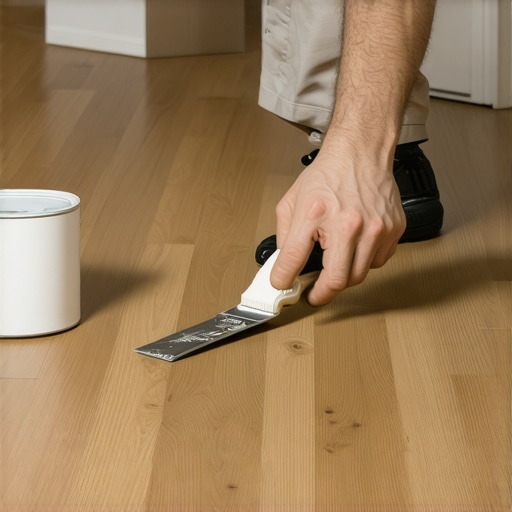 Even seasoned DIYers and professionals sometimes fall for misconceptions that compromise their flooring projects. One pervasive myth is that leveling the subfloor is always an optional step, but in reality, skipping proper leveling can lead to uneven surfaces, cracks, and bubbling down the line. Ensuring a perfectly flat surface is critical for both hardwood and tile installations, as it affects durability and aesthetic appeal. For advanced tips on achieving flawless levelness, visit our detailed guide on floor leveling.
Many believe that hardwood floors are more forgiving when it comes to moisture, but in truth, they are highly susceptible to humidity fluctuations that cause warping and gaps. Installing a proper vapor barrier and understanding the nuances of moisture content are often overlooked, but are vital for long-lasting hardwood flooring. To avoid costly mistakes, check out our advice on moisture barriers.
When it comes to tile installation, a common misconception is that more thinset is always better for adhesion. However, excessive mortar can lead to uneven surfaces and lippage, especially with natural stone tiles. Using the right trowel size and application technique is essential — I recommend consulting our tile installation tips for expert insights.
A less obvious but critical aspect is understanding the ‘oops’ factor: rushing the curing process or not adhering to manufacturer instructions. For example, walking on freshly installed tile too soon can introduce imperfections and cause lippage or cracks. Understanding the timing and environmental conditions for curing can save you from rework and ensure a seamless finish.
For seasoned installers or those wanting to elevate their craft, paying close attention to the subtle differences in materials, tools, and techniques makes all the difference. Overlooking these nuances often causes advanced mistakes, such as improper expansion gaps or misaligned grout lines, which are tough to correct later. To master these details, explore our expert secrets for professional-level flooring.
Have you ever fallen into this trap? Let me know in the comments!_
Keep Your Floors Performing Long-Term
Maintaining beautiful, functional flooring requires more than just installation; it demands the right tools and routine care. Investing in high-quality equipment not only simplifies ongoing maintenance but also extends the lifespan of hardwood, tile, or vinyl surfaces. For DIY enthusiasts, owning precision tools like a laser level or a moisture meter can make all the difference in achieving professional results and preventing costly mistakes.
Essential Tools for Flooring Maintenance
One tool I personally swear by is a digital moisture meter. Regularly testing subfloor and surface moisture levels ensures your flooring stays stable over time, avoiding issues like warping or bubbling. I prefer the ones with dual-pin probes for accuracy, such as the Protimeter Surveymaster, because it provides instant readings—saving me from guesswork during repairs or upgrades. Additionally, a quality floor roller, like a 50-pound hand roller, helps in re-adhesion processes and even out the surface without requiring a professional installer.
When it comes to long-term care of hardwood floors, routine cleaning tools matter. A microfiber mop paired with pH-balanced cleaner preserves the finish and prevents scratches. For tile, a grout brush and steam cleaner allow me to maintain the cracks and joints easily, preventing grime buildup that can compromise adhesion during repairs or re-grouting projects. Precisely applied tools make maintenance more effective and reduce the need for frequent professional interventions.
Smart Software for Planning and Scaling
Beyond physical tools, I utilize design and measurement software like RoomScan or Floorplanner to plan future renovations or scale up my flooring projects. These apps help visualize outcomes, calculate material needs precisely, and ensure leveling is flawless before installation—saving time and reducing material waste. As flooring trends evolve, using these tools prepares you for scalable upgrades, whether it’s integrating new tiles with existing hardwood or expanding a leveled surface to cover additional rooms.
Looking ahead, technology will play an even greater role in flooring maintenance. Innovations like IoT-connected sensors embedded in floors could monitor humidity and wear in real-time, alerting homeowners to issues before they become visible. Embracing these advancements will empower DIYers and professionals alike to maintain floors proactively, ensuring long-term beauty and structural integrity.
How do I keep my floors looking their best over time?
Developing a routine maintenance schedule using the right tools is essential. Regularly testing moisture levels, using proper cleaning equipment, and updating your approach with new technology will help preserve your flooring investments for decades. For comprehensive advice on elevating your space, explore our tips on choosing the right hardwood floors and learn how to implement lasting solutions. Don’t hesitate to try a professional-grade moisture meter — it’s a game-changer for keeping your floors resilient and stunning over time.
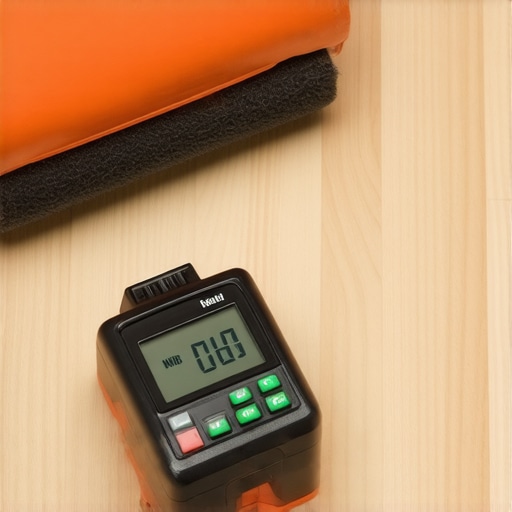
Image prompt: A detailed shot of a professional-grade moisture meter and a high-quality floor roller in a modern home environment, emphasizing tools used in flooring maintenance and repair. Alt: Floor maintenance tools including moisture meter and roller. Title: Essential Tools for Long-Term Flooring Care.
,
Lessons That Changed My Flooring Approach Forever
- One of the most impactful lessons I learned is that not all bubbling issues require full replacement; sometimes, simple re-adhesion and moisture testing can save a lot of time and money.
- Rushing the curing and adhesion process may seem faster initially, but it leads to recurring problems down the line, highlighting the importance of patience and following manufacturer instructions closely.
- Paying attention to subfloor conditions, especially levelness, was a game-changer—uneven surfaces are often the root cause of bubbling and cracking, and addressing them upfront prevents future headaches.
- I discovered that consistent moisture testing and moisture barrier maintenance are vital for long-term durability, especially in areas prone to humidity fluctuations.
- Small details like proper expansion gaps and precise leveling can make the difference between a flawless finish and ongoing issues—these are the secrets professionals swear by.
Tools and Resources That Elevate My Flooring Practice
- Pro Curity Moisture Meter: I trust this tool for its accuracy in detecting hidden moisture; it’s essential before installing or repairing flooring to prevent future bubbling.
- 50-Pound Hand Roller: This simple device helps me ensure proper adhesion and smoothness during re-gluing or leveling processes, making professional results achievable at home.
- Self-Leveling Compound by LevelPlus: A staple in my kit for fixing uneven subfloors; it’s reliable and easy to work with, providing a perfectly flat surface for installation.
- My Flooring Planning Software: Tools like Floorplanner allow me to visualize projects, measure accurately, and plan necessary surface preparations, saving time and reducing waste.
Your Next Step Starts Now
With these insights and tools, you’re well on your way to mastering flooring repairs and installations that stand the test of time. Remember, each project teaches you something new—embrace the process, learn from setbacks, and celebrate your successes. By applying these expert secrets, you can transform your space into a durable, beautiful showcase of your craftsmanship.
What aspect of flooring repair challenges have you struggled with the most? Let me know in the comments below—your questions and experiences might just inspire the next breakthrough!
For comprehensive guidance on achieving flawless installations, check out our step-by-step flooring installation guide.