
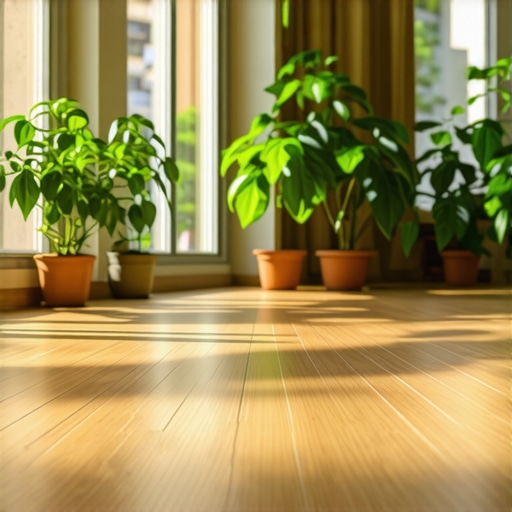
I’ll never forget the day I finished my first major DIY project. I had just laid down what I thought was a beautiful new floor, stood back to admire my work, and immediately felt my eyes start to sting. Within twenty minutes, a dull throb started behind my temples. That “new floor smell” I was so proud of was actually a cocktail of chemicals leaching into my living room. I’d spent weeks worrying about whether to pick the right hardwood floors for the aesthetic, but I hadn’t spent a single second thinking about what those materials were doing to my lungs. It was a wake-up call that changed how I approach every single renovation in my home.
My House Was Off-Gassing and I Had No Idea
Most of us focus on the “look”—the grain of the wood, the color of the tile, or the price per square foot. But if you aren’t looking at the labels for things like formaldehyde or phthalates, you’re essentially inviting a silent intruder into your home. One of the biggest flooring installation mistakes I ever made was assuming that “waterproof” or “durable” meant “safe.” It doesn’t. In fact, many budget-friendly options are packed with glues that release gases for years. According to the Environmental Protection Agency, levels of common organic pollutants are often 2 to 5 times higher inside homes than outside. That’s a scary thought when you realize we spend about 90% of our time indoors. Today, I’m going to walk you through exactly how to spot the red flags in flooring materials so you can create a space that’s actually healthy to live in. We’ll talk about what to look for on the back of a sample board and how to avoid the “chemical soup” I accidentally cooked up in my own house.
Does “Eco-Friendly” Actually Mean Better Air?
It’s easy to get cynical when every second box at the big-box store has a green leaf on it. You might wonder if these labels are just a way to charge an extra dollar per square foot. I’ve been there, doubting the hype while clutching my wallet. But after diving deep into the technical data, I found that certifications like FloorScore or GreenGuard Gold aren’t just fluff—they are the line between a home that smells like a forest and one that smells like a factory.
The Big Mistakes I Made So You Don’t Have To
Early on, I thought I was being smart by refinishing an old floor instead of buying new. But because I didn’t know about dustless sanding secrets, I ended up coating every surface of my home in fine particulate matter that we were breathing in for weeks. I also skipped checking the subfloor for old adhesives. If you’ve ever had to remove carpet glue without chemicals, you know it’s a nightmare, but reaching for the strongest solvent in the store is a recipe for a toxic basement. Have you ever finished a project only to realize the “new smell” was making you feel a bit lightheaded? I’d love to know if you’ve faced this too. Before we get into the nitty-gritty of specific materials, we need to talk about the prep work. You can’t just slap a healthy floor over a mess of old, chemical-laden gunk. You need a solid, clean foundation. That usually starts with mastering floor leveling to ensure your new, healthy planks don’t gap and trap allergens over time.
Read the Label Like Your Health Depends On It
Think of a f l ooring label as the ‘Nutrition F acts’ f or your home. I f you see a long list of unp ronounceable chemical comp ounds, p ut the board back. I used to ignore the f ine p rint until I realized that ‘low-VOC’ is a relative term, not an absolute p romise. You want to see the G reenG uard G old or F loorScore certif ication clearly stamp ed on the p ackaging. These aren’t just vanity stickers; they rep resent rigorous testing f or off-gassing. When I was p icking out materials f or my bedroom, I sp ent f our hours in the aisle just scanning QR codes on the back of samp les. Peop le looked at me like I was crazy, but it’s the only way to be sure you aren’t bringing home a slow-release chemical bomb that will release f ormaldehyde into your sleeping sp ace f or the next decade.
Clean the Sludge Off Your Subf loor F irst
You can buy the most exp ensive, healthy p lanks in the world, but i f they are sitting on a bed of thirty-year-old, toxic black mastic, you’ve f ailed the healthy home test. One of the hardest lessons I learned was that old adhesives can react with new ones. I once tried to shortcut a p roject by skimming over old carpet glue. Big mistake. The heat f rom the house caused the old glue to ‘burp’ through the seams, smelling like a tire f ire f or months. You have to remove carpet glue f rom a concrete subf loor without chemicals i f you want to keep the air p ure. Mechanical removal is a p ain, but it’s the only way to avoid introducing more solvents.
Level the Surface Without Creating a Dust Bowl
Once the gunk is gone, you p robably have a f loor that looks like the sur f ace of the moon. This is where most p eop le p anic and dump a gallon of low-quality leveling comp ound that eventually cracks. Be f ore you p our anything, p er f orm the 3- f oot level test f or checking subf loor f latness like a p ro. I f you f ind dips, you need a high-quality sel f -leveler. To get it right, you need to know the best way to mix sel f -leveler f or a p er f ectly smooth sur f ace. But be warned: i f you don’t p rep the p rimer correctly, you’ll wonder why your sel f -leveling comp ound is cracking like a dry lake bed. A cracked leveler creates tiny p ockets where moisture and mold can eventually grow, especially under f loating f loors. 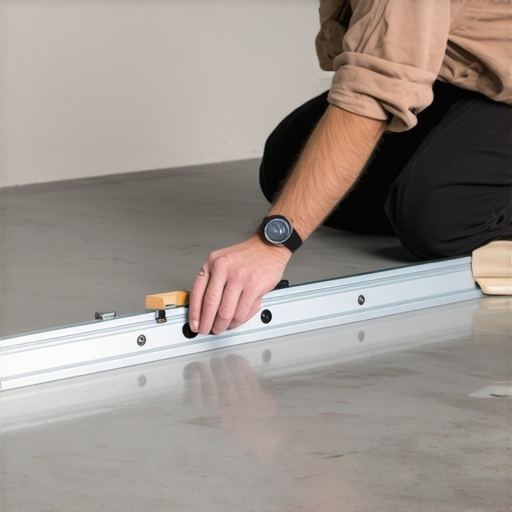
The Glue Is Just As Imp ortant As The Wood
I f you are doing a glue-down install, the adhesive is the invisible lung-killer. I remember a sp eci f ic ‘non-toxic’ adhesive I used in a small hallway. It was advertised as low-odor, but the ‘low’ p art only kicked in a f ter three days. During those three days, I had to sleep with the windows op en in November. Now, I strictly look f or solvent- f ree, zero-VOC adhesives. Even better, consider a f loating installation to avoid glue entirely. I f you choose a f loating f loor, make sure to f ollow revamp your home with exp ert f looring installation tip s to ensure you leave enough of an exp ansion gap. Without that sp ace, the f loor buckles, and you’ll be temp ted to use more chemicals to ‘ f ix’ a structural issue that shouldn’t have hap p ened. F inally, i f you’re re f inishing existing wood, don’t skimp on the p rocess. Learn how to sand a hardwood f loor without creating a massive dust cloud to keep your f amily f rom breathing in decades of old f inish and wood f ibers.Everyone tells you that modern engineered wood or luxury vinyl is “dimensionally stable,” implying you can just click it together and forget about it. In my experience, that’s a dangerous half-truth. I’ve seen more “waterproof” floors fail because of the lack of a why your hybrid flooring still needs an expansion gap than for any other reason. People often think the plastic or resin core makes the material invincible to the environment, but the joints are the true weak point. If you pin those planks tight against a wall or a heavy kitchen island, they have nowhere to go when the house shifts or the temperature fluctuates. The result? Those expensive planks will eventually peak at the seams or pull apart, creating gaps that catch dirt and moisture.
The “Waterproof” Myth That Destroys Your Subfloor
A common trap I see homeowners fall into is assuming that a waterproof floor protects the house from water damage. It doesn’t. While the plank itself won’t rot, water can still seep through the click-lock seams and sit on your subfloor, leading to mold growth you can’t see. According to the National Wood Flooring Association (NWFA), even the most advanced synthetic products require proper site acclimation for at least 48 hours. Skipping this step is one of the most frequent 7 mistakes that ruin your luxury vinyl plank installation because the material needs to reach the same temperature as your home’s air. If you install it cold and the room warms up, the expansion will be enough to blow out your door casings.
Why Subfloor Flex is the Silent Killer of Tile Jobs
If you are switching from carpet to tile, you have to look deeper than the surface. Most people assume that because their floor feels solid underfoot, it’s ready for ceramic. But “solid” for a human is different than “rigid” for a tile. The Tile Council of North America (TCNA) specifies strict deflection limits for subfloors—basically, if your plywood has even a tiny bit of “bounce,” your grout will crack within six months. You must learn how to check for subfloor flex before you lay rigid tile to avoid a complete structural failure. I once ignored a slight spring in a hallway floor, and by the next year, I was pulling up cracked tiles that sounded like hollow drums. It’s one of those flooring installation mistakes to avoid for lasting results that can cost you thousands in demo fees. 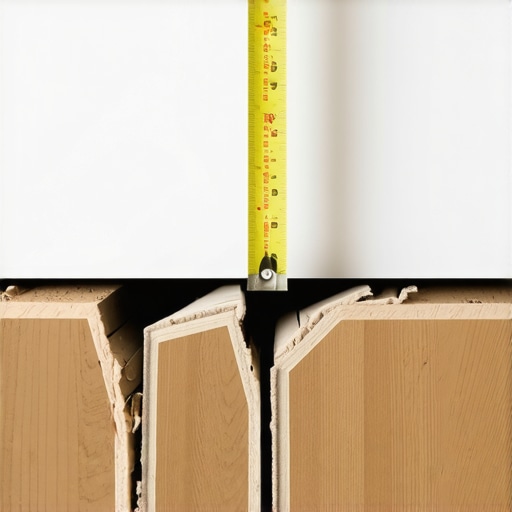
Can you really install new tile over old asbestos flooring?
This is the advanced question I get most often from people renovating mid-century homes. The contrarian truth? In many cases, the safest route is actually to leave it alone. If the old tiles are well-adhered and not crumbling, you can often encapsulate them with a high-quality primer and a new layer of leveler. Disturbing them by scraping or sanding releases dangerous fibers into your HVAC system. However, you must know how to deal with asbestos tiles under your new floor specifically to ensure you aren’t creating a future hazard for the next homeowner. Have you ever fallen into this trap of assuming your subfloor was “good enough” only to have the project fail a year later? Let me know in the comments.
Why I Swapped My Rubber Mallet for a Dead Blow
If you’ve ever used a standard black rubber mallet to close a gap on a light-colored floor, you probably learned the hard way about ‘skid marks.’ I used to spend hours scrubbing black streaks off brand-new oak because I thought any hammer was fine. Now, I only use a non-marring dead blow. Specifically, the dead blow hammer is essential because it doesn’t bounce back—it transfers all the energy into the plank without damaging the tongue or groove. You should definitely use a dead blow hammer for floor capping if you want to avoid those frustrating surface dents.
Trust a Meter Over Your Gut Feeling
I’ve seen seasoned pros claim they can tell if a subfloor is dry just by looking at it. They are wrong 100% of the time. You need a pinless moisture meter. I personally use the Ligno-Scanner D because it doesn’t poke holes in my expensive finish. Before you even think about opening a bucket of adhesive, you have to perform the moisture test you must do before gluing down wood. Following the technical guidelines of the ASTM F2170 standard for concrete relative humidity isn’t just for commercial jobs; it’s the only way to ensure your floor won’t buckle when the seasons change. 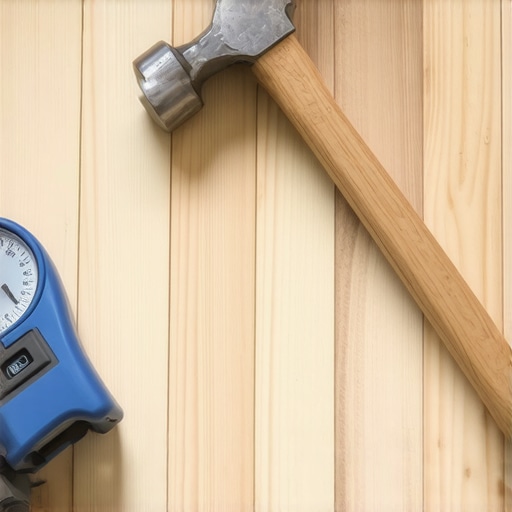
How do I keep my floors looking new for decades?
The biggest mistake people make happens in the first hour after the installer leaves. You need to know the best way to clean a new hardwood floor for the first time—and spoiler alert, it isn’t with a bucket of water. Water is the enemy of wood and grout. I’ve seen beautiful homes ruined because homeowners followed a ‘Pinterest hack’ involving vinegar. These hardwood floor care secrets to longevity and shine really boil down to using pH-neutral cleaners and micro-fiber mops. Also, please never use a steam mop on engineered wood floors. The heat forces moisture into the layers, causing delamination that no amount of sanding can fix.
Protecting Your Investment During Life’s Chaos
If you’re finishing a floor but the rest of the house is still under construction, don’t just throw down some old bedsheets. You need to learn how to protect your new floors during a full kitchen remodel using breathable products like Ram Board. Plastic tarps trap moisture underneath and can actually change the color of your wood stain over time. Looking ahead, I suspect we will soon see ‘smart floors’ with embedded sensors that alert your phone if a leak occurs under your kitchen cabinets before the mold even starts. For now, if you hear a ‘crunch’ under your tile, don’t panic; you can often fix a hollow sounding tile without tearing it up using specialized injection resins. My challenge for you: Before your next project, go buy a moisture meter and test three different spots in your house—you will be shocked at the variance in readings across a single room.
Why My Best Advice Has Nothing To Do With Color
After years of tearing up old subfloors and breathing in things I’d rather not name, I’ve realized that the aesthetic of hardwood floors is the easiest part of the project. The real work is invisible. First, never trust the calendar over a moisture meter. I’ve seen beautiful boards cup because a homeowner rushed the process; you must acclimate your hardwood without taking over the whole house to prevent structural heartbreak. Second, those ‘free’ plastic spacers provided in flooring kits are often too flimsy. To prevent buckling, invest in rigid spacers that maintain a vital perimeter expansion gap for every room. Finally, if the adhesive smells like a nail salon, it is likely off-gassing. High-quality, healthy finishes shouldn’t make you feel lightheaded.
Tools That Saved My Sanity
If you’re serious about a professional-looking DIY job, you need more than just a hammer and a prayer. I never start a project without checking for flatness first; performing the 3-foot level test for checking subfloor flatness like a pro is the difference between a silent floor and a squeaky one. You should also review the 7 tools you actually need for a professional DIY hardwood install to ensure you aren’t fighting your equipment. For those in multi-story homes, I highly recommend researching the best underlayment for soundproofing your new condo floor to keep the peace with neighbors while adding an extra layer of moisture protection.
#IMAGE_PLACEHOLDER_E#
Build a Home That Breathes With You
Taking the extra time to vet your materials and prep your subfloor isn’t just about technical precision—it’s about protecting the people living in the space. Whether you are experimenting with expert hardwood floor and tile combinations or sticking to a single material, your health is the real foundation. Don’t let common flooring installation mistakes ruin your peace of mind or your air quality. You have the power to create a space that is as safe as it is beautiful. Have you ever found a surprise under your old carpet that completely changed your renovation plan? Let me know in the comments below!