
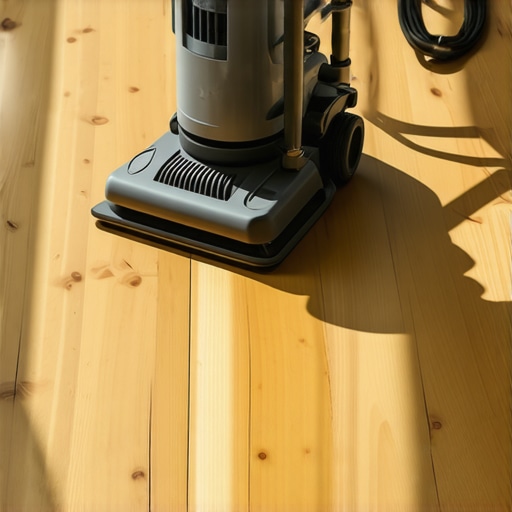
I’ll never forget the “Snowstorm of 2012.” That’s what my wife calls the week I decided to save a few bucks and sand down our living room oak floors using a rented drum sander and a wing and a prayer. I didn’t realize that standard bags on those machines catch maybe 60% of the debris at best. By day two, the fine particulates had migrated into the upstairs bedrooms, the toaster, and even the cat’s fur. It was a nightmare that could have been avoided if I’d known the dustless sanding secret for home renovations. [image_placeholder_1]
Stop Living in a Cloud During Your Next Renovation
We’re going to tackle the biggest hurdle of mastering hardwood floor refinishing today: containment and extraction. If you’ve been putting off a revamp of your home with expert flooring installation tips because you’re terrified of the cleanup, I hear you. But modern tech—and a few old-school tricks—means you can actually keep your lungs clear and your furniture clean. The goal isn’t just to make the floor look good; it’s to make sure you don’t spend the next six months dusting your baseboards daily.
Is “Dustless” Sanding Actually Worth the Extra Effort?
You might be thinking this is just more gear you don’t need or an expensive gimmick. My early mistake was thinking a cheap shop vac and a flimsy paper mask were “enough.” According to the Occupational Safety and Health Administration (OSHA), wood dust is a Group 1 carcinogen, and standard vacuums often just blow the smallest particles right back into the air. Have you ever tried to clean hardwood floors after a major renovation only to find the dust returning every time the furnace kicks on? Drop a comment and tell me if you’ve faced that ghost dust—it’s enough to make any DIYer quit!
The Gear That Actually Keeps Your Air Clean
Before you even touch a sander, you need to understand that the sanding secret for old heart pine floors or even common red oak is all about the vacuum’s CFM (cubic feet per minute) and HEPA filtration. It’s not just about the sander itself. I learned the hard way that choosing the right hardwood floors is only half the battle; the other half is maintaining a livable environment while you work. We are going to look at how to seal off rooms like a surgical suite and why your vacuum hose length actually matters more than you think.
Seal the Room Like a Clean Room
Before you even power up, you need to create a pressurized environment. I use 4-mil plastic sheeting and painter’s tape to block every vent, doorway, and electrical outlet. Think of it like prep work for how to achieve flawless floor leveling before tile laying; if the prep is sloppy, the finish is ruined. I once skipped the kitchen doorway thinking it was just a quick pass and spent the next weekend cleaning sawdust out of my spice jars. Don’t be me. Use zip-up doorways to keep the particles trapped in the work zone while allowing yourself an exit. This containment isn’t just about cleaning; it is about preventing the spread of fine particulates into your sleeping areas.
Your Vacuum Is More Important Than Your Sander
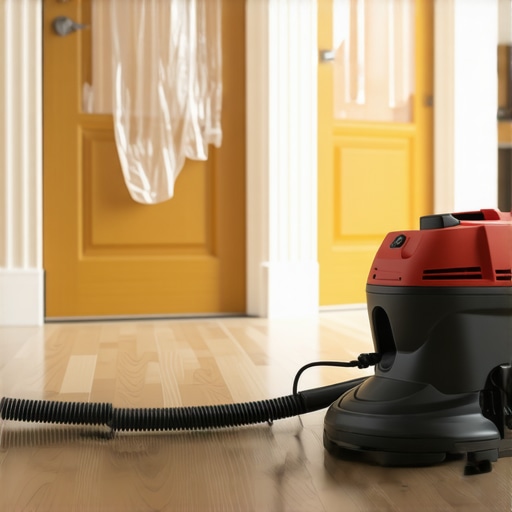
The real secret isn’t just a bag on the back of the machine. You need a dedicated dust extractor with a HEPA filter. Standard shop vacs often have filters that leak the finest, most dangerous particles back into the room. When you’re learning how to sand a hardwood floor without creating a massive dust cloud, the hose connection is where most people fail. Use a rubber adapter to ensure an airtight seal between your orbital sander and the vacuum hose. If you feel air escaping at the joint, you are losing the battle against gravity and air currents. High CFM (cubic feet per minute) is what pulls the dust away before it can even leave the shroud of the sander.
Follow a Strict Grit Sequence for Professional Results
You can’t jump from 40-grit to 120-grit and expect the wood to look right. It is like trying to finish a floor leveling project by skipping the primer; it just won’t bond or look smooth. For most red oak, the best grit sequence for sanding red oak to a mirror finish usually starts around 36 or 40, moves to 60, and finishes at 80 or 100. Each step removes the scratches from the previous grit. If you skip a step, the dust will settle into the deeper gouges, making your stain look blotchy and amateur. This is especially true if you are trying to blend new hardwood into old flooring without a transition; the grit must match exactly across the seam.
Address Subfloor Issues Before the First Pass
Sanding won’t fix a bouncy floor. If you feel movement, you need to fix a bounce in your plywood subfloor before you begin the refinement process. A shifting subfloor causes the sander to chatter, leaving wavy marks that only show up once the final coat of poly hits the wood. Check your flatness using the 3-foot level test for checking subfloor flatness like a pro. If you have deep dips, you might even need to look into how to level a plywood subfloor with shims to ensure the sander stays on a consistent plane. It sounds like extra work, but professional-grade floors are won or lost in the structural prep.
Clean the Floor Between Every Single Pass
This is where the ghost dust comes from. After every grit change, vacuum the floor twice—once with the grain and once across it. Then use a tack cloth or a slightly damp microfiber mop. This ensures no stray 40-grit particles remain to ruin your 80-grit pass. It is a similar logic to flooring installation fundamentals and leveling; you cannot build a beautiful surface on top of debris. I have found that taking ten minutes to wipe down the walls and the top of the sander itself prevents hidden dust from falling onto your fresh finish later. If you are dealing with stairs, be even more careful and learn how to sand hardwood stairs without damaging the risers, as dust tends to hide in those tight 90-degree corners.
Stop Chasing the Level and Focus on Flatness
Here is the truth that most big-box store experts will not tell you: a floor can be perfectly level but still be a disaster for your installation. Most DIYers spend hours obsessing over the bubble on their spirit level, yet they ignore the waves in the subfloor. For mastering hardwood floor refinishing or professional tile work, flatness is actually more critical than being level. If your floor is slightly tilted but perfectly flat, your furniture might lean a millimeter, but your tiles won’t crack. However, if it is level but has birdbaths or low spots, your porcelain tiles will crack in a perfect straight line because of the void underneath.
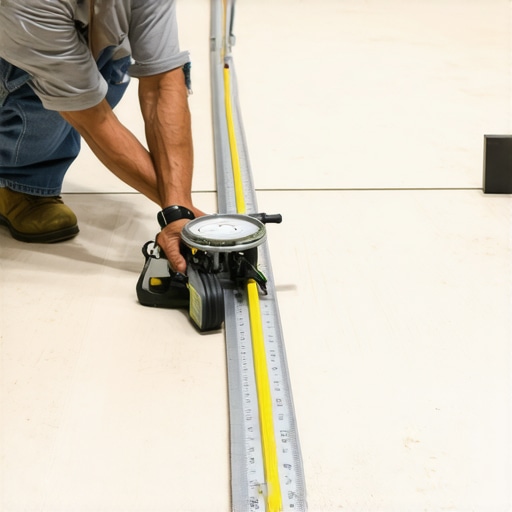
The Tile Council of North America (TCNA) is very clear on this in their technical specifications: for tiles with any side longer than 15 inches, the substrate must be flat within 1/8 inch over 10 feet. If you ignore this, you are looking at significant floor leveling challenges that no amount of thinset can fix. I once watched a buddy try to back-butter his way out of a 1/2-inch dip. Within three months, the grout was crumbling. He did not use the 3-foot level test for checking subfloor flatness like a pro, and it cost him the entire kitchen floor. Have you ever fallen into this trap? Let me know in the comments!
How Much Subfloor Flex Is Too Much for Rigid Tile?
This is the oops factor that catches even experienced renovators. You can have a subfloor that looks flat and level, but if it has too much vertical deflection, your rigid flooring will fail. Before you commit, you need to check for subfloor flex before you lay rigid tile. If you feel a vibration in your heels when you jump, your joists might be spaced too far apart or the plywood is too thin. This is why flooring installation fundamentals and leveling always start with structural integrity. I have seen people install beautiful stone only to have it pop loose because they did not fix a squeaky subfloor before laying new floor.
Why Your Self-Leveler Might Be Setting You Up for Failure
Everyone thinks self-leveling compound is a magic eraser for bad floors. It is not. In fact, it is one of the most common places where projects go sideways. The biggest mistake is skipping the primer or using the wrong one. If you do not prime concrete before every leveling job, the dry slab will suck the moisture out of the leveler too fast. This is exactly why your self-leveling compound is cracking like a dry lake bed. You end up with a brittle, dusty mess that does not bond to the substrate. Always ensure your work environment is draft-free; a simple breeze from an open window can cause the surface to dry prematurely, leading to pinholes and bubbles. If you are already seeing issues, check why your floor primer is making the leveler bubbling worse to troubleshoot your mixing ratio before your next attempt.
If I could go back to the guy in the ‘Snowstorm of 2012,’ I would hand him a high-quality pinless moisture meter and a 360-degree laser level. These aren’t just ‘nice-to-haves’; they are the thin line between a floor that lasts fifty years and one that fails in five. I personally swear by pinless meters because they allow you to check your materials without leaving unsightly holes in your expensive planks. When you are assembling the 7 tools you actually need for a professional DIY hardwood install, accurate moisture readings should be your non-negotiable first step. According to the National Wood Flooring Association (NWFA) Technical Publication No. C100, professionals must ensure that the moisture content of the wood flooring and the subfloor are within a strict range of each other—usually within 2% for wide planks—to prevent future cupping. If you ignore this technical detail, you are essentially gambling with your entire renovation budget. 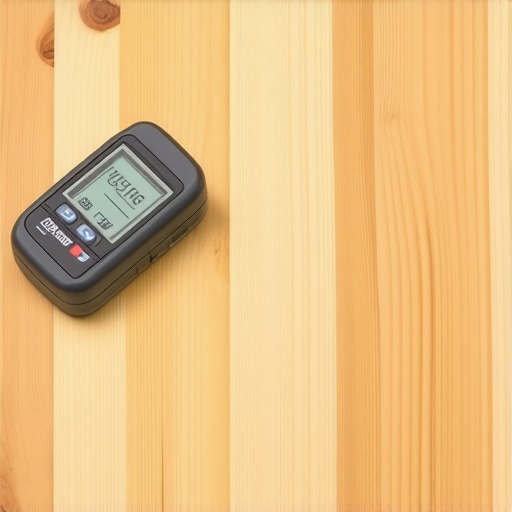
How do I keep my floors looking brand new for a decade?
Maintenance starts the very second the last piece of trim is nailed in. I always tell my clients that knowing hardwood floor care secrets to longevity and shine is just as important as the physical installation. This means throwing away your steam mop—seriously, the heat and moisture can delaminate engineered wood—and using heavy-duty felt pads on every single chair leg. If you are continuing other projects, you must learn how to protect your new floors during a full kitchen remodel. Breathable floor protection like Ram Board is your best friend; never use non-breathable plastic for long periods as it can trap moisture and ruin the finish. For those who chose ceramic or stone, your tile installation pointers that save time and money should always include a plan for periodic grout sealing to prevent the deep staining that makes even a new floor look aged.
High-Tech Sensors Are Coming for Your Subfloors
Looking ahead to the next five years, I predict a massive shift toward ‘smart’ subfloors. We are already seeing the early stages of embedded sensors that can alert a homeowner to a moisture leak under the tile before the first crack even appears. This tech will eventually solve some of the most frustrating floor leveling challenges by identifying structural shifts in real-time. Until those sensors become standard at your local hardware store, your best defense is a step-by-step guide to flooring installation and leveling success and a commitment to doing the prep work right. My big tip for you today? Go buy a pinless moisture meter before you lay a single plank. Use it to check every corner of your room before you start mastering hardwood floor refinishing or laying down new tile. It is the cheapest insurance policy you will ever buy for your home.
3 Myths About “DIY-Friendly” Sanding That Nearly Ruined My Marriage
I used to think that “dustless” was just a marketing buzzword designed to sell more expensive rentals. I was wrong. The first big lesson? Most systems are only as good as the vacuum they are attached to. If you are not using a dedicated extractor, you are essentially just rearranging the dirt. Another lightbulb moment came when I realized that mastering floor leveling pro secrets is more about patience than physical labor. You have to let the primer dry completely or you will just end up with a peeling mess. Finally, I learned that avoiding flooring installation mistakes to avoid starts with your ego; if the floor is not flat, do not try to “fix it in the finish.” Pull it up and start over before the glue sets.
The Gear That Saved My Sanity
If you are ready to get serious, here is what is in my truck right now. First, the Festool CT Dust Extractor. It is expensive, but it actually captures the micro-particulates that cause “renovation cough.” Second, the Wagner Orion Pinless Moisture Meter. This is the only way to verify your subfloor is ready without poking holes in your expensive wood. Third, a 360-degree green beam laser level. It makes checking for dips across a 20-foot room take seconds rather than minutes. These are among the 7 tools you actually need for a professional DIY hardwood install that I never leave home without.
Step Out of the Dust and Into Your New Room
You now have the knowledge to move beyond a renovation nightmare and into a workspace that is clean, safe, and professional. Whether you are tackling mastering hardwood floor refinishing for the first time or prepping a slab for high-end tile, remember that the prep work is where the beauty is truly hidden. Take the extra hour to seal that door. Buy the better vacuum. Your lungs—and your spouse—will thank you for it. Have you ever had a “dust ghost” return months after you finished sanding? Tell me your worst cleanup horror story in the comments below!