
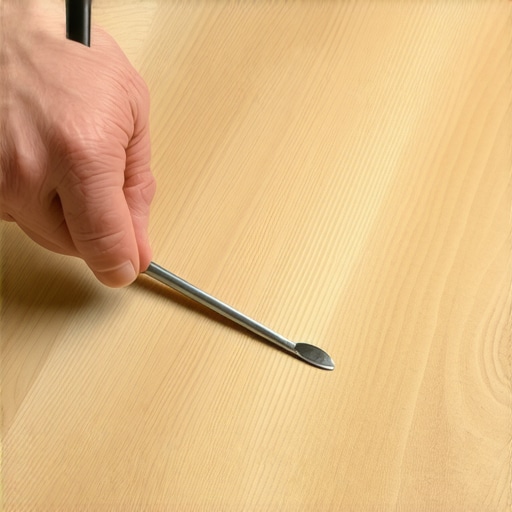
It happened on a Tuesday evening while I was “helping” my wife rearrange the living room. One misplaced tug on a heavy oak sideboard and—screech—a jagged, deep gouge appeared across our supposedly bulletproof luxury vinyl planks. I stood there, frozen. If you’ve ever seen a gash in your floor that’s deep enough to show the core material, you know that sinking feeling in your gut. It’s not just a surface scratch you can buff out with a tennis ball; it’s a permanent scar on an expensive investment. I’d spent so much time following step-by-step guides to flooring installation, and now I was looking at a potential teardown. But here’s the good news: you don’t have to live with it, and you certainly don’t have to rip up your whole room. Today, I’m going to show you exactly how to fill that crater so well that even you will forget where it was.
Stop Panicking and Put Down the Crowbar
When I first started DIYing, I was a “rip it out and start over” kind of guy. I once tried to repair a similar issue using basic wood filler—a classic flooring installation mistake. The filler didn’t bond, it didn’t flex, and it looked like a piece of dried chewing gum within a month. Luxury vinyl is a different beast entirely. It’s a layered product, often with a limestone or PVC core. Fixing it requires materials that mimic its texture and sheen. Whether you are dealing with a click-lock system or a glue-down, the principles of patching remain the same: clean, fill, and blend. We are aiming for a repair that’s invisible to the naked eye, even when the afternoon sun hits it directly. If you’ve already mastered repairing engineered wood planks, you’ll find this surprisingly similar, though LVP is a bit more forgiving of the two.
Is a DIY Patch Really Going to Last?
This is the question I get most often from skeptical neighbors. “Won’t it just pop out the next time I mop?” The short answer is no—if you use the right resin or wax. According to the Resilient Floor Covering Institute, modern vinyl flooring is designed for high-traffic durability, but its surface is non-porous. This means standard fillers won’t stick. You need a specialized repair kit that uses heat-set wax or acrylic resin. I’ve seen these patches survive years of dog claws and rolling office chairs. It’s all about the prep work. If you don’t clean the gouge, or if you ignore why your luxury vinyl planks might be lifting elsewhere, the patch won’t save the floor’s integrity. Have you ever stared at a scratch on your floor and debated whether to move a rug over it or fix it? Tell me about your most creative floor hiding spots in the comments! Before we dive into the tools, remember that a good patch is 90% patience. We’re going to walk through the exact method that saved my living room floor without me having to spend a dime on a professional contractor.The secret to a repair that stays put is removing any loose debris first. I remember working on a project where I skipped vacuuming the actual scratch; three days later, the filler simply peeled away because it was stuck to dust, not the vinyl core. This is one of those 7 mistakes that ruin your luxury vinyl plank installation if you aren’t careful. Use a toothpick to scrape out any dirt, then wipe the area with isopropyl alcohol to remove oils.
Trim the Burrs for a Flat Surface
Before you even think about color, you have to deal with the raised ridge around the crater. When a heavy object gouges vinyl, it often displaces material upward, creating a sharp lip. Take a fresh razor blade and carefully shave these ridges down until they are flush with the rest of the plank. It feels counterintuitive to cut your floor more, but a flat perimeter is the only way the patch won’t catch on your mop later. This is similar to the precision needed for the ultimate guide to floor leveling for a perfect finish; you cannot build a stable surface on top of high spots. Same logic, just on a microscopic scale.
Mix Your Colors Like a Pro
Luxury vinyl is rarely a flat, solid color; it is a high-resolution photograph of wood or stone. If you fill a brown plank with a single shade of brown putty, it will look like a glaring mistake. Instead, use a hard-wax repair kit. These kits come with several sticks of varying tones. Melt a base color that matches the lightest part of the grain into the hole first. While it is still soft, add tiny streaks of a darker tone. 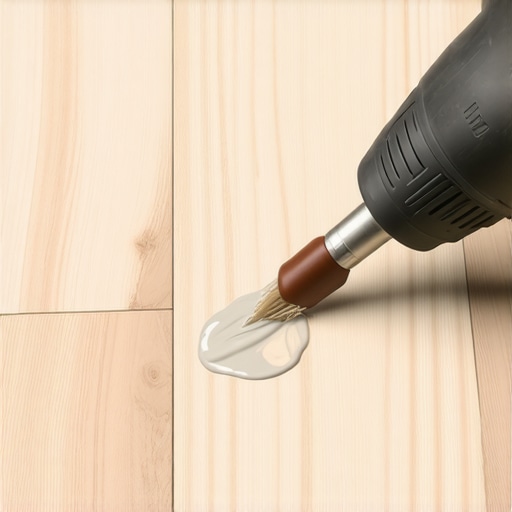 It is like painting a miniature landscape. When I did this in my hallway, I used a plastic scraper to remove the excess wax while it was still warm. The result was so good I actually had to mark the wall with tape just to find the spot again five minutes later.
Texture the Patch to Kill the Shine
The biggest giveaway of a floor repair is not the color, it is the sheen. Most LVP has a matte or satin finish with a slight wood-grain texture. A smooth wax patch will reflect light like a mirror and scream for attention once the sun hits it. To avoid this, wait about thirty seconds for the wax to start firming up, then press a clean, textured cloth or even a piece of fine-grit sandpaper very lightly into the surface to mimic the surrounding grain. If you are dealing with minor indentations rather than a full gouge, you might even consider how to fix a dent in your vinyl floor with a heat gun, which can sometimes pop the material back into shape without filler. For the deep stuff, the wax-and-texture method is king.
The Final Flatness Check
Once the wax is hard—usually about ten minutes—run your fingers over it. You should not feel a bump or a dip. Professional installers often use the flashlight test for checking floor flatness, and it works here too. Lay a flashlight on the floor and shine it across the patch. If it casts a shadow, your patch is too high; if there is a dark pool, it is too low. If it is high, shave it gently with your razor. If it is low, add one more drop of molten wax. This attention to detail is what separates a DIY project from a professional-grade restoration.Let’s dig deeper. Everyone tells you to buy a level, but here is the dirty secret of the flooring world: your floor doesn’t actually need to be level. It needs to be flat. If you spend three days trying to make your 100-year-old house perfectly level, you’ll end up with a mountain of shims and a door that won’t close. According to the National Wood Flooring Association (NWFA), the industry standard for flatness is a deviation of no more than 3/16 of an inch over a 10-foot span. This is the difference between a floor that lasts decades and one that starts creaking within six months. When I first learned mastering floor leveling pro secrets for perfect installations, I realized I’d been chasing the wrong metric. A house can be tilted at a three-degree angle, and as long as the subfloor is flat, your LVP click-joints will stay locked. If there is a ‘hump’ or a ‘dip,’ however, those joints are under constant tension until they eventually snap.
Leveling is Overrated (Wait, Let Me Explain)
In my experience, the biggest trap is the ‘self-leveling’ compound myth. People think you can just pour it out like pancake batter and it will fix everything. But why your leveling primer is peeling off the concrete is often more important than the compound itself. If you don’t prep the substrate, that expensive liquid will just crack and turn into grit under your new planks. I always recommend performing the 3-foot level test for checking subfloor flatness like a pro before you even open a box of flooring. 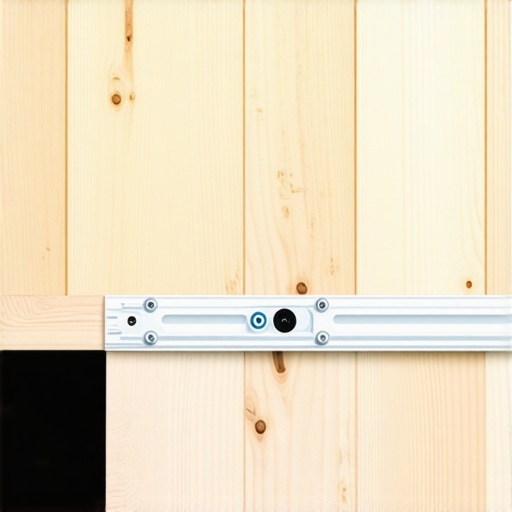
Why does my floor still click and pop after I leveled it?
This is a sophisticated frustration. Usually, it’s not the level—it’s the cleanliness. A single grain of drywall screw or a dried drop of paint can act like a pebble in your shoe for a floating floor. It creates a micro-pivot point. If you’ve already finished the floor and hear that annoying ‘tick’ when you walk, you might be dealing with one of the 7 mistakes that ruin your luxury vinyl plank installation. Professional installers don’t just sweep; they shop-vac every square inch.
The Expansion Gap is Not a Suggestion
Another nuance most beginners miss is the climate-controlled gap. I’ve seen beautiful floors buckle because the owner thought a 1/4 inch gap looked ‘sloppy’ and tight-fitted it against the baseboards. You must realize that LVP and wood are dynamic materials. They move. If you are worried about why your luxury vinyl planks keep lifting in the bathroom, check the perimeter first. If there’s no room to breathe, the floor has nowhere to go but up. Have you ever fallen into this trap of trying to make a floor too tight? Let me know in the comments. My first install was a disaster because I forgot that even ‘waterproof’ floors are subject to thermal expansion. Learning why your hybrid flooring still needs an expansion gap early on would have saved me a weekend of ripping up trim. Real expertise isn’t about never making mistakes; it’s about knowing which ‘rules’ are actually physics-based requirements.
Grab These Specific Tools for a Pro Finish
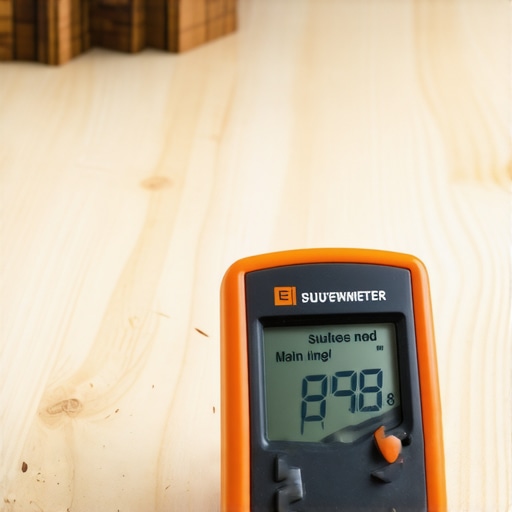
I’ve learned the hard way that a twenty-dollar tool can save a two-thousand-dollar floor. One of the 7 tools you actually need for a professional DIY hardwood install is a high-quality moisture meter. I don’t just mean a cheap ‘guess-tool’ from the bargain bin. According to the National Wood Flooring Association (NWFA) Technical Manual, the moisture content of your subfloor must be within 2 to 4 percent of your hardwood flooring before installation begins. If you ignore this technical specification, you are essentially gambling with your bank account. I also swear by a heavy-duty tapping block; why you should always use a tapping block with vinyl becomes painfully obvious once you see how easily those fragile locking tongues can snap under a bare hammer blow.
How Can I Keep My Floors Looking Brand New for Years?
Maintenance isn’t just about sweeping; it’s about chemistry. I’ve seen people destroy a beautiful finish in six months by using the wrong cleaner. To truly protect your work, follow the hardwood floor care secrets to longevity and shine. Avoid any product that promises to ‘restore shine’ with a wax-based formula, as these create a hazy buildup that is nearly impossible to remove without a full mastering hardwood floor refinishing expert tips for 2025 session. If you’ve just finished a big project, knowing how to clean hardwood floors after a major renovation is critical to ensure you aren’t grinding construction dust into your brand-new seal. I personally use a pH-neutral cleaner and a microfiber pad—it’s simple, safe, and effective.
The Future of DIY Floor Prep
Looking ahead, I predict we will see more ‘smart’ underlayments and AI-assisted phone apps that can map a room’s flatness using LIDAR sensors. This will make the 3-foot level test for checking subfloor flatness like a pro even more accurate for the average homeowner. We’re moving toward a world where ‘close enough’ isn’t the standard anymore. Before you move on to your next room, I want you to try this: perform the bucket test how to check your concrete slab for excessive moisture tonight. It’s a low-tech, high-reward way to ensure your floor won’t fail next season. Precision in the planning stage is what separates the masters from the amateurs.
The Lessons Only a Jagged Hole Can Teach You
After years of tinkering, I’ve realized that the perfect floor isn’t one that never gets damaged—it’s one where the owner knows how to fix the inevitable. One of the biggest shifts in my mindset was realizing that lighting is your most honest critic. Always check your patch from the angle where the sun hits it most directly at noon. If it looks good then, it’ll look good forever.
Another lightbulb moment? Patience is a literal tool. When you’re using wax or resin, the urge to buff it immediately is strong. But if you don’t let it cure, you will just create a smear. This is just as important as knowing how to fix a large gap in your floating floor row without stressing the joints. Finally, remember that consistency matters more than speed. I’ve seen more flooring installation mistakes to avoid caused by rushing the final 5% of a job than by messing up the start.
The Gear That Actually Rescued My Living Room
If you want to move beyond basic repairs, you need a few specialized items that I personally vouch for. First, get a professional-grade hard wax kit. It’s the difference between a ‘blob’ and a ‘blend.’ Second, never start a project without performing the moisture test you must do before gluing down wood or LVP; knowing the subfloor’s state is non-negotiable. I also keep a roll of low-tack painter’s tape handy for the tape trick for preventing splinters when cutting LVP planks. It’s a tiny detail that makes your edges look like they were cut by a machine.
Take the First Step Toward a Flawless Floor
Don’t let a deep gouge or a slightly uneven subfloor intimidate you. Every professional you see started with a single, messy project and a lot of questions. By focusing on flatness over perfection and using the right materials to fill those craters, you’re already ahead of most homeowners. Your flooring installation is a long-term investment, and now you have the skills to protect it from whatever life (or heavy oak sideboards) throws its way. You’ve got this.
What’s the deepest gouge you’ve ever had to stare at for months before finally deciding to fix it? Let me know in the comments below!