
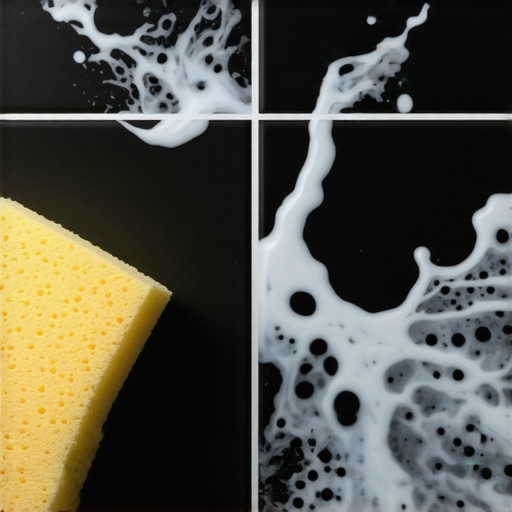
I stood there in my socks, staring at my brand-new master bathroom, and I honestly wanted to cry. I had just spent a fortune on premium tile and even more on what I thought was the gold standard of grout: epoxy. I had heard it was waterproof, stain-proof, and basically bulletproof. But instead of the crisp, clean lines I had imagined, my floors looked like they had been hit by a localized fog bank. That sticky, milky residue—the dreaded epoxy haze—was everywhere. It felt like I had ruined my floor before even getting to use it.
The Sticky Truth About Why Epoxy Goes Wrong
If you are reading this, you are likely in that same panic mode I was in a few years ago. You have scrubbed until your arms are sore, and yet the tile still feels tacky or looks dull. Epoxy grout is a two-part chemical beast. Unlike standard cement-based options where you just add water, epoxy is a resin. When those two parts mix, a timer starts ticking. My biggest blunder early on? I treated it like regular grout. I took a long lunch break before the final cleanup, thinking I had all the time in the world. I did not. That haze is essentially a thin layer of plastic resin that cured on top of your tile instead of inside the joint. It happens because of improper washing or, more commonly, because the water-to-emulsifier ratio during cleanup was off. If you have been installing tiles like a pro for years, epoxy will still humble you. It is not like choosing between sanded and unsanded grout; it is a whole different ball game of chemistry.
Is epoxy grout actually worth the extra frustration?
You might be wondering if you should have just stuck with the cheap stuff. Honestly, when you are staring at a hazy mess, it feels like a massive mistake. But once that haze is gone, the durability is unmatched. The Tile Council of North America (TCNA) notes that epoxy grout is often the required choice for commercial kitchens because it resists acid and grease better than any other material. It is a powerhouse, but it is a temperamental one. The good news is that your tile is not ruined. Whether you used the wrong cleaning solution—please tell me you did not make the vinegar mistake—or just missed the window for the final wipe, there is a way back. We are going to talk about specialized haze removers and why your choice of sponge matters more than you think. Have you ever felt like your clean water was actually making the floor dirtier during a job? Drop a comment and tell me about your worst flooring nightmare! Before we dive into the scrubbing, remember that preparation is half the battle. If you are still in the planning stages, learning how to clean dry thinset off porcelain before you even start grouting will save you a massive headache later.
To get that epoxy haze off, you have to stop thinking like a cleaner and start thinking like a chemist. If you are within the first 24 hours, you have a fighting chance with a standard alkaline-based haze remover. If it has been three days, you are essentially trying to dissolve plastic. I learned this the hard way during a sunroom project where the afternoon heat baked the resin onto the porcelain before I could finish my second rinse. I ended up having to use a professional-grade benzyl alcohol stripper, and it was a grueling lesson in chemistry.
The Timing Window is Narrower Than You Think
The biggest mistake is waiting too long. Most manufacturers give you a 24-hour grace period, but in reality, the resin begins to set the moment it hits the air. If you want to keep your sanity, you should be checking for haze using the flashlight test for checking floor flatness, but instead of looking for bumps, you are looking for that oily sheen. If you see it, you need to act immediately. Unlike cement grout, which can be buffed off with a dry cloth later, epoxy requires a specialized emulsifier to break the bond between the resin and the tile surface. These tile installation pointers that save time and money are useless if you have to spend two days scrubbing a finished floor.
Pick the Right Chemical Weapon for the Job
Do not just grab a generic floor cleaner. You need an epoxy haze remover specifically designed for the brand of grout you used. Most of these products come in a concentrate. Mix it according to the bottle—usually a 1:4 ratio for heavy haze—and let it sit on the surface for at least 10 to 15 minutes. This ‘dwell time’ is non-negotiable. The chemicals need time to soften the plastic-like layer. While you wait, check your grout lines. If you didn’t focus on how to mix grout so the color stays perfectly consistent, you might notice the chemical cleaner pulling some pigment if the joints aren’t fully cured, so be precise and keep the solution on the tile faces as much as possible.
The Secret of the White Scrub Pad
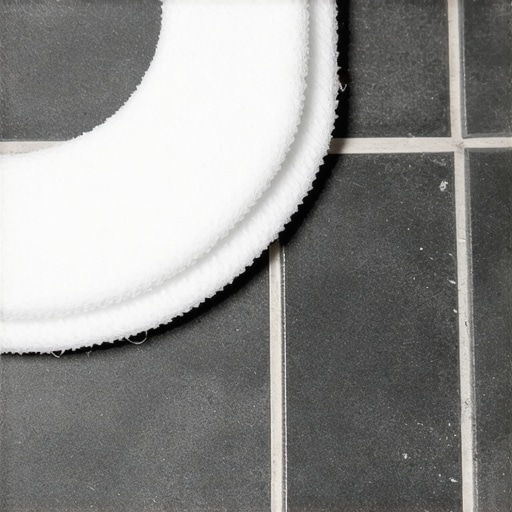
Never use a green scouring pad from your kitchen; the green dye can actually transfer into your new grout. Instead, use a white, non-abrasive nylon scrub pad. This provides enough friction to lift the resin without scratching the glaze of your tile. I remember a specific job where the homeowner tried to use steel wool on a hazy spot and ended up leaving permanent grey streaks across $2,000 worth of marble. Use circular motions and constant pressure. As the haze lifts, it will create a milky slurry. This is a good sign—it means the resin is no longer bonded to the floor.
Small Sections Save Your Back and Your Tile
Work in 10-square-foot sections. If you try to do the whole room at once, the cleaner will dry out, and you will be right back where you started. After scrubbing, use a clean, damp (not soaking) cellulose sponge to wipe away the slurry. Change your rinse water every time it starts to look cloudy. If you are working on a floor where you prioritized flooring installation fundamentals like leveling, this part is much easier because the water won’t pool in low spots, which is a common cause of concentrated haze. For those who missed the prep work, mastering floor leveling pro secrets beforehand ensures that your cleaning passes are smooth and effective. Once you have wiped a section, buff it dry with a microfiber cloth immediately to see if any streaks remain. If it is still tacky, repeat the process. Consistency is more important than speed here.
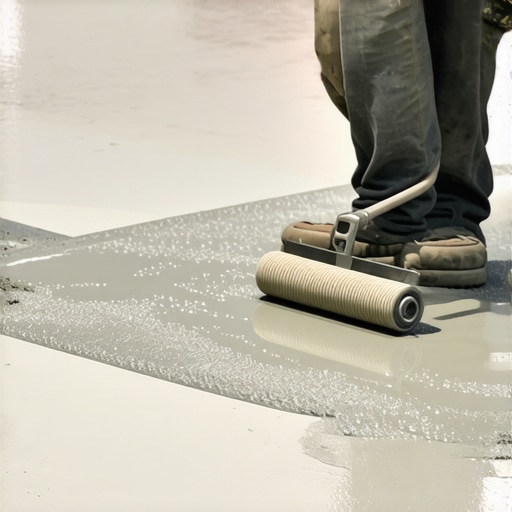
While we’re talking about the chemistry of grout, I have to tackle the biggest lie in the flooring industry: that ‘self-leveling’ compound actually levels itself. If you have spent any time on a job site, you know that is a marketing fairy tale. Most DIYers—and even some pros who are rushing—pour the liquid and assume it will find its way to a glass-smooth finish like water in a bathtub. It does not. In my experience, if you do not use a gauge rake and a spiked roller, you are just trading a slope for a series of high-speed bumps. The ‘oops’ factor here is usually the primer. People skip it because they want to save time or a few dollars. But concrete is a thirsty sponge. If you do not seal it first, the slab will pull the water out of your leveler so fast that the compound will not have time to flow properly. This is exactly why your self-leveling compound is cracking like a dry lake bed or, even worse, why your self-leveler is peeling off the concrete in sheets just a week later. I once saw a homeowner try to save time by skipping the primer on a 200-square-foot kitchen. Three days later, he could literally slide a putty knife under the leveler and lift it up like a giant grey pancake.
Why does my subfloor still flex even after I have poured leveler?
This is the specific nuance most people miss. Leveler adds flatness, but it does not add structural stiffness. If you have a bouncy plywood subfloor and you pour two inches of leveler on top, that leveler is going to crack the first time someone heavy walks across the room. According to the National Wood Flooring Association (NWFA) standards, your subfloor must be structurally sound and meet specific deflection limits before you even think about a finish floor. You have to learn how to check for subfloor flex before you lay rigid tile or hardwood. If you do not fix the bounce, the most expensive tile in the world will not save you from grout failure. Have you ever fallen into this trap of thinking the ‘easy’ way would hold up? Let me know in the comments.
Another common mistake involves the ‘good enough’ mentality with hardwood. Many people think acclimation is just about leaving the boxes in the room for a few days. But did you know why wide planks need more than just nails to stay flat? If you are installing 7-inch European Oak, a standard nail schedule is not enough; you often need a glue-assist method to prevent cupping during seasonal humidity shifts. When you are mastering floor leveling pro secrets, you start to realize that every layer depends entirely on the integrity of the one below it. Whether you are using precise floor leveling techniques to achieve flawless surfaces or just trying to get a straight row of LVP, the prep is where the battle is won. If you do not pass the 3-foot level test for checking subfloor flatness like a pro, stop what you are doing. Do not be the person who tries to hide a quarter-inch dip with extra thinset—that is just a recipe for a hollow-sounding floor that will eventually crack under pressure.
I have seen homeowners drop $15,000 on premium wide-plank oak and then proceed to ruin the finish in six months with a $30 steam mop they bought on sale at a big-box store. It breaks my heart every time. If you want to keep your investment alive, you have to transition from the ‘builder’ phase into the ‘caretaker’ phase. One of the 7 tools you actually need for a professional diy hardwood install that people often tuck away in the garage once the job is finished is a high-quality moisture meter. I personally swear by the Wagner Orion series because it is pinless and won’t mar the finish. In a world of changing seasonal humidity, your floor is a living, breathing thing that expands and contracts.
Ditch the steam mop if you value your warranty
If you are looking for hardwood floor care secrets to longevity and shine, the first rule is to stop using excessive heat and water. The National Wood Flooring Association (NWFA) explicitly warns in their technical maintenance guidelines that ‘water and wood do not mix,’ yet the marketing for steam cleaners suggests otherwise. This is exactly why you should never use a steam mop on engineered wood floors; the pressurized heat can break down the adhesives holding the veneers together, leading to permanent delamination. For tile, it is a different story, but even there, aggressive steamers can degrade your grout sealer over time.
Why a moisture meter is your best insurance policy
Most DIYers think the moisture test you must do before gluing down wood is a one-time event during installation. In reality, I recommend checking your floor levels seasonally. If you see your moisture readings jumping by more than 4% between summer and winter, you need to adjust your HVAC or humidification system immediately. This proactive approach prevents the ‘cupping’ or ‘crowning’ that usually leads to a full tear-out. As we look toward the future, I expect to see ‘smart’ underlayments with embedded sensors that can detect a pinhole leak under your kitchen island and send an alert to your phone before the first plank even starts to swell. We are moving away from reactive repairs and toward data-driven floor health. 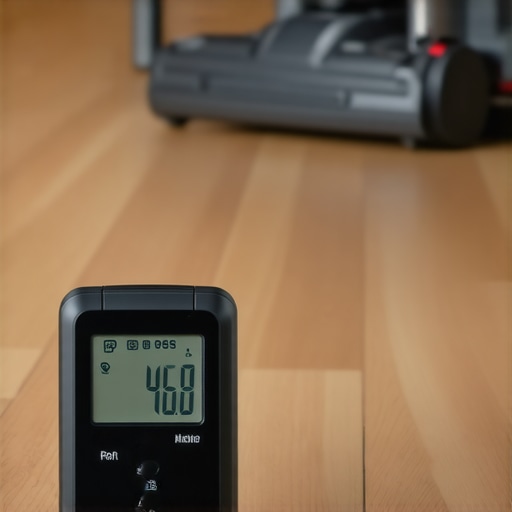
How do I keep these floors looking like Day One?
The secret isn’t a magic chemical; it’s about reducing friction and maintaining climate control. For those who just finished a remodel, knowing the best way to clean a new hardwood floor for the first time is essential for removing the abrasive construction dust that acts like sandpaper under your socks. Use a vacuum with a dedicated hard-surface brush head and avoid any tool with a rotating beater bar. If you want to level up your maintenance game, I challenge you to go out and map the ‘baseline’ moisture of your floor today. Grab a notebook, check three spots in every room, and save that data. It will be the most valuable piece of information you have if you ever need to file a warranty claim or troubleshoot a squeak later on.
Lessons That Only Hard Work Could Teach Me
After years of hands-on experience, I have realized that the biggest hurdles aren’t usually the materials themselves, but our own impatience. First, the ‘5-minute rule’ is real—if you see a mistake in the first five minutes, fix it immediately because epoxy and levelers won’t wait for you. Second, never assume a subfloor is flat just because it looks okay to the naked eye. Third, the cheapest tool is often the most expensive one in the long run if it ruins your finish. Avoiding flooring installation mistakes to avoid for lasting results starts with respecting the chemistry and the physics of the materials you are using. I have learned that taking an extra hour on prep saves three days of cleanup.
The Gear That Rescued My Projects
If you are looking to build a professional toolkit, start with the essentials that make the biggest difference. I always keep a high-quality pinless moisture meter in my truck; it is the only way to truly know if your wood is ready for install. A set of white non-abrasive scrub pads is a lifesaver for epoxy haze, and a 6-foot straight edge is non-negotiable for checking flatness. For those following a step-by-step guide to flooring installation and leveling success, investing in a spiked roller for your self-leveling compound will change your life. These tools are the bridge between a ‘good enough’ DIY job and a masterpiece.
#IMAGE_PLACE_HOLDER_E#
Build a Floor That Lasts Decades
At the end of the day, your floor is the foundation of your home’s comfort. It takes a lot of sweat to get those lines straight and that finish smooth, but the reward of a perfectly executed room is worth every sore muscle. Whether you are dealing with tricky epoxy or managing the expansion of wide planks, stay focused on the details. Your dedication to the craft will show in every step you take across those boards. Remember, hardwood floor care secrets to longevity and shine begin the second the last plank is laid. You’ve got the knowledge—now go create something beautiful. Have you ever encountered a ‘hidden’ flooring problem that almost derailed your entire project? Let me know in the comments below!