
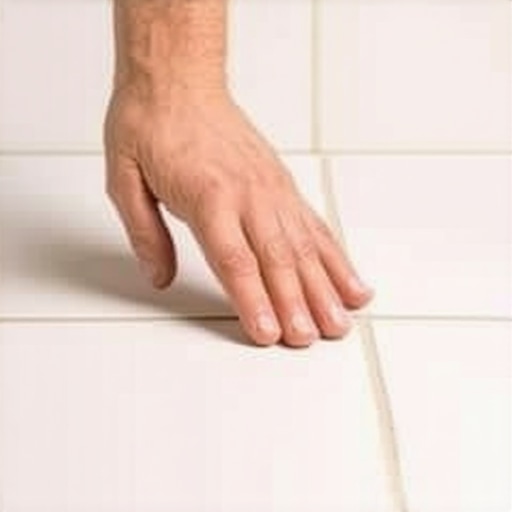
It was a typical Saturday morning when I finally cracked. My shower grout, once pristine, had turned into a grim, stubborn mess, and I had been slinging bleach at it like a mad scientist, hoping to eradicate the stains. Instead, I was met with faded grout, damaged tiles, and a lingering smell that refused to leave. That moment was a lightbulb flickering: I’d been doing it all wrong. If you’re like I was, pouring bleach and scrubbing tirelessly, you need to hear this—because I found a better way.
The Hidden Dangers of Bleach on Grout
Imagine this: every time you clean your grout with bleach, you might be unintentionally causing more harm than good. Bleach can weaken the grout’s structural integrity, leading to cracks, discoloration, and even mold growth if not used correctly. Plus, harsh chemicals are tough on your tiles and can strip away their protective coatings. Early in my own renovation journey, I made the mistake of thinking bleach was the miracle cleaner. Spoiler alert: it isn’t.
Start with a Solid Foundation
Before laying tiles or hardwood, assess your subfloor’s condition. Use a long straightedge to spot any dips or humps—think of it as a carpenter’s level for your floor. If you find unevenness, you’ll need to level it to prevent future cracking or squeaking. I once ignored a slight dip in my basement floor, only to have tiles crack months later. To avoid that, I used a self-leveling compound, following principles outlined in this guide. The key is applying it evenly and allowing sufficient curing time.
Achieve Flatness and Stability
Address Flex and Weak Spots
Check for flex by pressing down with your foot—if it moves, reinforce the subfloor with additional plywood or shims. This prevents tiles from cracking under weight. I used shims and extra plywood scraps to stiffen my floor, which resulted in a much smoother surface, exemplifying the importance of a rigid base.
Level the Surface with Precision
Use a floor level or a laser level to identify high and low spots. For minor imperfections, a patch of floor leveling compound works wonders. For larger issues, consider full subfloor replacement. Remember, avoiding common leveling mistakes is crucial to save time and money. I learned quickly that rushing the leveling process led to uneven tiles, which I corrected after consulting detailed expert tips.
Prepare for a Clean Tile or Hardwood Install
Ensure the surface is clean, dry, and free of debris. Dust or grease can hinder adhesion and cause tiles or planks to shift over time. I used a vacuum and damp cloth to meticulously clean the area, taking care to follow DIY advice documented in this cleaning secret. Proper cleaning is your secret weapon for a flawless finish.
Consider the Precision of Your Layout
Plan your pattern beforehand. For tiles, mark the center of the room and work outward to ensure symmetry. For hardwood, lay out planks without adhesive to visualize the final look. Remember, tiny misalignments accumulate; so, measure carefully at each step. I once started tiling without a proper plan and ended up with uneven grout lines and awkward cuts, which I resolved by re-measuring and adjusting first.
Set the Materials Correctly
Follow the manufacturer’s instructions on adhesives and leveling compounds. Use the right tools: a notched trowel match for your tile size, a rubber mallet to gently tap tiles into place, and spacers for consistent gaps. I used a ¼-inch trowel and an extra set of spacers, ensuring even grout lines. This small step made a big difference in the professional look of my project.
Final Checks and Adjustments
Before the adhesive cures, walk over the surface to detect any loose tiles or planks. Correct misaligned pieces immediately. After setting, use a straightedge or level to verify flatness. Patience here prevents do-overs. I learned the hard way that rushing this phase resulted in uneven surfaces and time-consuming corrections.
For more detailed strategies on floor leveling before tile installation or comprehensive installation steps, these resources are invaluable to ensure your project’s success.
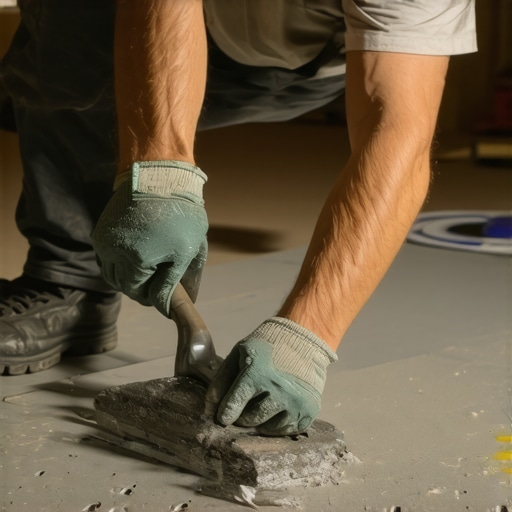 When it comes to flooring installation, many DIY enthusiasts and even professionals often fall prey to misconceptions that can compromise the final result. One pervasive myth is that a perfectly flat subfloor is enough to guarantee a flawless tile or hardwood finish. However, subtle imperfections, such as slight flex or movement in the subfloor, can cause cracks and uneven surfaces over time. Advanced professionals understand that addressing these nuances—like reinforcing weak spots and ensuring comprehensive leveling—is essential. Studies by industry experts, such as those outlined in this guide, emphasize the importance of not just surface flatness but also subfloor stability.
Many assume that using large-format tiles or wide plank hardwoods can hide minor imperfections, but in reality, these materials require an even more precise subfloor. The larger the tile or plank, the more any deviation becomes visible—making meticulous preparation non-negotiable. Falling into the trap of rushing through subfloor assessment can lead to costly rework and unsightly damages later.
Another common mistake involves underestimating the importance of proper moisture management. Moisture issues beneath the surface can cause adhesives to fail, warping floors, or fostering mold growth. Advanced installers will perform detailed moisture testing, like the polymer sheet test or calcium chloride testing, prior to installation, as recommended in this comprehensive resource. Skipping this step often results in premature failure, especially in basements or areas with high humidity.
The importance of framing and joist stability is a sneaky yet critical aspect overlooked by many. Weak or improperly supported joists can produce uneven floors that appear level initially but develop dips or squeaks over time. Reinforcing or sistering joists, especially in older constructions, can be the difference between a durable, high-quality finish and a recurring nightmare. Remember, the devil is in the details—something seasoned pros swear by.
Finally, avoid rushing the curing processes of adhesives, leveling compounds, or finishes. Patience here pays dividends. Even a small disturbance during curing can compromise adhesion or flatness, leading to uneven surfaces or cracks. For a deeper dive into these nuanced steps, check out these expert techniques.
Have you ever fallen into this trap? Let me know in the comments. The key to successful flooring projects lies in understanding and mastering these hidden nuances—so your home not only looks great but stands the test of time.When it comes to flooring installation and maintenance, having the right tools can make all the difference in ensuring durability and a professional finish. Personally, I rely on a few specialized instruments that streamline the process and improve results, each serving a unique purpose. First, a high-quality laser level is indispensable—unlike traditional bubble levels, laser levels like the Bosch GSL2 provide precisely aligned lines over large areas, helping me maintain flatness and straight grout lines on expansive surfaces. This tool saves time and minimizes errors, especially when working on large-format tiles or wide hardwood planks.
Another essential piece of equipment is a rubber mallet. I use it not just to gently tap tiles into perfect alignment but also to ensure adhesive manifolds evenly without damaging delicate surfaces. It offers controlled force, which is crucial for avoiding under- or over-pressing materials. For more detailed guidance, check out this resource on efficient tile installation techniques.
Understanding adhesives and leveling compounds is half the battle. I invest in a professional-grade notched trowel suited for my material size, which guarantees uniform thinset application. Using the wrong trowel can cause voids and weak spots, leading to cracks or tiles popping loose over time. Similar to the advice in mastering floor leveling techniques, proper application is key to long-term success.
Maintaining the longevity of your floors also involves tools that simplify ongoing care. A microfiber mop paired with pH-neutral cleaners, for example, keeps hardwood floors shining without damaging their finish, as outlined in this care guide. I regularly use a vacuum with a soft-brush attachment to pick up debris without scratching the surface. Investing in quality maintenance tools prolongs your flooring’s life and preserves its aesthetic appeal.
Predicting future trends, I believe smart technology will become more integrated into flooring maintenance—think self-cleaning surfaces or IoT-connected sensors that monitor moisture levels or structural shifts. Staying ahead means adopting the right tools today and being ready for these innovations.
How do I keep my flooring tools working over time? Regular calibration, proper cleaning, and storage are vital. For example, laser levels need their batteries checked frequently to maintain precision. Cleaning trowels after each job prevents hardened adhesive from hindering application, and storing tools in dedicated cases avoids damage. Exploring innovative flooring tools can offer tips on maintaining tools for peak performance. So, I challenge you to try calibrating your laser level this week—small steps like this help ensure your investment pays off in flawless, durable flooring.Embarking on your flooring journey taught me more than just technical steps; it revealed invaluable lessons that transformed my approach. One of the hardest lessons I learned was that rushing through subfloor assessment and leveling often leads to costly mistakes down the line, like cracked tiles or uneven surfaces. Patience and attention to detail, especially when addressing flex and moisture issues, are crucial for long-lasting results. Additionally, I discovered that mastering the right tools—such as laser levels and quality trowels—not only saves time but also elevates the final finish beyond DIY expectations. These insights have become my guiding principles, ensuring that every project I undertake stands the test of time and looks professional.