
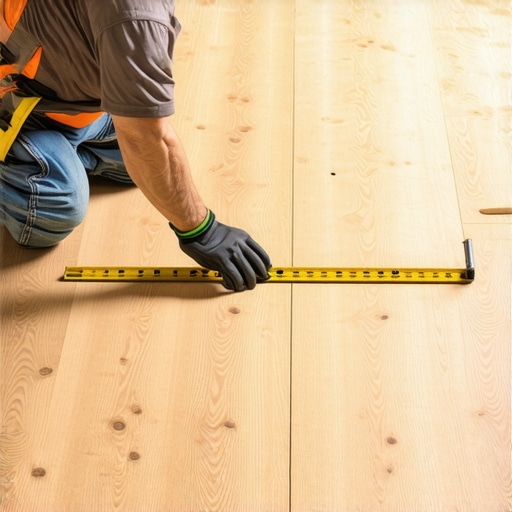
I’ll never forget the moment I laid my first DIY tile project. It was a sunny Saturday, and I was eager to transform my dull kitchen floor. I carefully prepared the subfloor, laid the thinset, and set my brand-new tiles. But as I stepped back to admire my work, I noticed something unsettling — the tiles felt spongy and uneven underfoot. Turns out, I hadn’t checked the subfloor’s flex properly, and that oversight cost me hours of redo work. That lightbulb moment taught me a valuable lesson: understanding how to check for subfloor flexibility is essential before laying any rigid tile.
Why Ignoring Subfloor Flex Could Ruin Your Tile Installation
When it comes to tile installation, the stability of your subfloor is the foundation of a lasting, beautiful surface. If the subfloor flexes or moves too much, your tiles can crack, loosen, or pop up over time. I’ve learned this the hard way—skipping the check for subfloor flexibility was a rookie mistake early in my DIY journey. The good news is, with a simple test, you can avoid this pitfall and save yourself costly repairs later on. Today, I’ll share the steps I found most effective to gauge your subfloor’s firmness, ensuring your tile work stands the test of time. For a comprehensive approach, you might want to review the floor leveling fundamentals that will help you prep your surface for a perfect finish.
Is Subfloor Flex Testing Really Necessary or Just Overkill?
Honestly, I used to think I could gauge the subfloor’s condition visually, but I was wrong. One early mistake I made was relying solely on my foot tap test, which gave me a false sense of security. The truth is, the subfloor often needs a more thorough examination—especially if you plan to install rigid tiles that demand a solid base. According to flooring experts, ignoring subfloor flex can lead to tile failure, which is disappointing and preventable. Do you remember the last time you assessed your subfloor with precision? If not, it’s a good time to learn how to do it properly. So, let’s move beyond guesswork and see exactly how to check if your subfloor can handle the rigidity of tile flooring.
Shake the Subfloor Like a Pro
Once I decided to test my subfloor, I used a simple trick: a heavy 2×4 plank and my weight. I laid the board across the floor joists and pressed down firmly, then rapped with my hand. If the board wobbled or squeaked, it was a sign of flex. During my first attempt, I placed the board incorrectly over a weak, plywood patch I hadn’t reinforced, causing some movement that I didn’t notice at first. This real-world experience taught me the importance of big, deliberate tests to catch subtle flex issues before laying tiles.
Step-by-Step Flex Test You Can Do
Gather Your Tools and Space
Start with a sturdy 2×4 piece of lumber at least 4 feet long, a helper if possible, and a quiet space. Think of this as your ‘floor stability survey’—it’s like a stress test for your foundation, similar to how engineers evaluate bridges before construction.
Position the Board Correctly
Identify areas where the subfloor may be weaker—near doorways or joist spans. Lay the 2×4 across the section, ensuring it rests directly over the joists. If you’re unsure, use a level or a straightedge to verify you’re over solid framing. Place some scrap wood under the board in low spots for even pressure, almost like padding a delicate asset—your subfloor’s integrity depends on it.
Apply Pressure and Listen
Stand in the middle of the board and gently but firmly press downward. Then, with your hand, tap the board’s edges. Watch for movement or creaking sounds. Any noticeable wiggle indicates that the subfloor flexes under load. For the best accuracy, perform this test in multiple locations across the floor.
Real-World Drill: Spotting Flex in Action
During my first try, I applied pressure over a suspected weak spot in my kitchen. The board shifted slightly and squeaked—red flags that I needed additional support before tiling. I added extra joists or replaced loose plywood, which made my subsequent tests rock-solid. This proactive step saved me from future cracks and popped tiles, proving that hands-on testing is your best defense against hidden flaws.
Materials and Techniques to Reinforce Flex
If your test reveals movement, consider adding bridging between joists, installing additional plywood layers, or using a floor leveling compound to stiffen the surface. Proper reinforcement turns a wobbly subfloor into a reliable base—think of it as installing a support girdle for your flooring. For thorough guidance, check out floor leveling guides.
Final Tip: Don’t Forget About the Edges
Almost always, edges along walls or transitions are weaker. Perform extra checks here and reinforce with rigid foam or additional framing if needed. Remember, a stable perimeter prevents tiles from cracking due to external shifting, much like fencing around a garden keeps the plants intact during storms.
Taking these steps will help you identify and fix flex issues early, leading to a longer-lasting tile floor that withstands daily wear and tear. Now, with confidence, you can proceed to lay your tiles, knowing your subfloor is as solid as it should be.
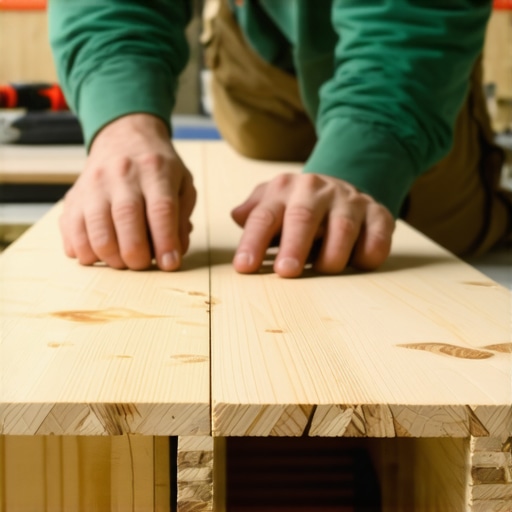 Even seasoned DIYers often fall prey to misconceptions about flooring, leading to costly mistakes down the line. One widespread myth is that leveling floors is unnecessary if the surface looks even to the eye. In reality, subtle dips or high spots can cause tile cracking or uneven hardwood surfaces over time, especially if the surface isn’t perfectly flat before installation. According to a study by the National Tile Contractors Association, improper surface prep accounts for nearly 70% of tile failures, underscoring the importance of meticulous leveling and surface assessment.
Why does floor leveling get overlooked in projects that seem straightforward?
Many assume that small imperfections won’t matter, but these seemingly insignificant flaws compound, especially under rigid materials like tile or hardwood. For example, installing hardwood over an uneven subfloor can lead to squeaks, buckling, or even cupping, which are challenging to repair afterward. The key is to invest in proper floor leveling techniques—using self-leveling compounds or underlayment systems—that ensure a perfectly flat base. This approach not only prolongs the lifespan of your flooring but also enhances aesthetic appeal. Interested in mastering these technical skills? Explore our detailed guides on floor leveling to ensure you’re on the right track. Additionally, choosing the right flooring material is crucial; for instance, if you’re hesitant about uneven subfloors, consider flexible options like luxury vinyl planks, which can accommodate minor imperfections better than rigid tiles or hardwood. To select the best material for your space, check out our tile and hardwood recommendations. Another often-missed nuance involves moisture levels. Humidity can cause wood to expand or contract, leading to gaps or buckling. Professional installers test moisture content using specialized meters, ensuring conditions are optimal before installation. Skipping this step can jeopardize years of your effort. If you’re unsure how to handle moisture issues, learn more from our expert tips on comprehensive installation. Remember, all these details—proper leveling, material choice, moisture management—work together to deliver a flawless finish. Don’t underestimate the importance of these advanced nuances; they distinguish a professional-looking result from a subpar one. Have you ever fallen into this trap? Let me know in the comments.
Keeping Your Flooring in Top Shape: Tools and Techniques
Once your flooring is properly installed and leveled, maintaining its pristine condition is key to longevity. Durable floors like hardwood and tiles require specific tools and consistent care to keep them looking their best for years. In my experience, having the right equipment makes all the difference—not just for repairs but for routine maintenance as well. Today, I want to share the tools I rely on daily and some proven methods to keep your floors working flawlessly over time.
Invest in a Quality Floor Scraper and Vacuum
A versatile floor scraper, such as the RIDGID Multi-Bed Floor Scraper, helps remove caked-on dirt and old adhesive residues without damaging the surface. I personally prefer models with adjustable blades for different materials. Coupled with a HEPA-filter vacuum, this duo ensures dust and debris are kept at bay, preventing grit from scratching finishes during routine cleaning. Regular sweeping and vacuuming, especially in high-traffic areas, are fundamental for preventing buildup that can degrade surface materials over time.
Use a Digital Moisture Meter for Hardwood Floors
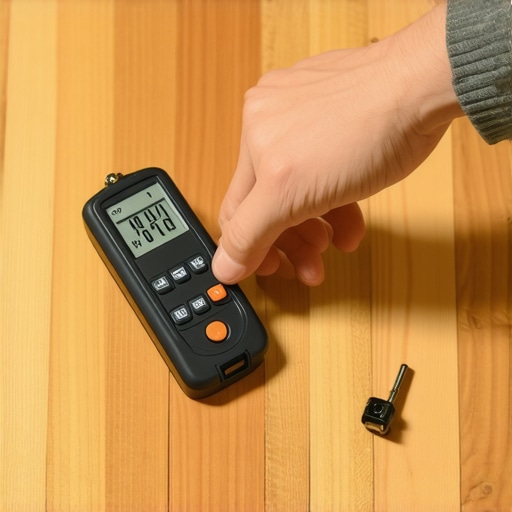
Monitoring moisture levels in hardwood and concrete subfloors prevents issues like warping and delamination. My go-to is the Tramex CM-1000, which offers accurate readings and is easy to calibrate. Consistent moisture checks before and after installation align with best practices outlined in our installation guides to ensure conditions remain stable. In the future, I predict that smart sensors embedded in flooring could provide real-time moisture insights, simplifying maintenance even further.
Schedule Periodic Surface Evaluations
Tools like the Franklin TSI5 Floor Level and Flatness Gauge enable precise assessments of surface uniformity, helping identify minor dips or bulges early. Checking the floor periodically—especially after significant environmental changes—can prevent minor flaws from escalating into costly repairs. Adopting these evaluation habits is crucial for projects aiming for a flawless finish that endures.
Keep an Eye on Surface Adhesives and Sealants
Using the right sealants and adhesives maintains surface integrity and prevents moisture intrusion. I recommend high-quality silicone or polyurethane sealants for tile edges and expansion joints, which accommodate floor movements and reduce cracking risks. Regular inspection of these seals ensures any deterioration is addressed promptly, preserving the overall stability of your floor.
Tools That Make Long-Term Results Possible
For hardwood refinishing and touch-ups, my trusted VOC-free wood stain applicator and electric orbital sander allow me to restore surfaces without harsh fumes or messes. Their precision ensures minimal removal of existing finish, extending the lifespan of your flooring. Continual, small repairs using these tools keep the floor’s aesthetic appeal intact and mitigate the need for major replacements.
Incorporate Future Trends into Your Maintenance Routine
Advances in flooring technology, such as self-healing finishes and embedded micro-sensors, will redefine maintenance practices. For example, some hardwoods now feature active surface layers that resist scratches and stains longer, reducing routine upkeep. Staying informed about these innovations can empower homeowners to adopt smarter, more efficient care routines. Check out our tips for scratch-resistant hardwood to get started.
How do I maintain my floors over time?
Consistent cleaning with the right tools, routine inspections, and timely repairs are your best strategies. I recommend scheduling seasonal evaluations using tools like moisture meters and flatness gauges, especially after extreme weather. Incorporating these habits ensures your floors retain their beauty and function for decades. For detailed guidance, revisit our comprehensive maintenance strategies.
Don’t forget, investing in quality tools pays dividends in reducing long-term costs and preserving your investment. I highly suggest trying out a digital moisture meter for your hardwood floors—it’s a game-changer for early problem detection and peace of mind.
What I Wish I Knew Before Starting My Flooring Journey
One of the most impactful lessons I learned is that even seemingly minor subfloor issues can sabotage an entire project. Skipping thorough flex and leveling tests might save time upfront but leads to costly repairs down the line. Spotting these flaws early taught me to prioritize structural integrity, ensuring my flooring not only looks great but endures years of wear. Every mistake, like overlooking moisture levels or misjudging joist strength, was a lesson that deepened my understanding and improved my craftsmanship.
Tools and Resources That Transformed My Approach
Investing in quality tools like the Moisture Meter and leveling gauges proved essential in achieving professional results. I also rely on authoritative guides such as the Ultimate Floor Leveling Guide to navigate tricky spots. These resources have given me confidence, accuracy, and peace of mind, transforming what once felt daunting into a satisfying craft.
Your Turn to Build Confidence and Precision
Now that I’ve shared my insights, I encourage you to embrace the meticulous steps that ensure your flooring project’s success. Whether you’re tackling hardwood refinishing or tile installation, a solid foundation makes all the difference. Take the time to assess, reinforce, and verify—your completed space will thank you for it. Remember, mastery comes from attention to detail and a willingness to learn along the way.
What’s been your biggest lesson learned about subfloor prep? Share your experiences below, and let’s grow together in mastering flooring installation.