
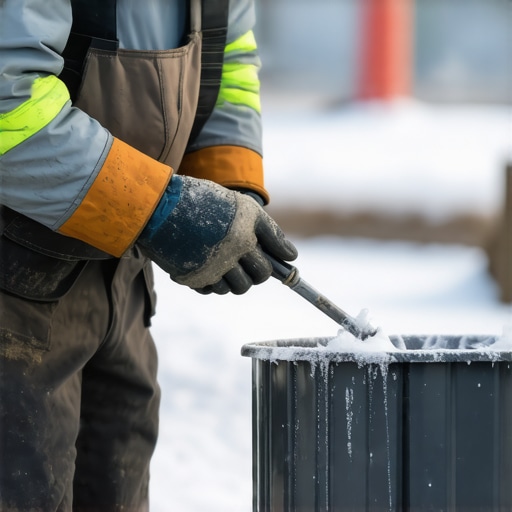
It was a frosty morning when I first learned the hard way that not all tricks work in every season. I was eager to get a new tile installation done before the holiday chaos, only to watch my freshly poured leveler set with tiny cracks and uneven spots. The cold had silently sabotaged my plans, turning what should have been straightforward into a frustrating mess. That moment was a lightbulb flickering overhead—cold weather is no joke when it comes to flooring projects.
Why Cold Weather Can Sabotage Your Floor Leveling Efforts
Working in chilly conditions isn’t just uncomfortable; it directly impacts how your leveler cures and adheres. When temperatures drop, the chemical reactions necessary for proper setting slow down or become inconsistent. As a result, the leveling compound may dry unevenly, crack, or stay soft, leading to wavy or bumpy floors that are a nightmare to fix later. Early on, I made the mistake of assuming that outdoor temperature wouldn’t matter much—big mistake. I didn’t realize that temperature fluctuations could double or even triple my work time and frustration.
Thankfully (and after some trial and error), I discovered key techniques to ensure my mixtures perform perfectly, regardless of the weather. And guess what? Proper mixing in cold weather isn’t about rushing; it’s about understanding the chemistry and adapting your methods. For this reason, I want to share my insights so you can avoid my rookie mistakes and achieve professional results.
If you’ve ever faced a stubbornly uneven floor after a cold snap, you know the importance of mastering this skill. Whether you’re a seasoned pro or a dedicated DIYer, knowing the optimal way to mix leveler in chilly conditions can mean the difference between a seamless finish and a costly redo. Don’t let Mother Nature be your enemy—arm yourself with knowledge, and your floors will thank you.
To see the comprehensive steps involved, check out this detailed guide to flooring installation and leveling. Now, let’s dive into how to make your mixes weatherproof, starting with understanding the right materials and techniques for cold weather applications.
Prepping Materials for Cold Conditions
Start by selecting quick-setting, cold-weather compatible compounds like rapid-set leveling cement or polymer-modified mortars. These materials cure faster and resist cold-induced cracking, unlike standard mixes that slow down in low temperatures. During my last project on a December morning, I switched to a rapid-set formula. The result? The floor dried evenly overnight, without cracks or waviness—a stark contrast to my previous attempts using regular mixes. Make sure to keep your materials warm by storing them in a heated space or wrapping buckets with insulation blankets.
Warm Up Your Workspace Effectively
Before mixing, use space heaters or insulated tarps to raise the ambient temperature around the area. An ideal temperature for leveling compounds is above 50°F (10°C). I remember placing a portable heater near the foundation before pouring a leveler in winter. The sudden warmth ensured proper curing, and I avoided the common pitfall of uneven drying. Never apply cold compound directly onto a cold subfloor; always preheat the region so materials bond and cure correctly.
Master the Mixing Technique
Proper mixing is vital—think of it as kneading dough to ensure all ingredients combine uniformly. Use a paddle mixer attached to a drill, and mix the compound thoroughly for at least 3-5 minutes. During my recent project, I added a small amount of warm water to the mix, which sped up hydration and improved flowability. Avoid overwatering, though; too much liquid weakens the mixture. For stubborn cold conditions, sometimes I pre-warm the water slightly but never exceed 120°F (49°C) to prevent compromising the integrity of the mix.
Timing Is Everything When Pouring
Pour your mixture promptly after mixing to prevent it from setting prematurely. Work in sections, especially in cold weather, to ensure each area is leveled before the compound starts curing. I learned this the hard way when I delayed pouring in one corner, and the mixture set unevenly, creating more work. Use a gauge rake or notched trowel to spread the mix smoothly across the subfloor, maintaining a consistent thickness—around 1/4 inch for most applications—to prevent crumbling or cracking as it cures.
Control Cure Conditions Post-Pour
After pouring, protect the freshly leveled surface from cold drafts and rapid temperature drops by covering it with plastic sheeting or insulating blankets. Maintain a slight humidity and warmth to allow proper chemical reactions. During a project, I kept a space heater nearby, monitored the temperature, and controlled moisture levels with a humidifier. This careful climate management prevented surface cracks and ensured a smooth, durable finish—an absolute necessity in winter conditions.
Many DIY enthusiasts and even seasoned installers often fall prey to misconceptions that can compromise their flooring projects. One prevalent myth is that using standard leveling compounds is sufficient regardless of environmental conditions. In reality, the choice of materials should be tailored to your specific climate, especially when dealing with tile or hardwood floors. For cold environments, rapid-set and flexible compounds are essential to prevent cracks and warping, as highlighted by industry experts in this comprehensive guide.
Another common mistake involves neglecting moisture management, which can lead to bond failure and floor deformations. Many assume that concrete slabs are inert, but in fact, moisture vapor emission rates (VEM) can vary widely. Testing your subfloor before installation is crucial; otherwise, you risk high repair costs and compromised durability. Remember, overconfidence in simple surface prep often results in costly pitfalls.
A nuanced aspect that many overlook concerns the curing process’s intricacies. For example, applying full weight on a freshly laid hardwood can cause indentations or gaps, especially if the material hasn’t fully acclimated. This is an advanced mistake that even experienced contractors can make if they underestimate the importance of climate control during curing, as discussed in this article.
Furthermore, there’s a myth circulating that you can mix different brands of leveling compounds interchangeably. This is false; incompatibilities can lead to uneven curing and surface imperfections. Good practice involves using a single, compatible product line across your entire project.
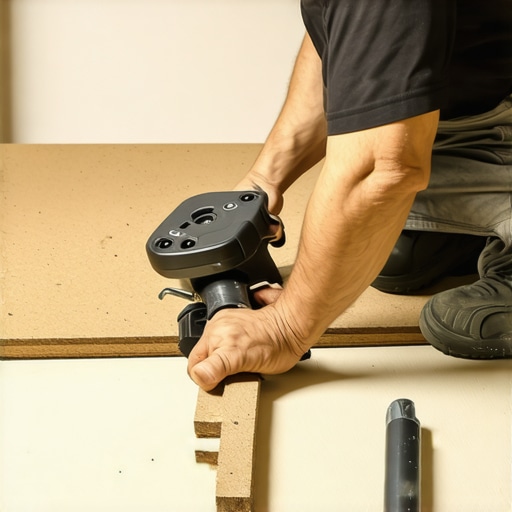
Let’s not forget the impact of substrate preparation. Many underestimate how crucial a well-prepared, clean, and level subfloor is to the final outcome. Skimping here is an open invitation to cracks, unevenness, and failure. For advanced tips on achieving this, see this detailed guide.
Finally, I want to emphasize that having accurate expectations and understanding subtle technical requirements can make the difference between a DIY success and a professional-quality finish. Have you ever fallen into this trap? Let me know in the comments and explore more about perfecting your flooring project by reviewing mastering professional leveling techniques.Maintaining your flooring tools and techniques is essential for achieving consistent, professional results over time. Investing in high-quality equipment not only improves the quality of each project but also extends the lifespan of your tools, saving you money in the long run. One indispensable tool I rely on is a heavy-duty paddle mixer with variable speed control; it ensures thorough, bubble-free mixes of leveling compounds even in cold conditions, which is crucial for long-lasting results. Additionally, using a laser level consistently helps me verify subfloor flatness during prep stages, preventing issues down the line. Regularly cleaning your tools after each use with manufacturer-recommended solvents and applying lubricants to moving parts reduces wear and corrosion, ensuring they stay accurate and reliable across multiple projects. For subtle adjustments, a precision-torque wrench is invaluable when tightening fasteners or adjusting floor joists, helping prevent future unevenness. As technology advances, software like digital moisture meters provides real-time data on subfloor conditions, enabling me to decide precisely when the environment is suitable for flooring installation, especially after long-term projects or scaling operations. Looking ahead, the trend points towards smarter, IoT-connected tools that provide feedback and maintenance alerts, further improving consistency and reducing waste. How do I maintain my tools for long-term success? I schedule quarterly maintenance, including calibration and part replacements based on usage and manufacturer guidelines, which keeps my equipment performing optimally. Don’t underestimate the power of regular upkeep—checking your equipment daily, especially before major projects, can prevent costly delays and rework. For example, maintaining a well-calibrated laser level prevents misalignment in tiled surfaces, reducing the risk of cracks or uneven grout lines. If you’re getting serious about scaling your flooring business or tackling larger projects at home, I recommend trying the tip of using a moisture meter before every subfloor prep—this simple step ensures you won’t waste time reinstalling or releveling due to unnoticed moisture issues, as discussed in this comprehensive guide. Always remember, the right maintenance routine isn’t just about protecting your tools; it’s about guaranteeing consistent, top-tier results every single time.
The Hardest Lesson I Learned About flooring installation,tile,hardwood floors,floor leveling
Patience trumps speed—rushing a chilly pour often leads to cracks and uneven surfaces, costing me more time and money in the long run. Realizing that waiting for ambient warmth and working methodically saved my projects from costly reworks.
3 Myths About flooring installation,tile,hardwood floors,floor leveling That Held Me Back
I once believed that standard mixes were sufficient in winter—that was a mistake. Recognizing that specific cold-weather formulas and proper environment adjustments are essential helped me achieve professional results even amid the coldest days.
What Experts Won’t Tell You About flooring installation,tile,hardwood floors,floor leveling
Industry insiders know the importance of substrate prep and environmental control, but I learned the hard way that neglecting moisture testing or misjudging cure conditions can undermine your efforts. Listening to expert advice and applying it diligently elevates your craftsmanship.
Curated Tools that Complete The Puzzle
Investing in a high-quality paddle mixer with variable speed became a game-changer, ensuring bubble-free, consistent mixes in cold weather. A laser level keeps my surfaces true, and a digital moisture meter helps decide the perfect time to pour. Each tool supports a seamless installation journey, and I trust them because they make my work more reliable. For comprehensive tips on tool maintenance and selection, check out this resource.
Your Next Level Starts Today
Don’t let the cold weather dampen your flooring ambitions. With the right knowledge, tools, and mindset, you can create flawless, durable floors regardless of the season. Embrace the challenge, and let your craftsmanship shine through each project. Remember, perfecting your flooring skills is a journey—every step, even in cold weather, brings you closer to mastery.
Have you ever faced unexpected hurdles during a cold-weather project? Share your experiences below and let’s learn from each other’s stories!
,