
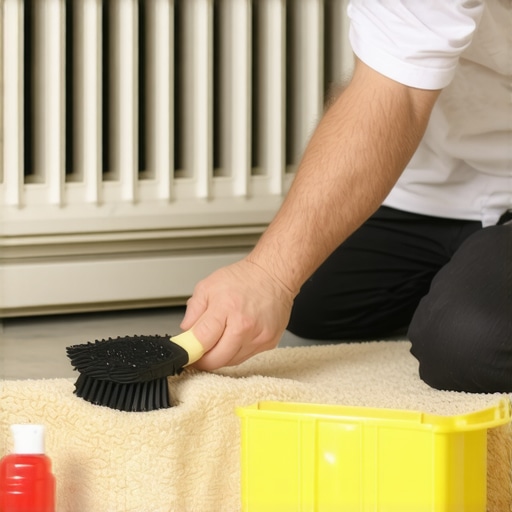
Ever tried to squeeze past a stubborn radiator and realized the space beneath is just too dirty or awkwardly shaped to clean or sand properly? I remember the moment well—my foot caught on a dusty corner, and I thought, “There has to be an easier way.” It’s a common challenge, especially when you’re dealing with older heating systems or trying to prepare for a new floor installation. The thought of renting or buying specialized tools can feel overwhelming and costly, making the whole process seem daunting. But what if I told you that you can effectively sand or clean under radiators without breaking the bank or cluttering your garage with bulky equipment?
Why This Simple Trick Can Save Your Day
Getting beneath radiators isn’t just about hygiene or preparing for new flooring; it can also prevent future issues like mold or uneven heating. When dust and debris accumulate under radiators, they can obstruct airflow and reduce efficiency. Plus, if you’re considering new flooring, uneven surfaces and hidden dirt can make your project more complicated and less professional-looking. That’s where this straightforward approach shines—no fancy tools needed, just some clever techniques and patience. Trust me, once you master this, you’ll wonder why you ever struggled before. If you’ve ever faced this problem, keep reading; I’ll guide you step-by-step through a method that’s both effective and budget-friendly.
Is Sanding Under Radiators Really Worth the Hassle?
I used to think it was just a tedious chore—until I learned that neglecting this area can lead to bigger headaches down the line. A common mistake I made early on was trying to force my way in with a cramped screwdriver and a lot of frustration. That only resulted in scratched floors and incomplete cleaning. According to flooring experts, preparing your subfloor properly by cleaning and sanding under radiators ensures a longer-lasting, flawless finish for your new floor (see this guide for more details). Now, I focus on simple, safe, and effective methods, like using a flexible putty knife or a vacuum attachment—without any specialized tools. Ready to learn how you can do the same? Good! Let’s dive into the steps that will make this task quick, easy, and successful.
Prepare the Area and Gather Tools
Before diving into sanding, clear the space around the radiator and remove furniture or obstructions. I remember one morning when I decided to tackle this task; I had to shuffle a few chairs and move the radiator slightly to access the hidden dirt. For tools, you’ll need a flexible putty knife, a vacuum with attachments, a standard hand sander or sanding block, and masking tape. Having these ready ensures a smooth process and keeps dust contained.
Loosen and Remove the Radiator if Possible
Secure the Radiator
If your radiator is not firmly fixed or can be slightly moved, carefully loosen its brackets or valves with a wrench. I once loosened mine just a few inches, which provided enough space for sanding without disconnecting the entire system. Remember to turn off the water supply and drain any residual water to prevent leaks. This step reduces obstruction and allows you to reach the subfloor more comfortably.
Accessing Hard-to-Reach Areas
The key is to use a flexible putty knife, which acts like a gentle pry bar. Instead of forcing your way with a rigid tool, slide the putty knife between the floor and the radiator’s base, gently prying up dust and debris. I used mine at a shallow angle and worked slowly around the edges, resulting in a cleaner surface without scratching the flooring. A quick pass with a vacuum attachment afterward clears loose debris, setting up for the next step.
Sand or Clean the Subfloor Effectively
Once access is achieved, use a hand sander or sanding block to smooth any rough spots or old adhesives. For stubborn stains or buildup, gentle sanding combined with a vacuum keeps the area tidy. Think of it like preparing a canvas before painting — the smoother the surface, the better the final result. If you’re installing new tiles or hardwood, this prep prevents uneven surfaces and future issues like cracking or lifting.
Seal and Restore the Area
After sanding, wipe down the area with a damp cloth to remove dust. Applying a suitable sealant or primer can prevent future staining or moisture issues, especially if dealing with older subfloors. Remember, proper preparation ensures that your flooring — whether tile or hardwood — adheres perfectly and lasts long. For deeper insights on flooring prep, check out this floor leveling guide.
Reinstall and Final Checks
Carefully reposition the radiator, reconnect any removed components, and secure it back in place. Double-check that all screws and brackets are tight. When I reassembled my radiator, I took additional care to avoid scratching the newly cleaned floor. Turn the heating back on gradually to ensure there are no leaks or issues. A clean, well-prepared subfloor will make the entire flooring installation process much smoother and help you avoid costly mistakes.
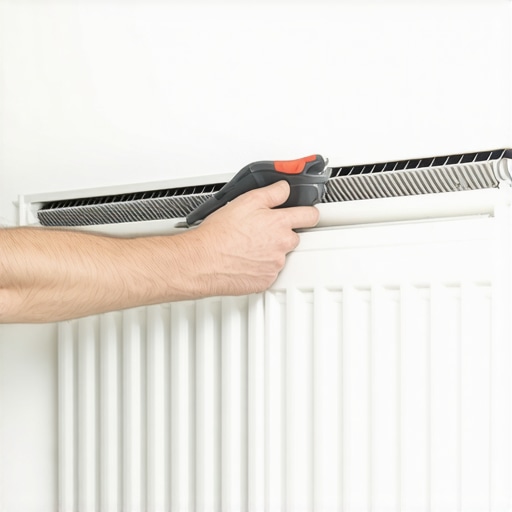 Even seasoned contractors sometimes fall prey to misconceptions about floor leveling and installation, leading to costly mistakes and subpar results. One widespread myth is that a pre-existing uneven subfloor can be sufficiently corrected with minimal preparation. In reality, small dips or high spots can seem insignificant, but they often translate into visible imperfections or even damage over time. Relying solely on self-leveling compounds without thorough assessment can cause issues like delamination or cracking later—advanced users should consider detailed subfloor evaluations and proper preparation, as outlined in expert guides on [floor leveling secrets](https://tiletrendshop.com/mastering-floor-leveling-pro-secrets-for-perfect-installations).
Keeping your floors in top condition requires not just skill but also the right tools that make maintenance easier and more effective. One tool I personally swear by is the microfiber dust mop. Unlike traditional brooms, it traps fine dust and debris without scratching delicate finishes, which is crucial for hardwood and tile surfaces. I use a high-quality microfiber mop with a telescoping handle to reach under appliances or furniture without strain, ensuring every nook stays pristine. For deeper cleaning, I turn to the dual-action orbital buffer. This machine, equipped with soft pads and appropriate cleaning solutions, helps restore shine and removes stubborn grime without damaging the surface. I prefer models that offer variable speed settings, allowing gentle polishing on hardwoods and more aggressive cleaning on tiles when needed.
When it comes to refinishing hardwood floors, I recommend using a quality drum sander paired with 80, 120, and 220 grit abrasive papers. This combination provides a smooth, even surface essential for long-term durability. Investing in a dust collection system ensures your workspace stays clean and dust particles don’t settle into the finish before curing. If you’re considering regular maintenance, I suggest adopting the monthly cleaning regimen using pH-neutral wood cleaners. This prevents buildup and preserves the integrity of your flooring materials over time.
In addition, I always keep a set of hardwood floor care products handy for spot treatments and enhancing the luster after deep cleaning. Regularly waxing or sealing your floors can also prolong their lifespan and maintain their visual appeal.
Looking ahead, the trend toward smart cleaning devices is set to grow. Automated robots with obstacle detection and mapping capabilities will soon become standard in maintaining your floors efficiently. Imagine a device that can navigate around furniture, perform deep cleans overnight, and report issues remotely.
How do I keep my floors looking their best over the years?
Consistent maintenance using the right tools and techniques is key. Incorporate preventive measures like felt pads on furniture and area rugs to minimize scratches. Regularly inspect for small issues—like loose tiles or minor scratches—and address them promptly. I find that a proactive stance, combined with quality tools, extends the life of your floors far beyond typical expectations. Want to learn more about professional refinishing techniques? Check out this comprehensive guide to floor leveling for expert tips that will keep your floors perfectly flat for years to come. Give one of these tools a try today, and see how much easier maintaining your floors can be!
Lessons that Turned My Floor Troubles Into Triumphs
- One of the biggest surprises was realizing that even small dips in the subfloor can cause major cracks in finished flooring—skipping detailed assessment once seemed harmless, but I learned the hard way that thorough evaluation prevents headaches later.
- Using the right tools, like a high-quality laser level and proper leveling compounds, transformed my ability to achieve perfectly flat surfaces, saving time and money that would have been wasted on patching flaws post-installation.
- Patience is key—rushing through the preparation phase often leads to uneven results, so I now embrace meticulous work, knowing that this pays off in a long-lasting, professional finish.
- Ignoring moisture barriers initially led to issues down the line; understanding their importance early on helped me avoid costly repairs and ensured stability for hardwood and tile installations.
- Finally, seeking expert advice from solid resources, such as detailed guides on floor leveling secrets, reduced my trial-and-error and boosted my confidence in tackling complex projects.
Gear Up with Tools That Elevate Your Flooring Experience
- Laser levels – Accurate, quick, and essential for identifying high and low spots across large areas, making your leveling job precise and straightforward.
- Self-leveling compounds – Trusted brands that I rely on for smooth, durable surfaces; they dramatically improve the final look and longevity of your floor.
- Moisture meters – Protect your investment by ensuring the subfloor is dry enough before applying adhesives or leveling materials, preventing future problems.
- Proper trowels and spreaders – Essential for achieving even thinset layers, especially when transitioning from leveling to tile or hardwood installation.
These tools have been game-changers for me, streamlining my workflow and producing results that rival professional finishings.
Your Journey Towards Flawless Floors Starts Now
Every step you take to understand and perfect your floor leveling process brings you closer to a stunning, durable finish that will stand the test of time. Remember, this isn’t just about aesthetics—it’s about creating a foundation that supports your entire home. Embrace the learning curve, use the right tools, and don’t hesitate to seek expert tips—your future self will thank you for the quality work and peace of mind. Dive into the world of professional-grade techniques with confidence, and see your flooring projects transform from daunting to delightful. Ready to elevate your skills and your space? The perfect floor is within your reach—one careful step at a time.