
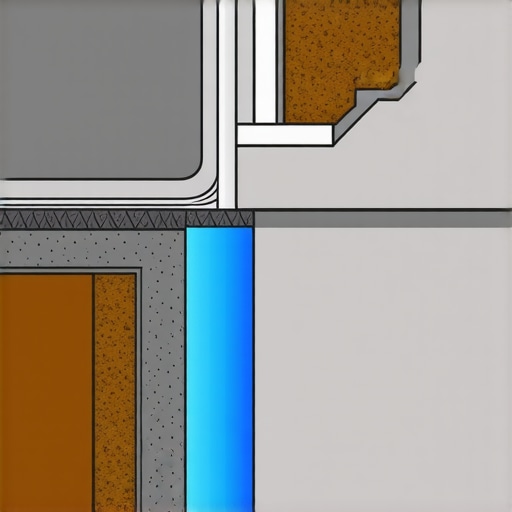
It was a chilly Saturday morning when I stepped into my basement and noticed a damp, uneven patch spreading across the floor. At first, I thought it was just a spill or maybe a plumbing leak, but the real culprit was something I didn’t see coming: self-leveler seeping through the cracks into my basement. That lightbulb moment hit me hard—underestimating the importance of proper floor preparation can turn a simple flooring project into a watery nightmare.
Why This Tiny Leak Can Turn Your Basement into a Water Hazard
Dealing with self-leveler leaks isn’t just about a messy floor; it can cause long-term structural issues, mold growth, and even compromise the integrity of your basement walls. I learned this the hard way when a small, unnoticed crack allowed moisture to wade in, creating an environment perfect for mold to flourish. According to the Centers for Disease Control and Prevention, mold thrives in moist environments, posing health risks and damaging building materials. So, preventing leaks isn’t just about neatness—it’s about safeguarding your home and health.
Facing the Skepticism: Is Fixing Self-Leveler Leaks Actually Worth the Effort?
I used to think sealing cracks and using extra barriers was overkill—until my basement developed a persistent dampness that worsened with each rain. My early mistake was neglecting to properly prepare the substrate before pouring self-leveler, assuming it would flow evenly without additional care. Trust me, I learned the hard way that skipping those crucial steps can turn your project into a leaky disaster.
If you’ve experienced something similar, you’re not alone. Many homeowners overlook the importance of meticulous preparation, leading to expensive and frustrating repairs later. Fortunately, with the right approach, you can avoid these pitfalls and achieve a waterproof, level floor that stands the test of time.
Next, I’ll walk you through the practical, tried-and-true strategies I used to stop leaks and ensure a perfect self-leveling pour. Ready to bring your basement back from the brink? Let’s dive into the essentials that can save your flooring—and your sanity.
Start with a Thorough Inspection and Surface Preparation
Before pouring self-leveler, I vividly recall using a long metal ruler and a moisture meter to identify high and low spots on my concrete slab. This initial step is crucial; just like a builder assesses a site before laying foundations, inspecting your subfloor ensures you address imperfections that could compromise your floor. Clean the surface meticulously—removing dust, debris, and oil—much like preparing a canvas before painting. Consider using a vacuum and a damp cloth, and if grease or stubborn stains are present, a degreaser can make all the difference. Proper surface prep lays the foundation for a successful pour and prevents future leaks or unevenness.
Install Appropriate Crack and Seam Treatments
Cracks are like silent invitations to moisture intrusion; sealing them prevents leaks that can ruin your finished floor. I used a high-quality epoxy or polyurethane crack filler, pressing it into the cracks with a putty knife. Think of this as patching small holes before a wall repaint—if you neglect it, problems will surface later. For expansion joints or gaps, applying a flexible sealant ensures movement without cracking the new layer of self-leveler. Remember, sealing is your home’s first line of defense against water ingress, especially if you encountered minor foundation shifts or temperature fluctuations.
Choose the Correct Self-Leveling Compound and Mix Precisely
The magic lies in selecting a self-leveler compatible with your substrate and conditions. When I tackled my basement, I opted for a polymer-modified formula that offered extra bonding and flexibility. Always follow the manufacturer’s instructions exactingly; using a paddle mixer attached to a drill, I combined the mix until it was free of lumps and had a creamy consistency—similar to thick pancake batter. Avoid rushing the mixing; proper consistency ensures fluidity and minimizes bubbles or pinholes, which can be disastrous for a smooth finish. Be sure to measure the water-to-compound ratio accurately and mix thoroughly for a uniform product.
Use Proper Trowels and Tools for Pouring
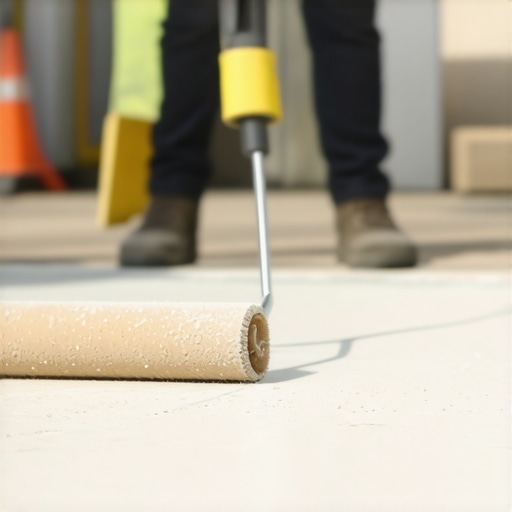
Pouring self-leveler is akin to pouring liquid gold—precision matters. I utilized a gauged-spreader squeegee to direct the flow, ensuring the material reached all corners, especially in tricky spots. Think of it as spreading icing evenly on a cake, making sure every area gets covered without over-smoothing. The key is to work swiftly yet carefully; large pours can start to set within 15-20 minutes, so be prepared with your tools and plan your route beforehand. Use a spike roller to pop any trapped air bubbles, which helps prevent surface defects—think of it as a bicycle pump for your leveled surface.
Level and Finish with Accuracy
Once poured, I used a laser level to confirm flatness, much like a surveyor mapping out territory. If minor dips or high spots are detected, quickly add more self-leveler or use a trowel to feather the edges. It resembles fine-tuning a musical instrument—attention to detail ensures harmony. Avoid walking on the surface until it has fully cured—generally 24-48 hours—and keep the humidity and temperature stable to prevent cracks or bubbles from forming afterward. After curing, sanding lightly with a diamond pad can smooth minor imperfections, preparing the surface for your chosen flooring—be it hardwood, tile, or vinyl.Many homeowners believe that a perfectly flat surface is just a matter of mixing the right self-leveling compound and pouring it evenly. However, as an expert in flooring installation, I can tell you that there’s more to the story—especially when it comes to hardwood floors, tiles, and complex subfloors. A common myth is that minor imperfections can be ignored, but these overlooked nuances can cause long-term issues like squeaks, cracks, or uneven wear.
One trap many fall into is thinking that surface-level solutions suffice; in reality, understanding the substrate’s specific needs and tolerances makes all the difference. For example, wooden subfloors require different treatment compared to concrete slabs, and misjudging this can lead to adhesive failures or delamination. Be cautious of applying a one-size-fits-all approach—always verify your materials and methods against the specific conditions of your project.
How Does Moisture Content Affect Long-Term Stability of Floor Installations? Maybe More Than You Think
Most experts agree that moisture levels are critical, but what many don’t realize is how subtle shifts can undermine your work over years. Even if your floor looks perfectly level after installation, residual moisture can cause subfloor expansion or contraction, leading to cracks or buckling. A study published in the *Journal of Building Engineering* emphasizes that inadequate moisture management prior to installation increases failure rates by up to 30%. Always use a reliable moisture meter and adhere to manufacturer guidelines—skipping this step may seem minor initially but can cost thousands in repairs later.
In addition, considering environmental factors like humidity fluctuations helps prevent issues. Installing a vapor barrier, especially over concrete, is not just a recommendation but a necessity for longevity. Failing to account for these nuances is a common mistake among DIY enthusiasts—don’t fall into that trap. Want comprehensive tips? Check out [mastering floor leveling](https://tiletrendshop.com/mastering-floor-leveling-pro-secrets-for-perfect-installations) for deeper insights.
When it comes to finishing your hardwood or tile, precision is everything. For hardwood floors, for instance, uneven subfloors can cause creaking, gaps, or even cupping over time. For tile, improper leveling might result in cracked grout joints or uneven tiles that catch the eye and eventually lead to damage. Remember, surface perfection starts from the ground up—neglecting complex nuances today can turn your beautiful space into a maintenance nightmare tomorrow.
Have you ever fallen into this trap? Let me know in the comments.
Keep It Working: The Tools That Make a Difference
Maintaining flawless floors over the long term requires more than just good materials; it demands precision tools that enable you to perform consistent, high-quality work. I personally rely on a set of specialized equipment that ensures each project stands the test of time. For instance, a high-quality laser level like the Bosch GLL 3-80 is indispensable—it provides unparalleled accuracy over large areas, eliminating the small errors that can lead to uneven wear or aesthetic issues. This tool is a game-changer when it comes to long-term maintenance, especially if you plan on installing hardwood or tile in multiple rooms.
In addition to laser levels, a spike roller is crucial for removing trapped air bubbles in self-leveler or underlayment layers. Personally, I keep a 3/8-inch diameter spike roller handy—it’s the secret weapon for achieving perfectly flat surfaces, reducing future crack formation or unevenness. Using this tool immediately after pouring ensures optimal adhesion and a smooth finish, which pays dividends in durability and appearance over the years.
For ongoing maintenance, investing in a commercial-grade vacuum like the Festool CT MIDI helps clean debris without disrupting sensitive surfaces. Regular cleaning extends the life of your floors and keeps them looking newer longer. I also recommend a moisture meter, such as the Protimeter Surveymaster, to monitor residual humidity—particularly important for hardwood floors where moisture fluctuations can cause cupping or buckling. Regular checks with this device can alert you to issues before they become costly repairs, ensuring your investment remains protected.
Scaling Up: Tools for Larger or More Complex Floors
If you’re aiming to expand your floors or tackle more complex layouts, consider a power trowel—like the walk-behind model. While traditionally used in commercial settings, smaller, portable versions are perfect for large residential projects. They help achieve an ultra-smooth surface efficiently, saving time and labor costs. Additionally, digital laser scanning tools like the Leica BLK2GO can map large spaces quickly, identifying any subtle dips or rises that may need correction before installation, significantly reducing the risk of long-term issues.
In the future, I predict that automation and smart sensors will become standard in flooring maintenance, continuously monitoring floor health and alerting homeowners to potential problems. Implementing current advanced tools now prepares you for this trend, ensuring your floors stay in outstanding shape regardless of project scale.
How do I keep my floors in top shape over time?
Consistent maintenance is key. Regular cleaning with tools like microfiber mops and avoiding harsh chemicals prolongs the floor’s lifespan. Also, periodic moisture testing—especially in humid climates—can prevent issues like warping or mold growth. For hardwood floors, applying a protective sealant every few years restores shine and adds an extra barrier against moisture. Don’t overlook small repairs; fixing minor cracks and chips promptly can prevent larger, more expensive problems later. Implementing these strategies with the right tools not only safeguards your investment but also simplifies long-term upkeep.
To truly elevate your flooring projects, I recommend trying out a high-quality spike roller right after your next self-leveling pour. This small investment of time improves surface quality dramatically, making future maintenance and refinishing much easier. Remember, the right tools combined with proactive care ensure your floors continue looking stunning and performing flawlessly for years to come.
What I Wish I Never Overlooked in Floor Preparation
During my first DIY flooring project, I underestimated the impact of thorough surface prep. I thought a quick clean would suffice, but I soon learned that detailed inspection and meticulous cleaning are vital for preventing long-term issues like moisture seepage. That lightbulb moment proved that no detail is too small—every crack and crevice can lead to major problems if ignored.
Investing time in sealing cracks and choosing the right self-leveling compound might seem tedious initially, but it pays off tremendously over the years. Missteps here often manifest as uneven floors, squeaks, or even water damage that can cost thousands to repair. Remember, a solid foundation is the key to a lasting, beautiful floor.
Moreover, understanding the influence of moisture content on your subfloor can’t be overstated. Even after a perfect pour, residual humidity can cause subtle shifts leading to cracks or warping. Using reliable moisture meters and following manufacturer guidelines ensure your investment remains resilient and safe from future damage.
My Secret Arsenal for Flawless Flooring
Over the years, I’ve curated a toolkit that helps me achieve professional results and maintain long-term durability. A high-quality laser level like the Bosch GLL 3-80 ensures every inch is perfectly flat, which is crucial for both tile and hardwood installations. Pairing it with a spike roller can eliminate trapped air bubbles in self-leveler, drastically reducing surface imperfections.
Regular cleaning tools such as microfiber mops, along with a moisture meter like the Protimeter Surveymaster, help me monitor the environment and prevent costly repairs. For large projects, a walk-behind power trowel speeds up achieving that ultra-smooth finish, saving both time and effort. These tools have become indispensable in my quest for floors that stand the test of time.
Turn Your Floors into Your Home’s Crown Jewel
Your flooring is more than just a surface—it’s a reflection of your home’s character and your craftsmanship. Taking the time to master proper leveling techniques and investing in quality tools cultivates not only stunning results but peace of mind. Don’t let initial shortcuts lead to regret—embrace the process, learn from experience, and watch your space transform into something truly special.
Are you ready to give your next flooring project the attention it deserves? Show me your progress or ask questions below—your perfect floor awaits!
,