
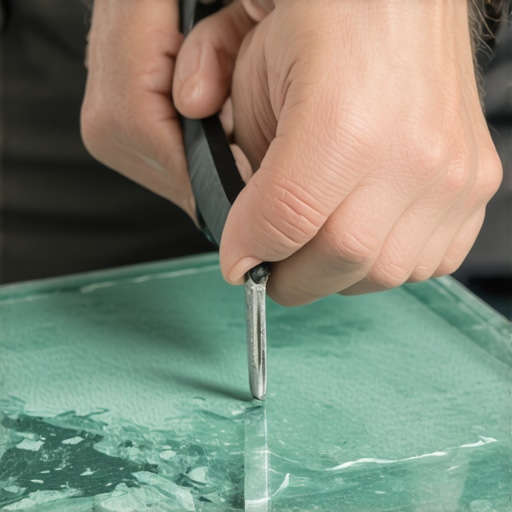
I’ll never forget the day I thought I had nailed that perfect cut on a delicate glass tile, only to see a tiny chip ruin the whole look. It was frustrating—like trying to carve a masterpiece with a butter knife. That moment was an eye-opener, revealing just how tricky cutting glass tiles can be, especially without damaging the paint backing. Over the years, I discovered that the key isn’t just about having the right tools but understanding a few simple tricks that make all the difference.
Why Cutting Glass Tiles Without Chipping Matters More Than You Think
When you’re renovating or customizing a space, those sleek glass tiles add a touch of elegance. But the challenge? Even a small chip can ruin the clean lines you’ve worked so hard to achieve. Plus, if you damage the paint backing, it can lead to costly re-dos or uneven surfaces. Trust me, I’ve been there, and I know how disheartening it is to see your perfect cut turn into a nightmare. The good news? You don’t need to be a professional to master this skill. With a few insider tips, you’ll be cutting glass tiles like a champ.
Have You Faced This Struggle Before?
If you’ve ever wrestled with a glass tile, trying to make that precise cut without chips, you’re not alone. I initially made the mistake of rushing and using dull blades, which only made things worse. That’s a common error that many DIYers fall into, but it’s entirely avoidable. For more insights on avoiding common pitfalls, check out this guide on leveling challenges. Now, let’s dive into the secrets that will save your project from future frustration and elevate your craft.
By understanding the unique properties of glass tiles and choosing the right tools and techniques, you’ll find that achieving a flawless cut is well within reach. Whether you’re installing new tiles or repairing existing ones, mastering this skill can make your work look professional and polished. Ready to learn how? Let’s move on to the essential steps that will help you cut glass tiles without a single chip.
Choose the Right Tools for Precision
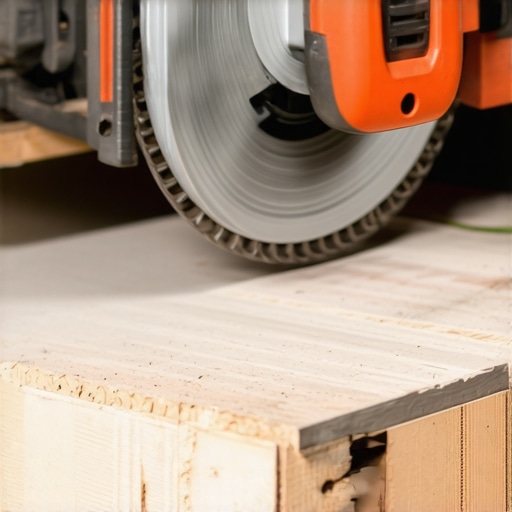
Start by selecting a high-quality, wet tile saw with a diamond blade designed specifically for glass. I once used a dull blade on a glass tile, causing jagged edges and chips; switching to a sharp, wet saw changed the game entirely, producing smooth, clean cuts. The wet saw lubricates the blade and cools the glass, reducing the risk of chipping and providing more control over your cut.
Use the Correct Blade and Maintain It
Opt for a diamond-tipped blade compatible with glass. Regularly check and replace the blade to ensure sharpness. A worn blade heats up and grabs the glass unpredictably, increasing chances of breakage. Think of it like using a dull knife to cut vegetables—the more force you apply, the higher the chance of squashing or splitting them. Keep your blade sharp for accurate, chip-free cuts.
Prepare the Glass Tile Properly
Mark your cut line precisely with a fine-tip marker or wax pencil. Use a straight edge or a 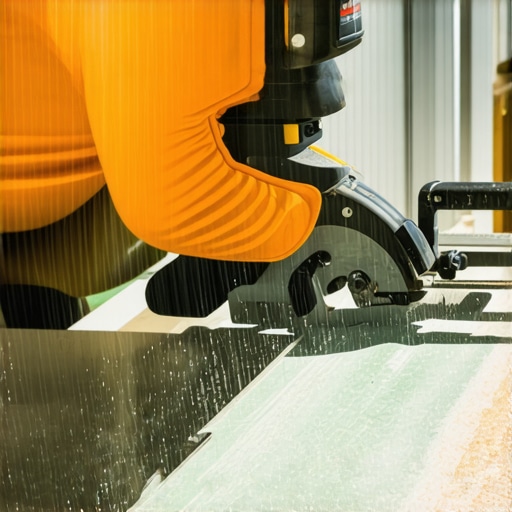 square to ensure your line is perfectly straight. When I cut a curved piece for a backsplash, I traced it carefully and double-checked alignment before starting. Precise marking guides your saw and helps prevent accidental chipping, especially on delicate edges.
Score the Tile with a Barre or Hand Tool
For smaller cuts or intricate shapes, scoring the glass with a carbide-tipped tile scribe or a glass cutter helps. Apply consistent pressure along your marked line, making a single, firm pass. This creates a controlled weakness that prevents splintering. Imagine scoring a piece of paper—you’re establishing a clean break point to minimize tearing.
Adopt the Proper Cutting Technique
When using the wet saw, align the tile properly with the blade, ensuring your cut line matches the saw’s path. Use slow, steady pressure—don’t rush. I once tried to rush a cut and ended up with a chip; slowing down resulted in a smoother finish. Maintain a firm but gentle grip, allowing the saw to do the work, reducing vibrations that can cause cracks.
Control the Pressure and Water Flow
Consistent water flow cools the glass and dampens debris, decreasing chipping risk. Adjust the water flow to keep the blade and tile moist without splashing excessively. Applying uneven pressure while cutting can lead to chips—think of peeling an apple smoothly; gentle, consistent pressure yields the best result.
Handle the Tile Carefully Post-Cut
Stand the cut tile upright and avoid touching the freshly cut edge immediately. Use a fine-grit sanding sponge or a diamond file to smooth any rough or sharp edges, if necessary. When I finished my first glass tile project, I made sure to smooth the edges with a light sandpaper, which also prevented accidental cuts later. This extra step ensures a pristine finish and safer handling.
Final Tips for Success
Always wear safety glasses and gloves. Cutting glass tile is precise work that warrants eye protection from tiny shards. Practice on scrap pieces first to get a feel for your tools and technique. Over time, your confidence and precision will improve, making clean cuts second nature.
Mastering these steps transforms glass tile cutting from a nerve-wracking task to an achievable skill. Remember, patience and proper technique are your best allies—rushing only increases the risk of chips and wasted material. For more insights on tile installation, visit this comprehensive tile installation guide.Many homeowners and even seasoned contractors hold onto beliefs about hardwood floors, tile, and floor leveling that, in reality, can hinder the quality of the final result. For instance, a widespread misconception is that choosing the thickest hardwood planks automatically guarantees durability and long-lasting beauty. However, the truth is more nuanced: thinner, well-maintained hardwoods can outperform bulkier options if installed correctly. To truly elevate your space, it’s vital to understand the *subtle nuances* behind these products, which can dramatically affect their performance over time. Dive deeper into this topic by reviewing [this guide on selecting the right hardwood floors](https://tiletrendshop.com/elevate-your-space-choosing-the-right-hardwood-floors-for-your-home). Another common mistake involves assuming that all leveling compounds are interchangeable. Many ignore the importance of matching the product to the subfloor type, which can lead to uneven surfaces and tile cracking. For a thorough understanding, check out [floor leveling fundamentals](https://tiletrendshop.com/flooring-installation-fundamentals-leveling-for-a-seamless-look). The riskiest trap, however, is underestimating the importance of proper surface preparation. Skipping steps like removing debris, ensuring moisture barriers, or verifying flatness can cause persistent issues later—regardless of how advanced your installation techniques are. As expert installers attest, [mastering floor leveling](https://tiletrendshop.com/mastering-floor-leveling-pro-secrets-for-perfect-installations) is essential for a seamless finish. But why are these misconceptions so prevalent, and how can they derail your project? The answer lies in a lack of awareness about the *nuances* that differentiate quality from shortcuts. Advanced installers don’t just follow a checklist; they understand how small details cumulatively affect the longevity and aesthetic of the floor. For example, even a minor miscalculation in the foundation can cause tiles to crack or hardwood to buckle over time—wasting both time and money. Do you ever wonder why some renovations stand the test of time while others falter? It often comes down to these subtle, often overlooked factors. If you want a durable, beautiful finish, focus on the intricate details of your installation process. Check out [these professional secrets](https://tiletrendshop.com/transform-your-living-area-with-elegant-tile-designs) for insights tailored to serious DIYers and pros alike. Remember, rushing or neglecting these nuances could be your project’s hidden trap. So, have you ever fallen into this trap? Let me know in the comments.
Keeping It Working: Selecting the Right Equipment for Long-Term Success
Investing in quality tools is paramount when aiming for a professional-looking, long-lasting flooring project. From hardwood to tile, the precision and durability of your installation depend heavily on the equipment you choose. I always recommend using a high-quality, wet tile saw with a diamond blade, specifically designed for glass and porcelain. In my experience, these saws offer cleaner cuts, reducing the risk of chipping or cracking, especially on delicate materials. When I first started, I underestimated the importance of sharp blades; after switching to a robust diamond blade, my cuts improved dramatically, saving me time and materials.
For floor leveling, I rely on a self-leveling underlayment system. The key is to select a product suited for your subfloor type, which ensures stability and prevents future cracks. For instance, using a gypsum-based leveller on concrete slabs can offer better adhesion and flexibility, as highlighted in this detailed guide. Always mix your leveling compound with a variable-speed paddle attached to a drill—this ensures consistent texture and avoids air bubbles that could compromise the smoothness.
Tools That Make a Difference
Additionally, employing a laser level with an adjustable beam allows for ultra-precise alignment over large areas, preventing uneven flooring that becomes glaring over time. I’ve found that laser levels are more reliable than traditional spirit levels, especially when working on expansive surfaces. For surface preparation, a diamond-tipped grinder helps remove uneven patches or old adhesive, ensuring your new layer adheres perfectly—crucial for preventing long-term issues like tile lippage or hardwood buckling. Experts recommend selecting models with variable speed settings to control grinding depth and avoid unnecessary damage.
Future Trends: Smart Tools and Automation
Looking ahead, I believe the trend will lean more toward smart, connected tools that facilitate real-time data collection and error detection. Devices equipped with sensors could alert you to moisture levels, improper leveling, or subfloor inconsistencies before installation begins, saving time and materials. The integration of AI-driven guidance systems might even assist less experienced installers in making precise cuts and placement decisions. As technology advances, investing in these innovative tools will become a strategic advantage, elevating the quality of flooring installations.
How do I maintain my tools over time?
Proper maintenance is critical to sustaining tool performance. Regularly inspecting blades and replacing them when dull prevents splintering and chips. Cleaning dust and debris from motor vents and applying lubrication to moving parts extend the lifespan of power tools. For delicate equipment like laser levels or moisture meters, storing them in dry, padded cases shields them from environmental damage. Consistent calibration ensures accuracy, especially for devices used in leveling and alignment. Dedicated maintenance not only prolongs your tools’ life but also ensures your projects remain consistently high-quality. For more tips on maintaining your tools, visit this maintenance guide.
Embracing the right tools with a focus on maintenance grants you the confidence to tackle complex projects and ensures durable results that stand the test of time. Now, I encourage you to try calibrating your laser level before your next big job—it’s a simple step that yields great precision. Remember, investing in quality tools and their proper upkeep is the secret sauce for flawless flooring that endures years of use.
Lessons I Wish I Could Rewind About Glass Tile Cutting
- Patience is your best tool—hurrying almost always leads to chips and regrets. Taking your time ensures each cut is precise and clean.
- Invest in quality blades, as they dramatically reduce the risk of damaging delicate glass tiles. A sharp, diamond-tipped blade paired with water cooling transforms the process.
- Proper marking, like using a fine-tip marker and straight edge, might seem simple but makes a world of difference. Even small misalignments can cause costly mistakes.
- Don’t underestimate post-cut care—smoothing rough edges with a diamond file not only improves aesthetics but also prevents injuries down the line.
- Understanding the unique properties of glass—like its tendency to chip—helps you adapt your techniques for success every time.
Tools and Resources That Truly Made a Difference
- My high-quality wet tile saw with a diamond blade is essential. It offers unparalleled control and reduces chipping—[find more on reliable saws here](https://tiletrendshop.com/precise-floor-leveling-techniques-to-achieve-flawless-surfaces).
- A ceramic or glass cutter for scoring helps when making intricate shapes, giving you that extra level of precision. Practice with scrap pieces first!
- Supplement your toolset with a diamond file or sanding sponge—these quick fixes refine edges and deliver that professional finish.
- For planning cuts, I rely on laser guides—they keep your lines straight over large tiles. Check out the latest in guide tech at [this resource](https://tiletrendshop.com/installing-tiles-like-a-pro-step-by-step-strategies-for-2025).
Harness Your Inner Craftsperson and Build Confidence
Every cut you make, every tile you smooth, contributes to a space that feels genuinely yours. Mastering this skill isn’t just about avoiding chips; it’s about creating an environment with clean lines and lasting beauty. Remember, patience and proper tools are your allies—don’t rush the process. If you approach each tile with respect for its delicate nature, you’ll find that flawless cuts become second nature. Ready to elevate your tiling game? Keep practicing, stay patient, and don’t hesitate to learn from your mistakes. How has a specific technique helped you improve your glass tile cuts? Share your experience below.