
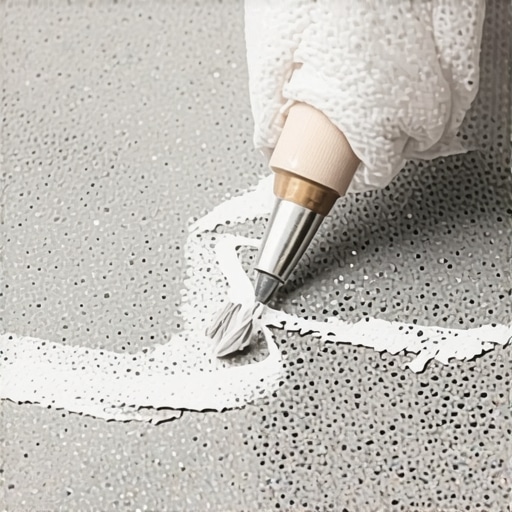
I’ll never forget the moment I discovered a deep scratch across my beloved matte vinyl plank flooring. It was a lazy Sunday afternoon, and as I walked barefoot, I suddenly felt that unmistakable roughness under my foot — a deep gouge that threatened to ruin the whole room’s aesthetic. My first instinct was panic; I considered ripping out the entire plank and replacing it, but I knew that wasn’t practical or budget-friendly. That lightbulb moment made me realize I didn’t have to accept damage as inevitable nor resort to costly replacements.
Why We Can’t Just Ignore Deep Scuffs on Matte Vinyl
Deep scratches and gouges on matte vinyl flooring aren’t just an eyesore—they can also expose the subfloor and compromise the longevity of your floors. Given how popular vinyl flooring has become due to its durability and affordability, knowing how to repair those stubborn blemishes is a game-changer. And trust me, a DIY fix can save you a significant amount of money and effort.
Early on, I made the mistake of trying to cover up scratches with superficial solutions like furniture polish or temporary fillers, only to find them accentuated over time. Properly addressing deep scuffs requires an understanding of the flooring material and the right repair techniques. And yes, it’s feasible to improve the appearance significantly without ripping up entire planks.
Is a Repair Actually Worth It, or Should I Just Replace?
This is the question many homeowners face. Honestly, I was skeptical at first—who wouldn’t be? But I quickly learned that the right approach can restore your floor’s beauty, all while preserving your budget. It’s important to avoid common pitfalls, like using inappropriate fillers or neglecting the surface preparation, which can make repairs stand out even more. For example, one mistake I made early on was skipping the cleaning step, which led to poor adhesion of my repair compounds.
Nowadays, I rely on specific tools and techniques—like color-matching fillers and proper surface prep—that have transformed my approach. If you’ve faced a similar dilemma, stay tuned — I’ll walk you through the practical steps to fix that deep scuff and bring your matte vinyl back to life.
Preparing Your Workspace and Materials
Start by clearing the damaged area of furniture and debris, ensuring easy access. Gather your repair materials: a color-matched vinyl repair kit, fine-grit sandpaper, a putty knife, rubbing alcohol, and a clean cloth. Clean the scratch thoroughly with rubbing alcohol to remove dust, grease, and residual adhesives, which helps with adhesion and a seamless finish. Think of cleaning as prepping a canvas before painting—any dirt can ruin the final result.
Assessing the Depth and Color Match
Examine the scratch closely. If it’s deep, you’ll need to fill it effectively. Use a digital photo to compare the color of your vinyl with the repair kit, or test a small corner first. Matching the pigment precisely is crucial; mismatched repair compounds will be noticeable. I once tried a generic filler, and it made the scratch more obvious, so take your time selecting the correct shade. For complex color matches, consider blending multiple shades from the kit.
Applying the Repair Compound
Load the putty knife with a small amount of the color-matched filler. Press it into the deepest part of the scratch, ensuring it fills the gouge fully—think of it as a painter filling a gap in a mural with precise, controlled strokes. Smooth out excess with the knife, scraping lightly across the surface. Allow the filler to cure as per manufacturer instructions, usually 15-30 minutes. Avoid rushing this step; patience ensures better adhesion and a neater appearance.
Sand and Level the Surface
Once the filler is fully cured, lightly sand the repair area with fine-grit sandpaper (around 320 grit). Sand in a gentle, circular motion, matching the vinyl’s texture. This step is similar to polishing a rough stone—removing excess filler and blending the repair with the surrounding surface. I learned the hard way that aggressive sanding can dull the matte finish, so keep pressure light and check frequently. For a more uniform surface, use a damp cloth to clean the dust afterward.
Blending and Finishing Touches
After sanding, inspect the area. If needed, apply a second layer of filler for deeper scratches and repeat the curing and sanding steps. To restore the matte finish, lightly buff the area with a matte floor polish or a soft cloth. This step minimizes gloss differences, ensuring your repair remains invisible. Remember, a well-blended repair can last years if properly maintained—think of it as repairing a tiny crack in fine porcelain.
Additional Tips for a Long-Lasting Fix
For high-traffic areas, consider applying a protective matte sealant over the repair to prevent future scratches. If you want to learn more about preventing damage in the first place, checking out flooring installation mistakes to avoid can offer valuable insights. Always test your repair techniques in a discreet spot first to avoid unwelcome surprises. Remember, patience and proper preparation are key to flawless results, turning a potential eyesore into a virtually invisible patch.
When it comes to flooring choices, many homeowners and even seasoned professionals fall prey to misconceptions that can compromise project outcomes. Contrary to popular belief, choosing the cheapest materials or skipping proper preparation isn’t always the way to save money; instead, it often leads to costly fixes down the line. For instance, some believe that tile installation can be rushed without proper leveling, but a tiny miscalculation can result in lippage or cracked tiles, issues that are remarkably difficult to fix later. Advanced installers emphasize precise substrate preparation, as detailed in their guide to floor leveling, because overlooking this step is a common mistake that most miss. It’s also a myth that hardwood floors are completely maintenance-free; in reality, understanding how to handle humidity fluctuations and proper finishing techniques is vital. Experts agree that ignoring these nuances causes wood to cup or gap over time, reducing overall lifespan. Additionally, many believe that DIY flooring installation can replace professional work entirely; however, the intricate details of substrate conditions, moisture barriers, and precise measurements often demand expert finesse. As highlighted in common leveling challenges, failing to recognize substrate irregularities can jeopardize the entire project. For a comprehensive approach, consider the latest tile trends that complement hardwoods, as discussed here. Many overlook that tile and hardwood combination requires careful planning—misalignment not only spoils aesthetics but also affects durability. And beware the trap of neglecting the environmental impact; selecting sustainable materials and understanding their installation nuances not only benefits the planet but also ensures your flooring’s longevity. The truth is, mastering flooring installation involves more than just laying materials; it requires understanding the complex interplay between substrate quality, climate, material properties, and craftsmanship. Advanced techniques like proper underlayment placement and moisture testing are crucial, as expounded in step-by-step guides. If you’re curious about how to avoid these pitfalls, staying informed and consulting trusted resources can make all the difference. So, before you embark on your next flooring project, ask yourself: are you factoring in these hidden nuances that could make or break your results? Have you ever fallen into this trap? Let me know in the comments.
How Do I Maintain My Flooring Over Time?
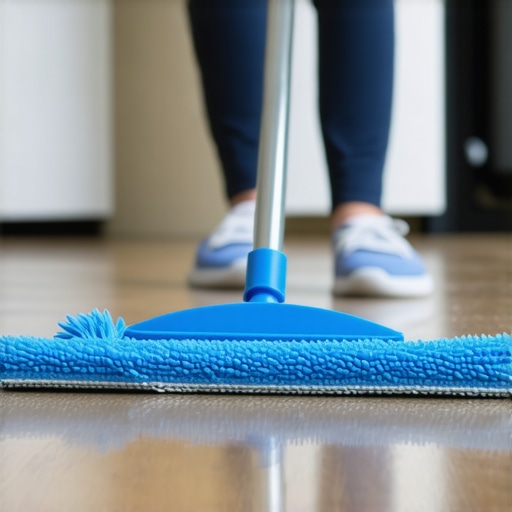
Consistent maintenance is key to ensuring the long-term beauty and durability of your floors. I rely on a few specific tools that have truly transformed how I care for my hardwood and tile surfaces. For instance, I swear by a high-quality microfiber mop paired with a pH-neutral cleaner, such as the ones recommended in their care guide. This combo gently lifts dust and prevents scratches without damaging the finish.
Another game-changer is a soft-bristled vacuum with adjustable suction, which I prefer over traditional brooms for regular cleaning, especially on delicate wood grains. It’s amazing how much tiny debris, lurking in corners and under furniture, can accelerate wear if left unchecked. For deep cleaning or buffing out minor scratches, I use a specially formulated hardwood floor polish containing micro-ceramic particles; this enhances gloss and provides a thin protective barrier against future damage.
Tools I Recommend for Floor Maintenance
Investing in the right equipment pays dividends. My go-to sander is a palm sander with variable speed settings—crucial when restoring worn patches without over-sanding the surrounding area. I always use fine-grit sandpaper (around 320 grit), aligning with expert advice from floor refinishing professionals. These tools facilitate gentle, precise maintenance that extends your floor’s life.
For tile floors, I recommend a grout cleaning machine for periodic deep cleans—keeping grout lines fresh and mold-free. Additionally, applying a quality sealant every few years, especially in high-traffic zones, helps to prevent staining and damage. Regularly inspecting for loose tiles or cracked grout can save you from bigger issues down the line.
Future Trends in Floor Care
Looking ahead, I believe the integration of smart sensors that monitor humidity and detect wear could revolutionize floor maintenance. These devices can alert you when levels are off, preventing issues related to moisture and temperature fluctuations. For now, setting a routine with proven tools and techniques remains the best practice.
If you’re eager to elevate your flooring care routine, try incorporating a microfiber mop with a specially formulated cleaner and see the difference it makes over time. Small investments in these tools and consistent upkeep can yield **amazing long-term results**, keeping your floors looking pristine for years to come.
What I Wish I Had Known Before Starting My Flooring Journey
One of the most invaluable lessons I learned is that patience truly pays off. Rushing through repairs or installation can lead to mistakes that cost more time and money down the line. Investing time in proper surface preparation and material selection, as emphasized in floor leveling guides, prevents many common pitfalls. Additionally, understanding that every space is unique helped me tailor my approach, rather than relying on one-size-fits-all solutions.
Another lightbulb moment was realizing how subtle details, like the correct trowel size or the right curing time, significantly impact the final result. Small adjustments, such as checking for hidden moisture issues following advice from experts, can make or break a project. Recognizing these nuances transformed my perspective from DIY enthusiast to confident craftsman.
Tools and Resources That Changed My Approach to Flooring
The right tools elevate the quality of your work. I highly recommend a quality vinyl repair kit with color-matching compounds and fine-grit sandpaper for seamless fixes. For broader projects, my trusted floor leveling techniques guide provided step-by-step clarity. Additionally, consulting comprehensive resources like homeowner-focused tutorials helps reinforce best practices. These tools and insights have empowered me to approach each repair and installation with greater confidence and precision.
Your Next Step in Elevating Flooring Mastery
Embarking on your flooring project might seem daunting at first, but every successful step builds your expertise. Remember, the mastery of flooring installation and repair is a continuous journey—every mistake is a lesson that sharpens your skills. Whether you’re addressing deep scratches or planning a full upgrade, focus on meticulous preparation and patience. And don’t shy away from exploring advanced techniques in resources like detailed installation guides. Your efforts will be reflected in flawless, durable floors that truly highlight your craftsmanship.
Have you ever underestimated the importance of proper surface prep or chosen the wrong repair materials? Share your experiences below—your story might just inspire someone else to perfect their flooring skills!
**,