
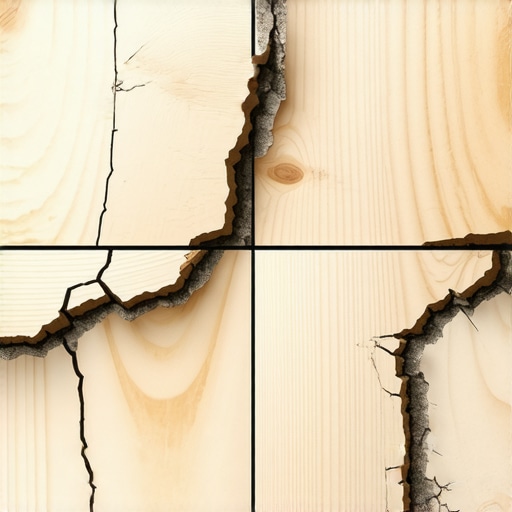
It was a Saturday morning when I stepped onto my newly tiled kitchen floor, only to feel that unsettling wobble beneath my feet. Suddenly, a corner of the tile cracked, revealing an unseen battle happening below the surface. That lightbulb moment made me realize – my plywood subfloor was failing, and I had no idea why.
Pulling Back the Cover: Why Plywood Subfloors Fail Under Tile
Many homeowners and DIY enthusiasts don’t realize that a subfloor’s health is the foundation of a successful tile installation. When plywood begins to delaminate—where layers separate—it can lead to serious issues like cracked tiles, uneven surfaces, and costly repairs. In my early days of renovation, I made the mistake of ignoring the importance of proper subfloor preparation, which set me back months later. Trust me, understanding what causes delamination is the first step to avoiding a similar fate.
Is Subfloor Delamination Overhyped? Here’s Why It’s a Big Deal
Some people brush off subfloor issues as minor, but the structural integrity directly affects how your tiles perform over time. If moisture seeps in or the plywood isn’t properly installed, it can start to peel apart, especially under heavy or uneven load. Early on, I overlooked moisture barriers, which I now know is a critical mistake. According to experts, improper moisture control accelerates delamination and tile failure. For more insights, check out this comprehensive guide on flooring installation mistakes.
Start with a Clean Slate
Before you even pour the leveler, remove all debris, dust, and loose materials from the subfloor. I once skipped this step, and within days, my new tile started to crack. To prevent this, I used a dry vacuum to thoroughly clean every corner, ensuring no particles compromise adhesion. This initial cleaning is crucial because contaminants can create weak spots, leading to uneven surfaces. For detailed cleaning techniques, check out this guide on prepping for tile installation.
Address Moisture and Humidity First
Moisture in the slab or plywood can cause your leveling compound to fail. I applied a calcium chloride moisture test, which cost me only five dollars but saved me from costly repairs later. If moisture levels are high, install an effective vapor barrier or moisture mitigation system. Think of it like sealing your house before painting; without proper barriers, everything else risks being compromised. For accurate testing methods, review this article on moisture testing.
Choose the Right Leveler and Mix Precisely
Select a self-leveling compound suited for your subfloor—whether concrete or plywood—and follow the manufacturer’s mix ratio. I once used too much water, which resulted in a lumpy, weak surface. To get a flawless finish, use a mixing paddle attached to an impact driver, blending until the mixture is smooth and pourable. Think of mixing like making pancake batter—consistent texture is key. For tips on mixing and application, see this guide on proper leveling compound prep.
Apply the Leveler in Batches and Spreads
Pour the mixture onto the subfloor and spread using a trowel or a gauge rake, working quickly but carefully. I once poured too much at once and had difficulty spreading it evenly, resulting in high and low spots. To avoid this, I poured small sections, working from the farthest corner towards the exit to prevent trapping myself. Use a spiked roller after pouring to eliminate bubbles and ensure consistency. For advanced techniques, consult this article on precise leveling methods.
Let It Cure with Vigilance
Patience is everything. I made the mistake of walking on the surface too early, which left footprints and uneven patches. Follow the curing time recommended—typically 24 to 48 hours—and keep the area free of drafts, temperature fluctuations, and foot traffic. Think of it like baking a cake; rushing the process results in a flop. For curing tips, review this comprehensive guide to curing and finishing.
Check Your Work Before Moving On
Once cured, verify the levelness with a laser level or reference straightedge. I used a laser level, which illuminated high and low spots I missed visually. Minor imperfections can be sanded down with a concrete grinder or backer board, but major dips require reapplication. This quality check prevents issues like tile lippage or uneven hardwood surfaces later. Learn more about final inspections at this article on spot checks.
Many DIYers and even seasoned professionals often get tripped up by overlooked details that seem minor but carry major consequences. One frequent misconception is the idea that a perfectly leveled subfloor guarantees a flawless finish. While leveling is crucial, experts like those cited in this in-depth guide emphasize that surface flatness alone isn’t enough; proper moisture control, correct material selection, and precise application techniques are equally vital. Skipping these nuances can lead to issues such as tile lippage or hardwood gaps over time.
What advanced mistakes do even experienced installers make that could sabotage the longevity of your floors?
One often overlooked pitfall is incorrect substrate preparation — for instance, neglecting to verify the subfloor’s moisture levels can cause future buckling or delamination. According to a comprehensive installation mistake analysis, improper moisture testing or ignoring vapor barriers is a common source of failure. Additionally, misunderstandings around material compatibility, such as applying a thinset not suited for porcelain tiles over a plywood subfloor, can result in adhesion failures. Advanced methods involve detailed substrate assessment, including tests for moisture and embedment suitability, which many overlook. When installing hardwood floors, forgetfulness about acclimation and humidity considerations can cause warping or gaps. For high-end results, it’s essential to understand the detailed properties of your chosen materials, sometimes requiring consulting expert guidelines like those found at this resource on innovative designs. In essence, many failures stem from a combination of surface preparation, environment control, and material knowledge — nuances that separating pros from amateurs. Taking the time to master these details ensures your floors stand the test of time, and avoiding common traps saves you both money and frustration. Want to elevate your understanding even further? Check out this ultimate guide for professional-level techniques. Have you ever fallen into this trap? Let me know in the comments.
Maintaining your floors after installation is just as important as the initial setup. Investing in the right tools ensures longevity and keeps your hardwood, tile, or other flooring types looking pristine over time. One essential tool I personally rely on is a high-quality microfiber dust mop. It effortlessly captures dust and debris without scratching surfaces, which is crucial for hardwood and delicate tiles. Regular use prevents dirt buildup that can cause scratches and dullness, ultimately extending the lifespan of your floors.
Powerful Tools I Trust for Lifelong Durability
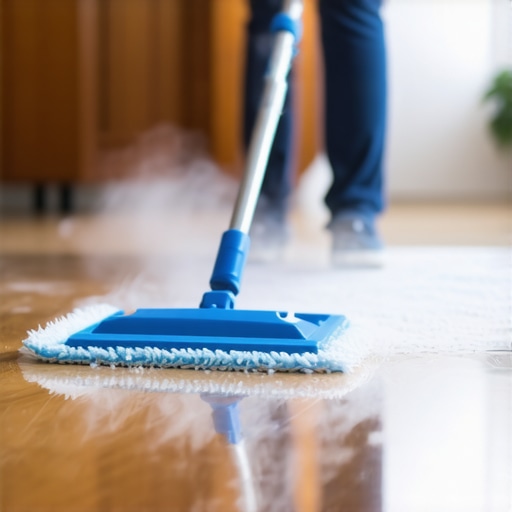
For deep cleaning, I recommend a steam mop designed specifically for tile and sealed hardwood floors. Unlike traditional mops, a steam cleaner utilizes high-temperature vapor to lift stubborn grime while sanitizing surfaces without harsh chemicals. I use models with adjustable steam control, like the Shark Genius Steam Mop, to match different flooring needs. This tool not only maintains cleanliness but also helps prevent the formation of mold and bacteria in grout lines or wood crevices.
Long-Term Results Require Strategic Upkeep
Over time, floors accumulate scratches, stains, and general wear, especially in high-traffic areas. Applying specialized protective coatings, such as polyurethane for hardwood or impregnating sealers for tile, can significantly slow this deterioration. Periodic inspections using a moisture meter help detect hidden issues like rising humidity, preventing future damage. Incorporating these checks into your routine ensures early intervention before problems escalate, which research from mastering-floor-leveling emphasizes as vital for lasting results.
Smart Equipment for Scaling Success
When working on larger projects, I recommend investing in a drum sander for refinishing hardwoods or an angle grinder with a diamond blade for tile adjustments. These power tools save time and produce professional-quality finishes. For even better results, using a laser level during maintenance helps identify uneven spots or surface dips that could lead to future cracking. Future trends point toward automation and smart sensors integrated with moisture detection and surface monitoring, making proactive maintenance more accessible than ever.
How do I keep my floors in top shape over time?
Routine maintenance starts with consistent cleaning routines, avoiding abrasive cleaners that can damage surfaces. I also advocate for periodic re-coating of protective finishes—think of it as a spa treatment for your floors. Additionally, using adjustable furniture glides prevents scratches from heavy pieces. For stubborn stains or deep-seated dirt in grout lines, a mixture of baking soda and vinegar applied with a soft brush keeps surfaces looking fresh without chemical overuse. Remember, a well-maintained floor not only looks better but also retains its value and structural integrity for decades.
To elevate your maintenance, try using a detailed cleaning schedule combined with the right tools I’ve mentioned. For instance, regularly inspecting for moisture with a digital meter can help catch issues early. Want to learn more about precise techniques? Visit this guide on precise floor leveling for extra tips.
Lessons from the Trenches: Hard-Earned Wisdom about Floor Perfection
One of the most surprising insights I gained was that even minor imperfections can snowball into major problems down the line. Skipping the thorough moisture test or rushing the curing process seemed harmless in the moment, but those small shortcuts cost me time, money, and frustration later. Remember, meticulous prep isn’t just a step—it’s the foundation of durable, beautiful floors.
I also learned that understanding materials beyond their basic instructions elevates your results. For instance, knowing how different plywood grades react to moisture helps you select the best substrate, preventing future delamination. Don’t just follow the instructions—know the ‘why’ behind each step to become truly confident in your craftsmanship.
Finally, patience is your best ally. Allowing ample curing time and double-checking with precise tools like laser levels ensures your project doesn’t just look good initially but stands the test of time. The extra effort upfront transforms a good install into a legendary one.
Tools and Resources That Transformed My Approach
- High-Quality Laser Level: It revolutionized my accuracy, revealing subtle dips and highs I’d miss visually. Investing in a laser level pays off in flawless tiling results.
- Moisture Meter: The calcium chloride test was a game-changer, flagging hidden issues before they became costly repairs. I trust this simple, inexpensive tool to safeguard my projects.
- Self-Leveling Compound: Combining proper mixing techniques with the right product made leveling smooth and reliable, saving so much time and effort.
- Mastering Floor Leveling guide: This resource deepened my understanding of substrate prep and application nuances, elevating my skills from amateur to professional.
Embrace Your Floor Future with Confidence
Every layer you add, from leveling compounds to sealers, contributes to a surface that’s both stunning and resilient. The journey toward perfect flooring isn’t about perfection in one step but a series of deliberate, informed choices. Trust yourself, stay detail-oriented, and celebrate each small victory along the way. Your dream floor is within reach—start today and transform your space with pride and precision.
Have you ever overlooked a small detail that turned into a big problem later? Share your experience below—I’d love to hear your story and tips!