
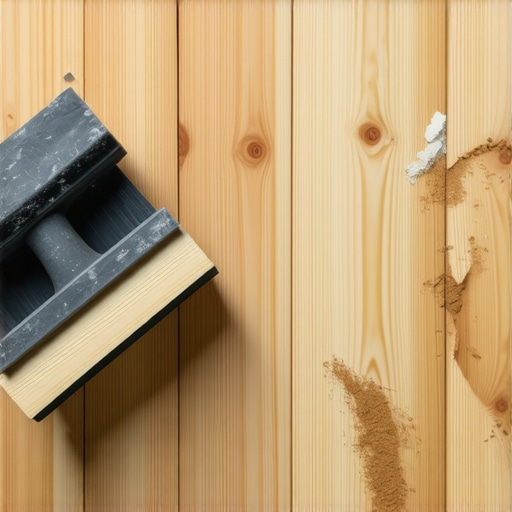
I remember the exact moment I realized my beautiful hardwood floors were losing their luster — and it wasn’t because of dirt or neglect. It was a slow peeling and cracking that drove me crazy. I had spent days carefully choosing the stain, applying the finish, and admiring my handiwork, only to see the finish start to chip away after just a few months. That lightbulb moment made me dig deep into what I had missed, and I discovered a crucial step in the sanding process that’s often overlooked.
The Hidden Culprit Behind Peeling Hardwood Finishes
If you’ve ever faced peeling or dulling of your hardwood finish, you’re not alone. Many homeowners jump into refinishing their floors with excitement but neglect a vital phase: proper sanding and surface preparation. When I fumbled through my project, I skipped a meticulous sanding step, thinking a light buff would do. Turns out, that was a mistake that cost me dearly. The rough spots and uneven surface I left behind created tiny pockets where finish couldn’t bond properly, leading to peeling and longevity issues. This experience taught me that a flawless finish isn’t just about choosing the right stain or topcoat; it’s about starting with a perfectly prepared surface.
According to flooring experts, skipping or rushing the sanding step can compromise the finish’s adhesion, resulting in peeling, cracking, or even bubbling over time. A recent study highlights that improper surface prep constitutes the leading cause of finish failure on hardwood floors. So, what’s the missing piece you need to know? It’s all about sanding thoroughly—especially in those hard-to-reach, detailed areas—and ensuring the surface is completely clean before applying any finish.
Have You Faced the Frustration of Peeling Floors?
If you’re nodding along, feeling that sting of disappointment, don’t worry. I’ve been there and learned the hard way. The good news is that this problem is entirely fixable, and I’ll guide you through the essential sanding step that can save your project and your floors from future peeling. Want to avoid making the same mistake I did? Keep reading, and I’ll show you how proper sanding transforms your hardwood flooring experience.
Before diving into the techniques, let’s explore why this step matters so much and how skipping it can sabotage your entire effort. You’ll find actionable tips and insider secrets that will make your next hardwood project durable, beautiful, and long-lasting.
Start with a Thorough Sanding
Begin by selecting the right grit sandpaper—coarse grits like 60-80 grit to remove old finish and smooth out imperfections, followed by finer grits like 120-150 grit for polishing the surface. I once rushed this step, thinking a light buff would suffice, but the uneven patches resulted in finish peeling within months. Always ensure you sand evenly across the entire floor, paying close attention to corners and detailed moldings.
Use a Drum Sander and Edger
Employ a drum sander for large, open areas to remove surface imperfections efficiently. For edges and tight spots, an edger is indispensable. I found that skipping the edger left rough patches along walls, which later caused finish inconsistencies. Move the sander steadily, maintaining consistent pressure to avoid gouging the surface.
Clean Before Applying Finish
After sanding, thoroughly vacuum the entire area to remove dust and debris. Follow up with a tack cloth dampened with mineral spirits to pick up fine particles. I neglected this step once, and the residual dust caused a dull, uneven finish. Proper cleaning ensures excellent adhesion and a smooth appearance.
Test the Surface
Before applying primer or stain, perform a mineral spirits test: wipe a small area with mineral spirits and observe if the wood resin or stain comes off. If it does, the surface isn’t fully prepared. Ensuring the surface is clean and free of contaminants prevents peeling and ensures durability.
Address Surface Irregularities
Identify any dips, bumps, or cracks. Fill minor imperfections with a suitable wood filler, then sand smooth once dried. For larger uneven areas, consider using a floor leveler like a self-leveling compound. I once had to level a warped section, which, if ignored, would have caused an uneven finish and early peeling.
Perfect Surface Profile
The goal is to achieve a uniformly smooth, flat surface. Use a straightedge or a level to verify. Tiny inconsistencies can lead to visible defects in the final look. For intricate details or hard-to-reach spots, use hand sanding or a detail sander for precision.
Final Inspection and Prep
Inspect the floor for dust, debris, and surface irregularities after cleaning. A clean, smooth surface is your best defense against finish failure. Remember, proper surface prep isn’t glamorous but forms the foundation of a flawless, long-lasting finish—just like I learned from my messy, yet ultimately rewarding, experience. For more in-depth techniques on achieving a perfect surface before finishing, check out precise floor leveling techniques.”}}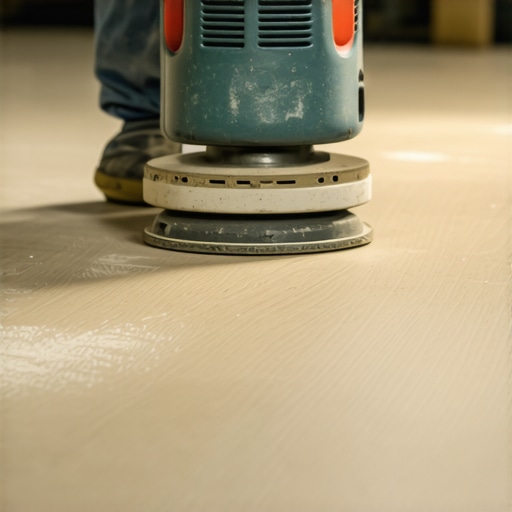
While many homeowners and even seasoned contractors believe that a good subfloor and the right leveling compound are enough for a flawless finish, the reality is that there’s a subtle but critical nuance often missed: the importance of precise application techniques and the environmental conditions during leveling. This oversight can lead to subtle, yet costly issues like shadowing, uneven surfaces, or early failure of tile and hardwood floors. Let’s unpack what most people get wrong and how mastering this nuance can elevate your installation quality.
One common misconception is that using the right leveling product guarantees perfection. However, the application method—such as the pour, spreading, and curing process—plays an equally vital role. For instance, pouring self-leveling compound in a room with high humidity or significant temperature fluctuations can cause the mixture to cure improperly, leading to variations in thickness and surface flatness. Experts warn that environmental conditions during installation should be meticulously controlled, and the product’s specifications strictly followed to avoid these pitfalls. According to The Ultimate Guide to Floor Leveling, even small deviations in humidity or temperature levels during curing can result in uneven surfaces.
Are Uneven Floors a Sign of Poor Technique or Bad Materials?
Many believe that choosing a premium leveling product is enough to ensure a flat floor. However, even the best materials can fail if the application isn’t executed properly. For example, over- or under-mixing the compound, improper trowel techniques, or rushing the process can create air pockets, pooling, or inconsistent thicknesses. These issues are less about material quality and more about craftsmanship—an advanced skill many overlook. It’s also crucial to use proper tools, such as spiked rollers, to eliminate air bubbles and improve adhesion, as explained in Precise Floor Leveling Techniques.
When installing tile or hardwood over a poorly leveled surface, the effects may not be immediately obvious. Over time, however, cracks, uneven patterns, and wear become visible. This emphasizes that mastering the application technique is just as important as picking the right materials from reputable sources like Mastering Floor Leveling Pro Secrets.
Furthermore, some installers underestimate the importance of proper curing time and environmental stability. Rushing to walk on the surface or apply finishes too soon can cause micro-movements and develop weaknesses, which are often invisible to the naked eye initially but manifest as failures later. Patience, precision, and environmental control—these are the cornerstones of a truly professional finish. Remember, even a seemingly flawless surface can hide subtle imperfections that threaten long-term durability if these nuances are ignored. Want to learn more about perfecting your surface preparation? Check out approaches that involve flawless floor leveling techniques.
Have you ever fallen into this trap? Let me know in the comments below. Mastering these advanced nuances elevates your projects from good to professional grade and prevents costly repairs down the line.
Keep It Functioning: Essential Tools for Flooring Maintenance
Maintaining your floors over time requires more than just regular cleaning; it involves the right tools and a proactive approach. Personally, I rely on a high-quality humidifier during dry seasons to prevent hardwood expansion and contraction, which can lead to gaps or warping. For tile floors, a laser level has become indispensable—I use it to ensure tiles remain perfectly aligned after years of installation, avoiding the common issue of lippage. My goto for deep cleaning is a microfiber mop with minimal chemical use, protecting finishes while keeping dirt at bay. Regularly inspecting and maintaining your floor’s structural integrity is crucial, and investing in specialized tools ensures longevity and aesthetic appeal.
What tools do I consider non-negotiable for flooring upkeep?
Beyond the basics, I swear by a calibrated moisture meter to monitor humidity levels in the subfloor and environment, which is vital for avoiding issues like cupping or buckling in hardwoods. Also, a manual floor sander is handy for spot-repair or refinishing small sections, saving you from costly full-surface sanding. Sealants and touch-up kits for scratches and gouges can prolong the life of your finish, especially if you spot issues early. These tools, combined with routine checks, form the backbone of effective long-term maintenance—think of them as your floor’s health monitoring system.
Anticipate the Future: Trends in Flooring Care
Looking ahead, the integration of smart sensors that monitor humidity and wear in real time promises to revolutionize flooring maintenance. Imagine receiving alerts on your smartphone when moisture levels reach critical points or when cleaning intervals are due. As flooring technology advances, tools are becoming more intelligent, enabling proactive care rather than reactive repairs. Staying ahead of the curve by adopting these innovations can save you significant time and money, ensuring your floors remain stunning for decades to come.
How do I maintain my flooring system over time?
Consistency is key. Regularly check for signs of wear or damage and address them promptly. Use the appropriate cleaning tools—avoiding harsh chemicals that can degrade finishes—and keep environmental conditions stable, especially in basements or areas with fluctuating humidity. I recommend reading these detailed leveling techniques to understand how proper subfloor preparation plays into long-term flooring success. Also, periodic professional inspections can catch problems early, preventing minor issues from turning into costly repairs.
Remember, investing in the right maintenance tools and habits not only preserves your floors’ beauty but also enhances their durability. For a comprehensive look at how to implement effective flooring care routines, check out expert installation tips. Try adopting one advanced maintenance tool or routine today—your floors will thank you for it!
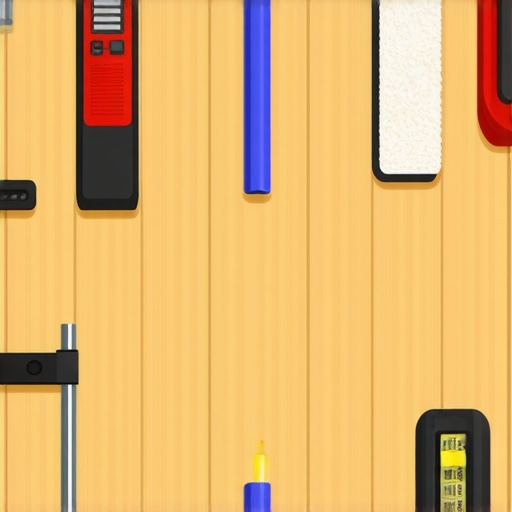
Illustration of essential tools for flooring maintenance, including moisture meters, laser levels, microfiber mops, and small sander, set against a wood and tile flooring backdrop. Alt: Essential flooring maintenance tools; Title: Tools to Keep Your Floors Stunning Over Time.
Over the years, I’ve learned that the real magic in flooring lies not just in choosing beautiful materials but in the meticulous prep work that ensures durability and aesthetics. One of the most eye-opening lessons I encountered was the significance of environmental control during floor leveling. I once rushed a self-leveling pour on a humid day, only to witness the compound develop ripples and uneven surfaces hours later. That experience taught me that patience and proper conditions are as vital as the material itself, and now I always monitor humidity and temperature diligently, understanding that these factors influence the cure and final outcome—trust me, the difference is night and day.
The Hidden Truth About Floor Leveling That Most Overlook
I used to think that selecting a top-tier leveling product guaranteed perfection, but I’ve realized that application technique and environment often trump material quality. A light pour in a poorly ventilated room can trap moisture and create hills and valleys, making future tile or hardwood installation a nightmare. The lightbulb moment was when I discovered that using a spiked roller to eliminate air pockets, combined with curing in stable conditions, produces a flat, dependable base. Remember, mastering the nuances of pour techniques, like avoiding over-mixing or rushing, turns a good floor into a great one.
The Investment Beyond the Materials
Beyond tools and products, I found that ongoing education played a huge role in improving my craftsmanship. Reading trusted guides like The Ultimate Guide to Floor Leveling and watching tutorials on proper trowel angles and mixing ratios vastly improved my results. Investing time in understanding the curing process and environmental factors has saved me endless headaches and repairs. These resources are invaluable for anyone serious about elevating their flooring expertise beyond the DIY surface.
Leveling Up Your Skills Has a Lasting Impact
Practicing precise application techniques and controlling environmental conditions consistently elevate your projects from average to professional-grade. Whether you’re installing new tile over a level substrate or refinishing hardwood, these lessons ensure longevity and beauty. Thinking about your next project? Don’t just settle for good enough—embrace these insights, and you’ll find that flawless flooring is within reach. Want to dive deeper into perfecting your leveling skills? Check out these detailed leveling techniques to refine your craft further.
Keep Your Floors Fab for Years to Come
Remember, the secret to long-lasting, stunning floors isn’t just in the materials—it’s in the prep, patience, and precision you bring to each step. Regularly review your processes, stay informed with trusted resources, and don’t hesitate to seek professional advice when tackling challenging areas. Your floors will thank you with years of beauty and function. What’s the biggest challenge you’ve faced during floor leveling, and how did you overcome it? Share your story below and inspire fellow DIYers on their journey to perfect floors!