
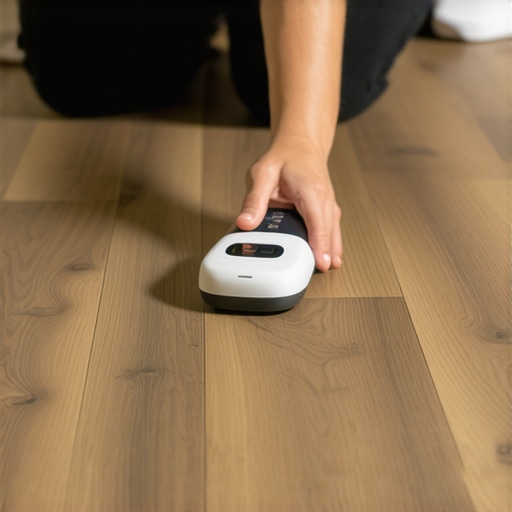
It was a typical afternoon when I unrolled a new box of hardwood flooring, only to be hit with a wipe-out of chemical fumes that made my eyes water and my head spin. Despite all my research, I had overlooked a simple but vital step—the sniff test. That moment was a lightbulb flickering on, revealing how often we neglect our own senses in favor of fancy labels or flashy reviews. If you’ve ever gone shopping for flooring, maybe you’ve felt that unspoken rush to get things done, to breathe easy again. But let me ask you—have you ever actually sniffed a sample before buying? Chances are, many of us skip this, and that can lead to long-term indoor air quality issues.
Why Paying Attention to Your Nose Can Save You Weeks of Headache
Flooring choices are more than just aesthetic; they impact the health of your home and loved ones. Low-VOC products have gained popularity, promising safer indoor air. But not all products comply—or worse, they might contain hidden chemicals. The scientific community corroborates the importance of VOC monitoring—studies show indoor VOC levels can be several times higher than outdoor air, affecting respiratory health (EPA).
Prep the Subfloor for Flawless Results
Begin by thoroughly inspecting your subfloor, ensuring it’s clean, dry, and level. Use a long level or a laser tool to identify high or low spots. For minor unevenness, apply a self-leveling compound, carefully following the manufacturer’s instructions. I once faced a slightly uneven concrete slab, which caused tile lippage. By meticulously applying a self-leveler and testing with a level, I achieved a perfectly flat surface, preventing future cracking or unevenness. For more tips on leveling, visit this guide.
Level the Floor for Even Tiling
Identify and Correct Subfloor Deviations
Use a straightedge or a laser level to find any dips or humps. Mark these with chalk and decide whether to sand down high spots or fill in low areas with leveling compounds. When I installed new tile in my basement, I used a laser level to map the entire floor. I filled the low patches with an appropriate self-leveling mix, which I then troweled smooth. This ensured that the tiles would sit uniformly, avoiding unwanted cracks. For detailed leveling techniques, check this resource.
Lay Out Your Pattern Precisely
Before gluing or setting tiles or planks, arrange samples to visualize the pattern. Use chalk lines or a laser to guide your layout. Starting from the center or a focal point ensures symmetry. I remember laying out a diagonal mosaic pattern; I kept adjusting each tile’s position until the pattern aligned perfectly across the room, preventing awkward cuts at the edges. This step saves time and material in the long run. For design inspiration, explore this collection.
Choose the Right Adhesive and Trowel
Select an adhesive compatible with your flooring material and subfloor conditions. Use the recommended trowel notch size to control application thickness: too much adhesive can lead to uneven surfaces, too little causes bonding issues. When I installed hardwood in my living room, I used a notched trowel that matched my planks’ width, ensuring consistent coverage. Testing the adhesive spread on scrap material beforehand guarantees optimal bonding. For tips on selecting supplies, visit this guide.
Implement Effective Flooring Installation Techniques
Lay tiles or planks using a gradual, step-by-step approach. Place spacers to maintain consistent joints, and check alignment frequently. When installing large-format tiles, use a rubber mallet to gently tap them into place, ensuring tight contact and bed adhesion. I once encountered a misaligned row; using a pull bar and a level corrected it quickly without disturbing adjacent tiles. Always work systematically, from the center outward or according to your layout plan. Learn more about professional methods at this resource.
Finish with Proper Grouting and Sealing
Once the floor is set, remove spacers and allow the adhesive or mortar to cure fully. Apply grout using a rubber float, pressing it into joints at a 45-degree angle to fill gaps completely. Wipe excess grout with a damp sponge before it hardens. After curing, seal the tiles or hardwood to protect against moisture, stains, or wear. For maintenance tips and care routines, see this article.
Many homeowners and even some professionals often overlook subtle yet impactful details when installing hardwood floors, laying tiles, or performing floor leveling. While beginners might think that choosing the right materials is enough, the reality is far more nuanced. One prevalent myth is that following standard guidelines guarantees a perfect finish. However, in my experience, neglecting specific substrate conditions or minor imperfections can lead to long-term issues like buckling or uneven surfaces. For example, not verifying moisture levels in concrete slabs before applying self-leveling compounds can cause failure of the overlay, despite using the best products. Studies show that up to 70% of flooring failures stem from improper substrate preparation or surface preparation errors (source: [Flooring Installation Mistakes](https://tiletrendshop.com/flooring-installation-mistakes-to-avoid-for-lasting-results)).
Another misconception involves the perceived simplicity of floor leveling. Many believe that a rough pour or slapdash leveling job suffices. Yet, small deviations as little as 1/8 inch across a room can significantly impact tile grouting, hardwood stability, or transitions. An often-overlooked nuance is understanding the importance of mechanical bonding between older concrete and leveling compounds. Without proper surface roughening or prime application, bond strength diminishes, increasing the risk of future cracks or delamination. For seasoned installers, mastering this detail can make the difference between a professional finish and a costly redo. For advanced techniques, referencing [floor leveling secrets](https://tiletrendshop.com/mastering-floor-leveling-pro-secrets-for-perfect-installations) provides valuable insights.
Think about the common trap of misjudging the floor’s natural expansion. Many skip the critical step of calculating and accommodating for thermal and moisture-induced movements, leading to cracks and buckling over time. An appropriate expansion gap is essential, but even more important is the strategic use of gap-filling profiles or transition trims. Failing to plan this can result in unsightly gaps or, worse, damage to the flooring. Visualize this with a picture of correctly installed expansion joints—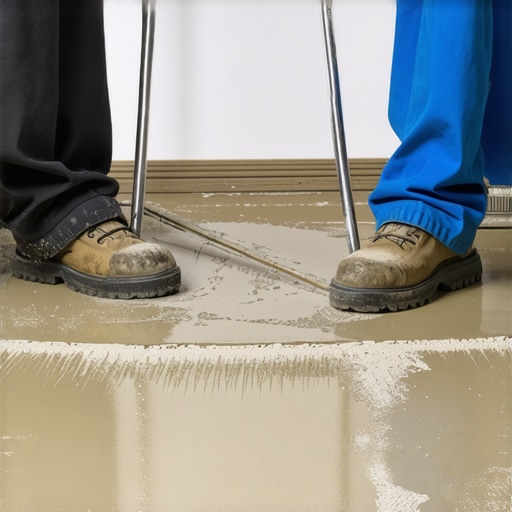 —to see how professional installers manage these nuances.
Furthermore, advanced flooring projects require understanding how different materials interact under various conditions. For instance, installing a hardwood floor over a radiant heating system demands precise acclimation and specific subfloor modifications. Not accounting for these details can cause cupping or gapping months later. The misconception that all hardwoods behave similarly under heat is misleading; oak and bamboo, for example, have different expansion coefficients. To avoid pitfalls, consult dedicated guides like [expert hardwood refinishing tips](https://tiletrendshop.com/mastering-hardwood-floor-refinishing-expert-tips-for-2025), which delve into these subtleties.
Have you ever fallen into this trap? Let me know in the comments. Recognizing these hidden nuances ensures your project not only looks good initially but also stands the test of time. Remember, attention to detail—especially in prep work and understanding material behavior—is where true craftsmanship begins.Maintaining exemplary flooring requires more than initial installation skills; it demands a set of reliable tools and refined methods that ensure longevity and ease of upkeep. Personally, I swear by a high-quality laser level like the Blackdecker Laser Level for its pinpoint accuracy in floor leveling projects. Unlike traditional bubble gauges, laser levels project consistent, bright lines across large areas, making it effortless to spot uneven spots and ensure a perfectly flat surface—crucial for both hardwood and tile installations. When working on delicate substrates or uneven concrete, I also rely on a vibrating power trowel, which accelerates the self-leveling process and produces a smooth, uniform base, reducing the chances of cracks or warping over time.
How do I maintain my floors over time?
Beyond installation, proper maintenance tools make all the difference. I recommend a microfiber mop paired with a pH-neutral cleaning solution like Bona Hardwood Floor Cleaner. This combination gently lifts dirt without damaging the finish and prevents scratches that could accelerate wear. For stubborn stains or grout lines, I use a detail brush such as the Cobra Products Tile and Grout Brush, which reaches into tight corners and helps maintain the clean, professional appearance of your floors. Investing in a good-quality buffer with adjustable speed, like the BuffPro 2000, helps restore shine periodically, especially optimal for hardwood surfaces needing a refresh after deep cleaning or refinishing.
Future trends point toward smarter, more integrated maintenance systems. Imagine robotic floor scrubbers equipped with AI to identify areas needing more intensive cleaning, or IoT-enabled sensors that monitor humidity and suggest optimal upkeep routines automatically. Embracing these innovations today makes your floors not only easier to care for but also longer-lasting.
As you evaluate your flooring care routine, consider trying the scrubber with microfiber pads paired with a method I favor—lightly misting the surface with water mixed with a few drops of essential oil for a natural, streak-free shine. This advanced tip can extend the life of your finish and keep your floors looking pristine. For more in-depth guidance on maintaining your investment, explore [hardwood floor care secrets](https://tiletrendshop.com/hardwood-floor-care-secrets-to-longevity-and-shine).
What I Wish I Had Known Before Starting My Flooring Journey
One of the most valuable lessons I learned was the incredible importance of meticulous subfloor inspection. Skipping this step can lead to uneven surfaces and costly repairs down the line, as I discovered the hard way when my new tile cracked prematurely. Another revelation was that patience during the leveling process pays off; rushing often results in lippage and a less professional finish. Finally, understanding that every material has unique acclimation and installation requirements transformed my approach, saving me from avoidable mistakes and ensuring a durable, beautiful result.
My Trusted Tools and Resources for Flooring Excellence
For precise leveling, I rely on a laser level like the Dewalt DW089LG, which provides clear, consistent lines—even over large surfaces. When it comes to surface preparation, the 3M Hand Sanding Block has been invaluable for smoothing out minor imperfections. The book Mastering Hardwood Floor Refinishing offered me insights into advanced techniques that transformed my finishing quality. Additionally, the website this guide helped me avoid common installation pitfalls, saving me time and money while achieving professional results.
Your Flooring Dreams Are Within Reach—Start Today
Remember, mastering the art of flooring installation and leveling is a journey worth undertaking. Each step you take toward understanding the nuances and investing in quality tools will pay off in a stunning, long-lasting floor that elevates your entire home. Don’t be afraid to experiment, learn from your mistakes, and seek out expert advice—your perfect flooring project is just around the corner.