
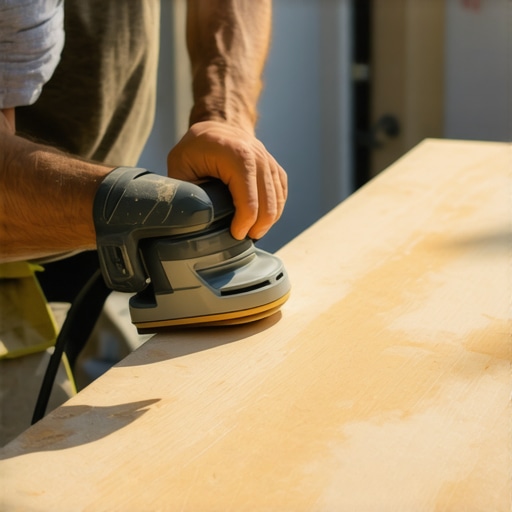
I remember my first hardwood floor refinishing project vividly. I was halfway through sanding when I suddenly noticed uneven patches, and a sinking feeling hit me—had I messed up already? The realization that I overlooked a crucial step made me reconsider my entire approach. It was a lightbulb moment that changed how I tackled floor prep forever.
Why Your First Sanding Pass Sets the Tone for a Flawless Finish
When I started learning the ins and outs of hardwood refinishing, I discovered a simple trick that made all the difference: sanding diagonally on your first pass. Initially, I thought it was just a tip among many, but it turned out to be a game-changer. Starting diagonally helps you effectively remove surface imperfections and achieves a more even, professional-looking surface. It’s like setting a solid foundation for the entire project.
Is Sanding Diagonally Really Worth the Extra Effort?
Let me be honest—I was skeptical at first. I wondered whether the extra step was necessary or just an old-fashioned myth. My early mistake was rushing the process and sticking to conventional patterns, which left some areas less smooth than others. I later learned that by not sanding diagonally initially, I missed the opportunity to catch hidden blemishes and inconsistencies early, making the finishing stage more difficult.
Research supports this approach too. According to industry experts, the first pass is critical for establishing a level and smooth surface, especially on complex subfloor patterns. Skipping the diagonal method can lead to uneven wear and visible flaws, which are tough to correct later.
Have you ever faced a situation where your sanding left annoying scratches or uneven patches? If so, you’re not alone. Many beginners overlook the importance of the initial pass, and the result often shows in the final look. But don’t worry—this article will guide you step-by-step on why you should sand diagonally from the start and how it sets you up for flooring success.
Next, we’ll dive into the practical techniques to master this approach, ensuring your hard work results in a flawless finish that lasts for years to come. Ready to elevate your flooring game? Let’s get started!
,
Sanding Diagonally: The Game-Changing Technique
Start your sanding process by setting your buffer or sander at a medium grit, typically 80-100, and begin at a 45-degree angle to the grain in one corner of the room. This initial diagonal pass acts like sketching an outline before coloring it in—challenging but crucial. I vividly recall the first time I attempted this; I was sweeping across the floor at an angle, and initially, it looked messy, with swirls and uneven patches. However, as I continued, the surface smoothed out, and I noticed surface imperfections disappearing. This step ensures you remove the surface layer evenly, eliminating stubborn blemishes early. For larger rooms or complex subfloor patterns, this approach becomes even more vital. <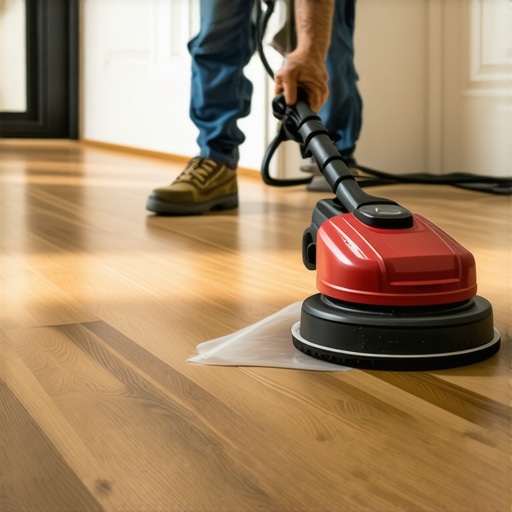 >
>
Why Focus on the First Pass
The first sanding pass establishes your baseline for the entire project. Skipping diagonally can leave hidden bumps and dips that only show up once you’ve finished, requiring extensive rework. Think of it as laying a solid foundation—without it, the entire structure is compromised. Use a vacuum or broom to clear dust regularly, preventing debris from scratching the surface during subsequent passes. Remember, a clean, even surface reduces the risk of uneven wear and visible flaws later in the project.
Refining the Surface with Cross-Grain Sanding
After completing the diagonal pass, switch to a standard back-and-forth motion with the sander aligned parallel to the grain. This second pass further smooths the wood, addressing any scratches or marks left by the initial diagonal movement. Tight corners and edges require hand-sanding with a sanding block or detail sander; this precision is critical to avoid gouges or low spots. I once neglected this step in a small hallway, and the uneven finish made the entire job look amateurish, prompting a costly redo. Don’t cut corners here—attention to detail makes all the difference.
Handling Difficult Areas and Edges
Rooms with tight corners, door jambs, or stair noses demand careful attention. Use a detail sander or sanding sponge to reach these spots, always working along the grain to prevent scratches. For thresholds and transition strips, hand-sand with a fine grit to ensure a seamless blend between different flooring types. Properly prepping these tight spaces ensures your finish will be consistent and professional-looking, avoiding uneven sanding deposits.
Final Sanding and Surface Preparation
For the final pass, use a finer grit, such as 120-150, and lightly buff the floor to remove any remaining scratches. This step is analogous to polishing—yielding a smooth, uniform surface ready for staining or sealing. Always vacuum the entire surface thoroughly afterward, then wipe it down with a tack cloth or damp microfiber to remove residual dust. This meticulous cleaning prevents debris from settling into your finish, preserving the depth and clarity of your final coat.
Pro Tip: Use a Floor Mistake as a Learning Moment
Once, I noticed a patch where the sanding was uneven and I had missed a spot. Instead of panicking, I lightly sanded that area again with a finer grit and reapplied the finish more uniformly. Small mistakes are part of the process—quickly addressing them ensures a flawless, durable result. Remember, patience and attention to detail in each step will lead to a professional-quality hardwood floor that enhances your space for years to come.
Many DIY enthusiasts and even seasoned professionals often fall prey to misconceptions that can compromise the quality and longevity of flooring projects. A prevalent myth is that leveling preparations are optional or can be rushed, but in reality, improper leveling is one of the leading causes of tile cracking and uneven hardwood surfaces. Skipping meticulous subfloor preparation might save time initially, but according to experts from self-leveling techniques, it often results in costly repairs down the line. Another common error is relying solely on adhesive alone when installing planks or tiles, ignoring the importance of a proper moisture barrier and expansion gaps, which are essential for preventing warping or buckling over time. Many believe that a quick fix or shortcut won’t impact the final outcome, but as detailed in installation mistakes, these small oversights can snowball into major problems. Advanced installers know that mastering nuance — like selecting the right trowel size for large-format tiles or ensuring consistent grout lines — separates amateurs from true craftspeople. Have you ever fallen into this trap? Let me know in the comments.
Keeping Your Floors in Top Shape with the Right Tools
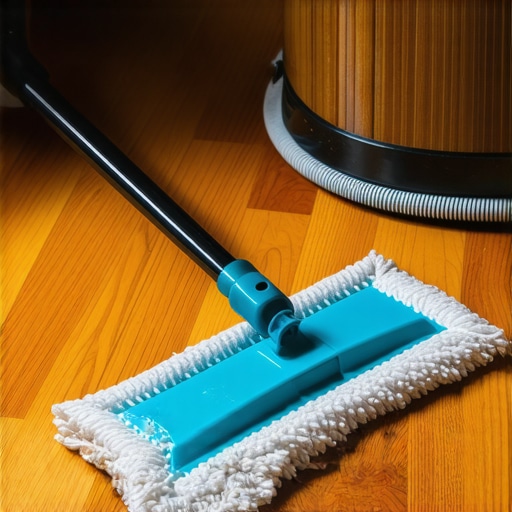
Achieving a durable, beautiful hardwood floor isn’t just about installation—maintenance plays a crucial role in its longevity. Over the years, I’ve found that investing in high-quality tools and adopting routine upkeep routines can exponentially extend the lifespan of your flooring. A standout tool I swear by is a microfiber dust mop, which I use daily to keep dust and debris from scratching the surface. Unlike standard brooms, microfiber mops trap fine particles effectively, preventing micro-scratches that diminish a wood’s luster over time.
Another indispensable piece of equipment is a floor buffer with appropriate pads. I opt for a dual-speed buffer fitted with a soft, terry cloth pad for routine polishing after cleaning. This not only restores the sheen but also helps remove minor surface scuffs. When applying touch-up finishes or sealing coats, I rely on a high-quality floor applicator, specifically designed for even distribution of finishes, ensuring a smooth, long-lasting seal that preserves the floor against moisture and wear.
Choosing the Proper Maintenance Products
Not all cleaners are created equal. I recommend a pH-neutral, wood-specific cleaner that can be diluted for regular cleaning. Avoid harsh chemicals that can strip the finish or cause discoloration. For deep cleaning, I use a steam mop cautiously, ensuring it doesn’t stay in one spot too long to prevent moisture damage. Remember, always follow the manufacturer’s recommendations to prevent voiding warranties and to keep your flooring looking pristine.
Anticipating Future Trends in Floor Care
The industry is shifting toward eco-friendly, water-based finishes and cleaning products that are safer for families and the environment. As technology advances, I believe we’ll see smart floors integrated with sensors to alert homeowners about humidity levels or potential damage—echoing the innovations in smart home tech. Staying ahead of these trends involves selecting adaptable tools and being proactive with maintenance to future-proof your investment.
How do I maintain my hardwood floors over time?
Regular cleaning with a microfiber dust mop, combined with periodic polishing and careful application of protective finishes, forms the cornerstone of maintenance. Additionally, scheduling professional inspections can catch issues early, preventing costly repairs down the line. For advanced tips on protecting your hardwood, consider exploring hardwood floor care secrets and integrating modern products designed for longevity. Trying out these tools and routines will ensure your floors remain a stunning feature of your home for decades.
Investing in quality maintenance tools and adhering to a consistent care schedule is key. For complex issues like uneven surfaces or deep scratches, professional advice and tools are worth considering. Remember, a well-maintained floor reflects your commitment to your home’s beauty and durability—so start with the right gear today!
The Cost of Cutting Corners on the First Pass
My biggest learning came from rushing the initial diagonal sanding. I thought it was optional, but neglecting that step led to more work later. Precise first passes save time and frustration in the long run. When you focus on the initial prep, you’re investing in a flawless floor that lasts. Remember, a small attention to detail early on pays dividends during finishing and maintenance.
Tools That Turn a Job into Art
Over the years, I’ve discovered that using the right tools, like a quality microfiber dust mop, makes all the difference. Investing in a good floor buffer and proper sanding accessories transforms a mundane task into a craftsmanship process. These tools help you achieve that professional finish, saving you from costly rework and ensuring your hardwood stands the test of time.
Embracing Mistakes as Stepping Stones
One of the most valuable lessons was realizing that small imperfections aren’t failures but opportunities. When I noticed uneven patches, I adjusted my approach immediately, which improved the final look. This mindset reduces stress and empowers DIYers to tackle unexpected issues with confidence. Every mistake is a step forward in your mastery—trust that process and stay patient.
Curated Gems for Flooring Enthusiasts
For those serious about perfecting their floors, the article step-by-step guide to flooring installation offers proven strategies that I depend on. Additionally, precise leveling techniques have saved me countless projects from future imperfections. Investing time in these resources enhances your skills beyond basic DIY.
Your Hardwood Adventure Awaits
Remember, every polished floor started with a single careful step. Your dedication to mastering these techniques will reward you with a stunning, lasting finish. Don’t wait for perfection—start today and watch your space transform. The real magic happens when you take action with confidence and patience. Ready to elevate your hardwood game? Your journey begins now!
What has been your biggest hardwood refinishing challenge? Share your story below—I’d love to hear how you’ve tackled it or plan to improve your approach!
,