
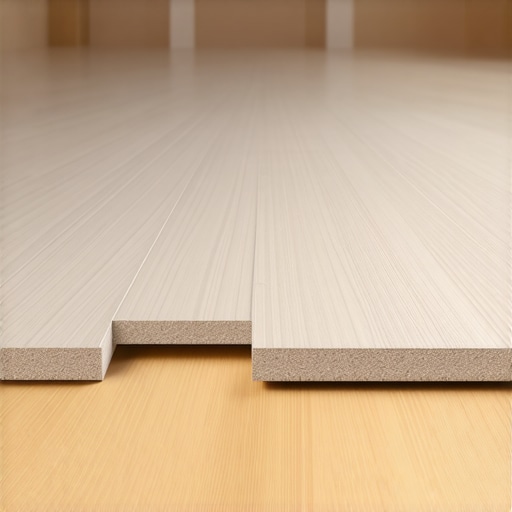
It was a sunny Saturday when I finally decided to upgrade my living room floor. I was eager, ready for a fresh look and better comfort underfoot. Little did I know, a simple mistake during the underlayment installation would turn my new vinyl flooring into a hollow-sounding nightmare. Every step I took felt like walking on cardboard, and the echo was maddening. That frustrating realization hit me hard—my choice of underlayment was the root of the problem.
The Sound of a Failed Underlayment and Why It Matters
If you’ve ever experienced your vinyl floors sounding unnaturally hollow or creaky, you’re not alone. This isn’t just about noise; it’s about the very foundation of your flooring’s durability and comfort. What I discovered early on is that the type and installation method of your underlayment can make or break your entire flooring experience. It’s a subtle mistake that many DIYers and even some pros overlook, often without realizing the long-term consequences.
You see, underlayment serves as the critical buffer between your subfloor and your beautiful vinyl or hardwood surface. It provides soundproofing, insulation, and a smooth base for a seamless look. But if installed improperly, it can lead to unwanted noise and a lack of stability, which is exactly what happened in my case.
Interestingly, experts emphasize that a misstep here can cause issues that are difficult to remedy later. According to flooring installation standards, choosing the wrong underlayment or skipping essential preparation steps can cause floors to sag, develop bubbles, or, as in my experience, sound hollow. Anchoressing studies also highlight that sound transmission issues are often linked to underlayment quality and installation techniques—something I didn’t pay enough attention to at first.
If you’ve faced similar frustrations, you’re probably wondering how to avoid this costly mistake. Well, you’re in luck. Today, we’re going to delve into how to identify the right underlayment and ensure it’s installed correctly. Trust me, getting this right from the start saves you time, money, and a lot of headaches. To get a comprehensive understanding of proper installation techniques, I recommend checking out [this detailed guide](https://tiletrendshop.com/flooring-installation-fundamentals-leveling-for-a-seamless-look). It’s packed with tips that could have saved me from my own misstep.
Now, let’s move on to the key reasons why choosing the proper underlayment is the foundation of a peaceful, long-lasting floor. Ready to transform your space without ending up with a hollow-sounding disappointment? Let’s begin.
Ensure a Flat Subfloor Before Laying Down any Flooring
My first step was to thoroughly inspect the existing concrete slab, looking for high spots and hollows with a 4-foot level. I used a laser level to detect subtle dips, which aren’t always visible to the naked eye. Think of this process as the groundwork of a building—if the foundation isn’t solid, everything above will be compromised. I marked all uneven areas with chalk, creating a clear map for correction. This initial check prevented me from wasting time and money fixing issues after the flooring was installed.
Use a Proper Primer to Prepare the Surface
I applied a high-quality bonding primer to the concrete, following the manufacturer’s instructions. Primers improve adhesion of the self-leveling compound to the slab, much like a primer coat on walls ensures paint sticks evenly. Skipping this step can cause the self-leveler to peel or bubble over time, and I learned this from experience. Ensuring proper surface prep is the key to long-term durability. For detailed guidance, visit this primer selection guide.
Choose the Right Self-Leveling Compound
Selecting a self-leveling compound compatible with your subfloor material is crucial. I opted for a product with quick-set properties for faster turnaround. Imagine pouring pancake batter—if the consistency is off, the outcome is uneven. I mixed the compound carefully, following precise ratios, and used a spiked roller to burst air bubbles that could lead to weak spots. This technique, recommended in expert leveling methods, ensures a smooth finish.
Pour and Spread the Self-Leveler Effectively
I began pouring the mixture into the lowest sections, allowing gravity to guide the flow. Using a trowel, I spread the compound towards the higher areas, avoiding overworking to prevent introducing unevenness. A crucial tip I learned was to work swiftly but carefully, as the compound begins to set within minutes. To keep the surface flat, I continuously checked with a long spirit level, adjusting as needed. The goal was to create a surface perfectly flush with the existing floor, ready for the final layer of vinyl or tile. For detailed pouring techniques, see this application guide.
Allow Proper Curing Time Before Installing the Flooring
Patience is vital. I left the self-leveler to cure undisturbed for at least 24 hours, following the manufacturer’s cure times. I kept the area free of foot traffic and temperature fluctuations, which can cause cracks or bubbles. Think of this step as baking a cake—rushing the process messes up the end result. If you skip this, your finished floor could develop squeaks or unevenness, defeating the purpose of level installation. For safety, I checked the surface visually and with a straightedge before proceeding to lay the vinyl or tile.
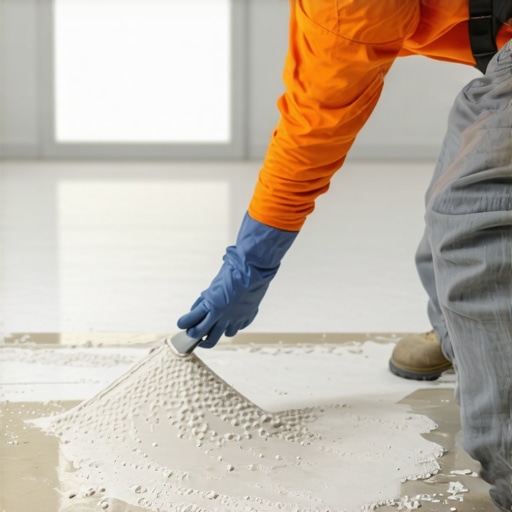 Many DIYers and even some seasoned professionals fall prey to misconceptions about floor leveling and installation, leading to costly mistakes. A prevalent myth is that simply pouring self-leveling compound guarantees a perfectly flat surface. In reality, surface preparation and understanding subfloor nuances are critical; skipping these steps often results in unevenness or future cracking. For example, relying solely on the visual check isn’t enough—using a laser level or straightedge ensures precision, as highlighted in comprehensive guides on floor leveling fundamentals.
One of the most overlooked details is the importance of acclimating flooring materials properly. Many assume that storing hardwood or tile temporarily suffices, but improper acclimation can lead to warping, gaps, or buckling after installation. Experts stress that materials should be stored in the room where they will be installed for at least 48 hours, allowing moisture content to equilibrate; this practice is vital, as outlined in hardwood acclimation techniques.
Another misconception involves the choice of underlayment. It’s often believed that all underlayment materials perform equally, but this isn’t true. Cheap foam pads might seem economical but often lack soundproofing and moisture barrier properties, leading to noise issues and potential damage over time. Higher-quality, specifically rated underlayments can provide better sound insulation, thermal comfort, and long-term stability. Don’t fall into the trap of choosing the cheapest option; instead, consult industry standards or expert recommendations, like those found in underlayment selection tips.
Now, regarding advanced installers, a trap to avoid is neglecting the influence of ambient humidity and temperature during the adhesive curing process. For instance, certain adhesives and grouts require controlled conditions; overlooking this can cause shrinking, cracking, or improper bonding—issues that are often only apparent after months. A study by the Tile Council of North America emphasizes that environmental conditions during installation directly impact durability and appearance, underlining the need for meticulous climate control during critical phases.
Ever experienced one of these pitfalls? The key is recognizing that flooring projects aren’t just about laying materials – it’s about understanding the nuanced interaction between materials, environmental factors, and techniques. Getting these details right can make the difference between a flawless finish and a recurring headache. Feel free to share your experiences or ask questions—I’m here to help you avoid common pitfalls and master your next floor upgrade! For more in-depth advice, check out this guide on installation mistakes.Maintaining your flooring over time is essential to preserve its beauty and functionality. Investing in the right tools can make all the difference in ensuring your floors stay level, free of damage, and visually stunning for years to come. One of my go-to devices is a high-precision laser level; unlike traditional bubble levels, laser levels project a consistent, bright line that helps you detect subtle unevenness across large areas, making floor maintenance and occasional re-leveling much more manageable. I personally use the Bosch GLL 3-80C, appreciated for its durability and clear projections, especially when checking for dips in areas prone to moisture fluctuations. Regularly monitoring with such tools allows for proactive maintenance, catching issues before they escalate into costly repairs. Predicting how flooring trends evolve, I believe incorporating smart sensors connected via IoT will become a standard, enabling homeowners to receive alerts about humidity or movement that could affect their floors. When it comes to long-term results, scheduling periodic inspections using digital moisture meters and professional-grade leveling compounds ensures your subfloor remains stable, preventing common issues like squeaking or buckling. Scaling these practices involves establishing a maintenance routine—aiming to check moisture levels quarterly or after significant weather changes can extend your flooring’s lifespan significantly.
### How do I keep my floors in top shape over time?
Choosing eco-friendly, low-VOC finishes and implementing protective furniture pads are small, effective steps. Using a floor polisher with adjustable speed settings, such as the Rupes BigFoot, helps maintain a glossy finish without risking scratches, especially on hardwoods. Also, consider applying a quality sealant periodically; this not only protects against spills and stains but also makes cleaning easier, reducing wear.
Looking ahead, innovations like self-healing coatings and machine learning maintenance systems are trending. These advancements promise floors that adapt to environmental stresses, reducing the need for frequent repairs. Moreover, regularly updating your knowledge with industry standards—consulting resources like the latest installation protocols—can help you stay ahead. Strongly consider trying a proactive maintenance tip: set up a scheduled inspection with a moisture meter and use a laser level to recheck your subfloor alignment periodically. This routine can prevent small issues from ballooning into major repairs, saving you time and money in the long run.
Small Mistakes, Big Lessons I Wish I Knew Sooner
One of the most eye-opening experiences I had was realizing that surface leveling isn’t just about pouring compound and walking away. That tiny misstep—ignoring the importance of proper surface prep—led to years of squeaking and uneven floors. Now, I prioritize meticulous inspection and testing before laying any flooring, knowing that precision at the start saves headaches later.
Another lesson was understanding that not all underlayments are created equal. I once chose the cheapest foam option, only to find my vinyl sounding hollow and cheap underfoot. Investing in quality underlayment, based on research and expert advice, makes a world of difference in soundproofing and durability.
Finally, I learned that patience during curing and acclimation stages is non-negotiable. Rushing these steps almost always results in warping or cracking. Giving materials and adhesives time to settle is the secret to a flawless, lasting finish that you’ll be proud of for years.
My Must-Have Tools and Resources for Floor Success
Over the years, I’ve relied on a few trusted tools that I never skip. A high-precision laser level is indispensable for ensuring even, flat surfaces—especially when checking large areas or tricky corners. The Bosch GLL 3-80C has become my go-to for its clarity and durability.
For learning the finer points of installation, I frequently consult industry-standard guides like Flooring Installation Fundamentals. They provide step-by-step advice that prevents mistakes and enhances confidence.
Finally, taking online courses or reading expert blogs such as this expert tip compilation has elevated my craftsmanship and understanding. Continuous learning is essential for mastery in flooring projects.
Your Next Step Starts Here—Don’t Just Dream
Embarking on your flooring upgrade is exciting, and with the right mindset and tools, you can avoid common pitfalls. Remember, good planning and patience yield stunning results that transform your space and boost your confidence as a DIYer. Every successful layer of your floor is a step toward creating a home that reflects your dedication and taste. Ready to take on your next project with renewed clarity and purpose? Your perfect floor is within reach—trust in the process and enjoy the journey.