
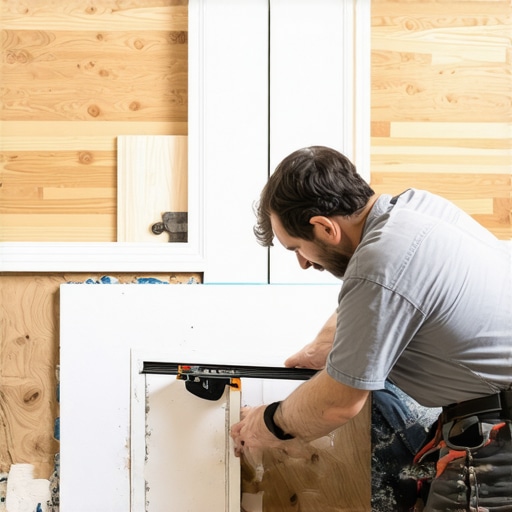
I remember the first time I tried to install baseboards in a room with an uneven floor. I thought, “No big deal, just cut and nail.” But as I laid the pieces, I quickly realized that the baseboards looked like a jigsaw puzzle—gaps here, sticking out there. It was frustrating, and I knew that if I didn’t find a better way, every room in my house would look mismatched and sloppy. That lightbulb moment made me dive into the secrets of scribing those pesky baseboards to fit floors that refuse to be perfectly level, and let me tell you, it changed everything.
Today, I want to share with you a game-changer—my personal approach to scribing baseboards that ensures a professional finish even on the most unruly floors. Forget the frustration of uneven gaps or awkward cuts. With just a little patience and the right technique, you can achieve seamless results that boost your home’s appearance and value. Whether you’re tackling a small project or a full renovation, mastering this skill saves time, money, and a lot of headaches.
Why Scribing Baseboards is a Skill Worth Perfecting
Imagine installing a beautiful hardwood floor or a stunning tile design, but then facing the aftermath—baseboards that don’t quite sit right because the floor isn’t perfectly flat. It’s a common issue, and the temptation is to ignore it or fudge the cuts. But that only leads to unsightly gaps, uneven lines, and a DIY job that looks anything but polished. Learning to scribe your baseboards effectively helps you hide those imperfections and creates a clean, professional look that’s both satisfying and durable.
From my experience, taking the time to scribe correctly also prevents future problems with moldings catching on furniture or becoming loose over time. Plus, it’s a skill that elevates your overall craftsmanship, whether you’re a seasoned DIYer or a homeowner eager to learn. The key lies in understanding the nuances of your floor’s unevenness and applying a straightforward technique to match the baseboards perfectly.
Have you ever faced this problem in your home projects? If so, you’re not alone. I’ve made my share of mistakes early on, like trying to force-cut baseboards to match uneven floors without proper tools. That approach only ended up with jagged edges and wasted materials. Luckily, with a bit of guidance and practice, I turned things around—something I’ll walk you through soon.
Before we dive into the step-by-step process, it’s helpful to understand why this problem persists and how mastering it can save you from ongoing frustrations. Plus, there are common pitfalls to avoid, which I’ll mention later, so you won’t repeat my early blunders. Ready to transform your baseboard installation into a seamless masterpiece? Let’s get started and make uneven floors a thing of the past.
If you’re curious about the basics of floor leveling or want to avoid common pitfalls, I recommend checking out this guide on flooring installation mistakes. It’s packed with tips that will complement what we discuss and set a solid foundation for your project.
Now, grab your tools and let’s explore how to make those baseboards hug your floors perfectly—no matter how uneven they are.
Prepare Your Tools and Workspace
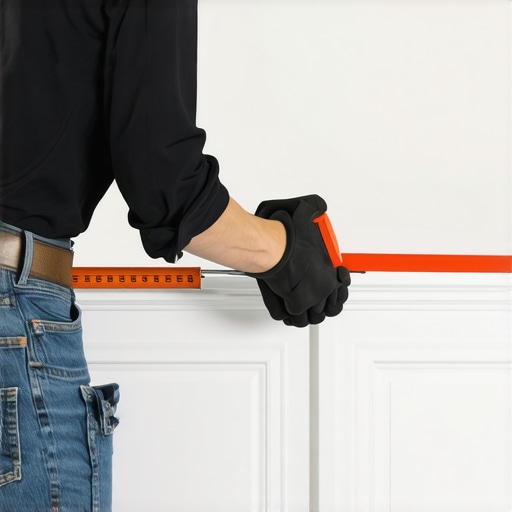
Before diving into scribing, gather essential tools: a variable speed jigsaw, a contour gauge, a pencil, a handsaw, a measuring tape, and safety gear. Clear the workspace and ensure your baseboards are cut to length, leaving a little extra for adjustments. As I once learned the hard way, working in a cluttered space leads to mistakes and wasted materials, so organize everything beforehand.
Set the Baseboard and Mark the High Spot Technique
Place the baseboard against the wall, aligning it with adjacent pieces. Use a level to identify the high point along the wall—often, walls aren’t perfectly straight, and this is where unevenness begins. Mark this highest point on the baseboard with a pencil. I once skipped this step, resulting in an uneven gap, but now I always mark the high spot to guide my cuts.
Create a Contour for the Floor’s Irregularities
Next, attach a contour gauge to the wall, pressing gently to match the wall’s shape. Transfer this pattern onto the baseboard by pressing the gauge along the surface and tracing with a pencil. This step is crucial to mimic the wall curvature, especially on uneven sections. My first attempt lacked this contour, leading to gaps; now, with the gauge, the fit is flawless.
Cut the Baseboard with Precision
Using the contour pattern, carefully cut the baseboard with a jigsaw, following the traced line. Take your time; rushing results in mistakes that are hard to fix later. I once made a rushed cut and had to patch it, but patience yields a seamless edge. For intricate curves, a fine-toothed blade helps achieve cleaner cuts, avoiding chipping.
Test Fit and Make Final Adjustments
Place the trimmed baseboard against the wall to test the fit. It should hug the uneven surface closely without forcing or gaps. If gaps remain, mark the high spots and trim gradually until the fit is tight. Don’t be discouraged; achieving a perfect contour often requires iterative trimming. I remember spending extra time adjusting the edge for a near-perfect match, which paid off with a professional look.
Secure and Finish the Installation
Once satisfied, secure the baseboard with nails or finish screws, ensuring to countersink them for a smooth surface. Fill any nail holes with wood filler and sand lightly. Finish with paint or stain as desired. Remember, proper preparation and patience during cutting make the whole process smoother and result in a more polished finish. For detailed guidance on the nuances of flooring prep and installation, check out this comprehensive guide.
< >Many DIY enthusiasts and even seasoned pros often fall prey to misconceptions when it comes to flooring installation, leading to costly errors and subpar finishes. One prevalent myth is that using underlayment is unnecessary on concrete slabs; however, skipping this step can cause moisture issues and uneven surfaces that compromise tile or hardwood longevity. For an in-depth look at how proper subfloor preparation impacts your project’s success, check out this guide on leveling fundamentals. Additionally, there’s a misconception that all adhesives are created equal; in reality, selecting the wrong type can result in adhesive failure, tiles shifting, or wood cupping. Advanced installers often recommend specific formulations based on flooring material, climate, and subfloor condition—details covered in expert resources like self-leveler application tips. A common mistake that many overlook is assuming that old flooring can be overlaid without proper assessment. Hidden issues like moisture, termite damage, or unevenness can cause new installations to fail prematurely. Always conduct a thorough inspection, perhaps with a professional moisture test, to avoid this trap. Curious about surpassing basic techniques? The secret lies in understanding subtle nuances—like the importance of acclimating materials to your environment before installation—to ensure your floors endure for decades. Have you ever fallen into this trap? Let me know in the comments. Remember, rushing into a project without addressing these nuances often results in reconstructions and wasted resources. So, take the time to verify your subfloor, choose the right adhesives, and understand material behavior. For comprehensive advice on leveling and preparing your space, don’t miss this advanced guide on floor leveling. Mastering these details will revolutionize your approach and guarantee a professional finish every time.
Keep Your Floors Looking Flawless with the Right Tools and Maintenance
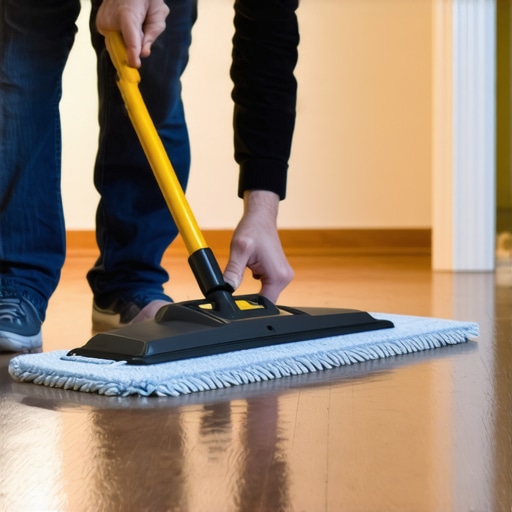
Maintaining your flooring, whether tile or hardwood, is essential to preserve its beauty and longevity. Over time, regular care and the right equipment can prevent minor issues from becoming costly repairs. One of my favorite tools for long-term upkeep is a high-quality microfiber mop paired with a pH-neutral cleaner. This combination gently lifts dirt without stripping finishes or damaging surfaces. For hardwood floors, I swear by a dust mop designed specifically for wood to prevent scratches caused by abrasive debris. Investing in a portable humidifier also keeps wood from expanding or contracting excessively, which can cause gaps or warping over the years. These straightforward tools, when used consistently, make a significant difference in maintaining a pristine appearance.
Another crucial aspect is routine inspection. Check for signs of wear like scratches on wood, grout cracks on tile, or unevenness after remodeling. Catching these early allows for simple touch-ups, such as reapplying grout sealant or buffing out minor scratches with specialized products. For large-scale floor management, I recommend a laser level—this helps you monitor slight shifts or unevenness that may develop after installation. Over time, even well-installed floors can settle, which is why periodic checks are worth the effort.
Future Trends in Floor Care and Maintenance
Looking ahead, I believe the integration of smart technology in flooring maintenance is on the rise. Imagine self-aware floors equipped with sensors that detect moisture, temperature fluctuations, or structural shifts, alerting homeowners before problems escalate. Advanced coatings infused with nanotechnology promise longer-lasting protection against stains, scratches, and UV damage. As materials evolve, so will our maintenance routines, becoming more efficient and less invasive. Staying updated with innovations and adopting preventive tools is key to ensuring your floors remain stunning for decades.
How do I keep my flooring in top shape over time?
Prevention is always better than repair. Regular cleaning, prompt repair of minor damage, and furniture pads to avoid scratches all contribute to longevity. For detailed strategies, check out this comprehensive guide on hardwood floor care. Additionally, scheduling periodic professional inspections can catch issues early, saving money in the long run. Remember, proper maintenance should be proactive, not reactive, ensuring your investment continues to shine for years to come.
If you’re looking to refine your approach, try implementing a weekly routine using a microfiber mop combined with the best cleaning solutions suited for your flooring type. Small steps like these, paired with an organized maintenance schedule, go a long way in sustaining the beauty of your floors.
< >
>
Making good maintenance a habit will not only extend the life of your floors but also ensure they continue to enhance your home’s aesthetic for years. Don’t wait for visible damage—start small today with these proven tools and tips, and you’ll thank yourself later. Want more advanced tips on floor upkeep? Explore this resource on innovative floor care techniques and elevate your maintenance game.
The tiniest details that changed my approach
One of the most eye-opening lessons I learned was how seemingly minor imperfections in subfloor preparation could sabotage an entire flooring project. Small misjudgments, like overlooking moisture testing or using the wrong leveling compound, often led to long-term issues. Embracing meticulous testing and investing in quality materials transformed not just my results, but my confidence as a DIYer. It taught me that patience and attention to detail are the real game-changers when tackling uneven floors.
Why shortcuts often cost more in the end
I used to believe that rushing through measurements or choosing cheaper tools would save time and money. However, I discovered that shortcuts frequently lead to mistakes that are tough—and expensive—to fix later. Investing in reliable contour gauges, good-quality saws, and professional-grade leveling products paid off by ensuring precision. This experience underscored the importance of quality over speed when aiming for a professional finish, especially on challenging uneven surfaces.
Learning from the unspoken wisdom of seasoned pros
Conversations with experienced flooring installers revealed unspoken tips—like the importance of matching the grain direction of baseboards or understanding the subtle flex of the wall—that no manual fully covers. These insights helped me anticipate issues before they arose and adapt my technique accordingly. Recognizing that mastery comes from observing and learning from experts provided me with a new level of craftsmanship and pride in my work.
Tools that truly make a difference in achieving perfection
While basic tools are essential, I found that specialized equipment—like a laser distance meter for accurate measurements and a right-angle indicator for perfect cuts—elevated my projects. These tools save time, reduce errors, and give confidence during complex scribing tasks. Personally trusting tools that are designed for precision allows me to focus on the artistry of flooring installation, rather than battling the equipment.
Where to go from here: Elevate your flooring game
Armed with these lessons, the next step is to refine your skills continually. Practice on scrap materials, invest in high-quality tools, and seek mentorship from seasoned pros through online forums or local workshops. The journey to perfect flooring is ongoing, but every challenge you overcome adds to your expertise. Remember, the effort you put into mastering these subtle nuances will be reflected in your home’s beauty and your satisfaction. Curious about other advanced techniques? Check out this comprehensive guide to keep pushing your skills forward.