
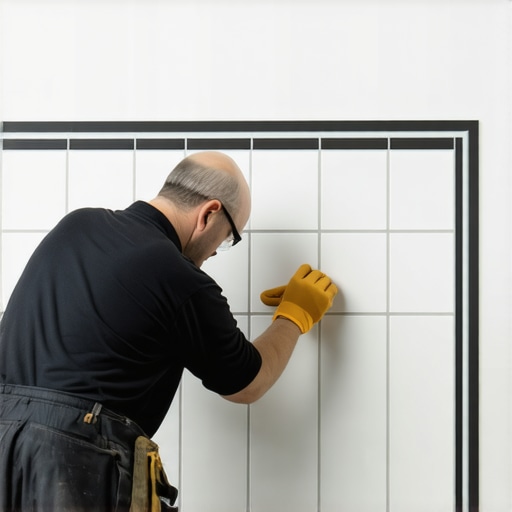
Have you ever finished a tile installation only to be disappointed by messy, uneven grout lines in the corners? I vividly remember the first time I tackled a bathroom renovation. I was eager to finish, but those pesky corners—always a challenge—left me frustrated and feeling like I had wasted my time. That lightbulb moment hit me hard: there had to be a better way.
Fortunately, after some trial, error, and a few YouTube tutorials, I discovered a simple yet effective trick involving masking tape to achieve clean, professional-looking grout lines inside corners. It was a game-changer. Now, I want to share this secret with you, so you won’t have to struggle like I did. Today, we’re diving into how to use this technique to get those perfect grout lines, making your tile project look polished and expertly done.
Transform Your Corner Grouting with the Masking Tape Hack
Using masking tape during grouting might seem too simple to work. I used to dismiss it as a gimmick, but trust me, the results speak volumes. The key is in how the tape seals off the edges, preventing excess grout from smudging onto adjacent tiles or creating uneven lines. It’s like having a painter’s tape for your grout lines—clean lines, minimal mess.
This method is especially helpful if you’re working with contrasting grout colors or trying to maintain a meticulous, seamless appearance in your design. Plus, it saves you from scrubbing grout haze off your tiles afterward, which can be time-consuming.
Before you jump in, I recommend reviewing the fundamental principles of proper tile installation and grout application. For an in-depth guide, check out this step-by-step installation guide. It’ll help you understand the importance of preparing your surface properly, which sets the foundation for flawless results.
Ready to master this technique? Let’s go through the steps, and I’ll share some tips from my own experience that will make your project smoother and more satisfying.
Prepare Your Workspace for Precision
Start by gathering your materials: masking tape, grout float, sponge, and grout mix. Clear the area of debris and ensure your tiles are clean and dry. I once tried to rush into grouting without cleaning the tiles properly, which led to muddy lines and a lot of scrubbing later. By taking a few extra minutes to prepare, you set the stage for a clean finish.
Apply Masking Tape Strategically
Stretch the masking tape along the edges of your tiles, aligning it precisely in the corners where two tiles meet. Think of it as creating a boundary—similar to painters taping a wall before painting. The tape acts as a guardrail, stopping excess grout from spreading into unwanted areas. I remember using painter’s tape in my first project; it was a game-changer that kept my grout lines sharp and tidy.
Mix and Spread the Grout
Follow the manufacturer’s instructions to prepare your grout, mixing it to a peanut butter-like consistency. Load your grout float at a 45-degree angle and press firmly into the joints, filling them completely. Work systematically, ensuring each joint is packed—like sealing a zipper completely to prevent leaks. During my initial attempt, I didn’t press enough, leaving air bubbles that caused cracks later; so, patience here is key.
Tool Through the Masking Tape for Crisp Lines
Once the joints are filled, use the edge of your float or a plastic scraper to clean excess grout from the surface, working across the masking tape edges. Carefully pull the tape away at a shallow angle before the grout cures. This mirrors peeling painter’s tape from drywall—gentle yet precise. I once pulled the tape too early, smudging the line, but after practicing, I learned to wait until the grout is firm but not hard, about 15-20 minutes.
Finish with a Damp Sponge
After the grout has set slightly, wipe the tiles with a damp sponge to remove any haze and smooth the grout lines. Rinse your sponge frequently to keep it clean. This step is crucial; neglecting it results in a cloudy film on your tiles. I used to rush this step, leaving a foggy look, but now I take my time to buff away the residue, revealing crisp lines and shiny surfaces.
Final Touches and Curing
Allow the grout to cure according to the manufacturer’s recommendations—usually 24-48 hours—before exposing it to moisture or heavy use. Avoid walking on the new grout until fully cured to prevent cracking. Proper curing ensures your lines stay perfect. Remember how I once walked on fresh grout, only to see hairline cracks? Patience here saves headaches later.
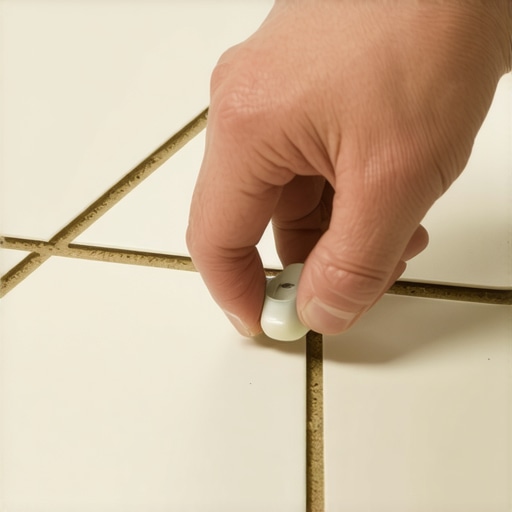 Many DIY enthusiasts believe that installing tile or hardwood floors is simply a matter of laying materials and applying some grout or finish. However, *what most people get wrong* often lies in understanding the underlying complexities and common pitfalls that can compromise longevity and aesthetic appeal. One widespread misconception is that a perfectly level subfloor isn’t critical. In reality, overlooking subtle imperfections can lead to uneven surfaces, cracking, or tiles that pop loose over time. Professional installers emphasize meticulous floor leveling—skipping this step can be a costly mistake; learn more about the importance of flawless leveling. Another myth is that the brightest or most expensive materials guarantee a perfect finish. In truth, even high-end tiles or hardwoods can underperform when installed over poor subfloor conditions or with improper technique. For instance, inadequate acclimation of hardwood floors is a common error that causes warping or gaps; discover why proper acclimation is vital at how to prepare your subfloor. Many underestimate the importance of correct adhesive and grout selection, risking future deterioration. Using an inappropriate product—like applying regular thinset on large slate tiles—can lead to cracking or detachment; see expert guidance at choosing the right materials. A crucial yet often overlooked nuance involves the expansion gaps in hardwood installations; failing to account for seasonal shifts can cause buckling or gaps. Remember, natural wood reacts to moisture and temperature changes, so strategic gap placement and climate control are essential for long-term stability. Want to improve your flooring skills? I recommend reviewing the floor leveling fundamentals for a seamless finish.
Make sure to avoid these common traps by embracing precise preparation and understanding the advanced factors that influence flooring durability. Have you ever fallen into this trap? Let me know in the comments. To deepen your knowledge, explore tips on avoiding common installation mistakes and setting yourself up for a beautiful, lasting floor.Maintaining your flooring over the years is crucial to preserving its beauty and functionality. Having the right tools at your disposal makes all the difference, especially when addressing issues like uneven surfaces or wear and tear. I personally swear by a high-quality laser level for ensuring precise floor flatness before installation, as it helps identify subtle dips or bumps that might otherwise go unnoticed. For long-term upkeep, a professional-grade vacuum with a HEPA filter is indispensable—it not only removes dirt but also prevents abrasive particles from scratching your surface. When dealing with hardwood floors, I recommend investing in a moisture meter to monitor humidity levels, preventing warping or cupping caused by excess moisture. Regular application of a wood floor-specific sealant acts as a barrier against spills and daily wear, prolonging its lifespan. These tools collectively empower you to keep your floors looking fresh and resilient for years to come.
Looking ahead, I believe the integration of smart sensors in flooring maintenance will revolutionize how we monitor and care for our surfaces. Imagine sensors embedded beneath the surface that alert you to areas needing attention before problems become visible—saving time and costly repairs.
How do I maintain my floor’s integrity over time?
Regular inspections with tools like moisture meters and routine cleaning using appropriate equipment ensure longevity. Scheduling professional check-ups periodically can catch issues early, such as subfloor shifting or tile detachment, which might compromise your installation’s durability. For a detailed overview of proactive maintenance techniques, see our guide on flooring installation and leveling success. Don’t forget, using the right tools isn’t just about immediate fixes; it’s about establishing a proactive approach to preservation. I recommend trying out a high-quality laser level if you haven’t already—it’s a game-changer for spotting minor unevenness before it escalates into bigger problems. Remember, consistent maintenance coupled with smart tools makes your flooring last longer and look better in the long run.
Lessons That Transformed My Approach to Flooring
One of the hardest lessons I learned was the importance of patience and preparation. Early in my DIY journey, I believed rushing through the process would save time, but I quickly realized that meticulous prep—like thoroughly cleaning tiles and waiting for grout to set—was essential for professional results. This patience doubled as a learning curve, helping me avoid common mistakes like grout haze or uneven lines.
Secondly, I underestimated the impact of simple tools, such as masking tape, on achieving crisp, clean grout lines. Once I adopted this technique, my projects looked polished and took significantly less time to finish. It taught me that sometimes, innovations are hidden in plain sight, waiting to elevate a basic task.
Finally, I learned that understanding the nuances of different materials and their curing times could make or break the longevity of the installation. For instance, knowing when to pull tape or how long to wait before foot traffic can save you from cracking or shifting tiles later on. This holistic view transformed my approach from a beginner’s gamble to a seasoned craftsman’s confidence.