
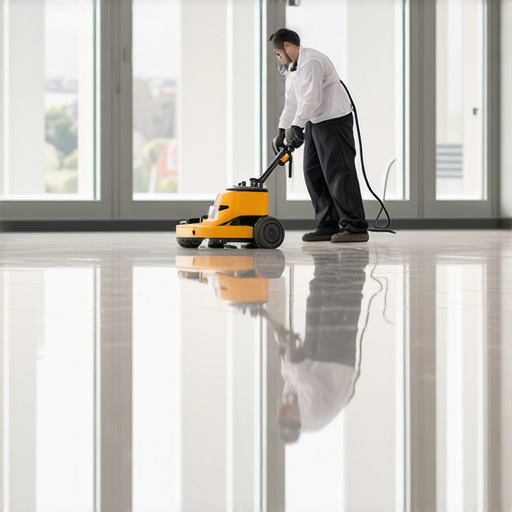
One weekend, I dusted off my tools with high hopes, only to realize my hardwood floor looked worse than before—dull patches, streaks, and uneven shine. That lightbulb moment hit me hard: I was missing a crucial step that could transform my entire finishing process. If you’ve ever wrestled with achieving that mirror-like gleam on your floors, you’re not alone. Many DIY enthusiasts and even seasoned pros overlook the power of the Buffer Technique in elevating your floor polish from amateurish to professional quality.
Why the Buffer Technique Is a Game-Changer in Floor Finishing
Achieving perfectly polished floors isn’t just about applying a good coat of finish. It’s about the finesse, the finesse that comes with the right technique—especially the use of buffers. This tool, once properly harnessed, can remove imperfections, distribute polish evenly, and bring a depth of shine that genuinely reflects light. I used to think a simple mop would suffice for polishing, but I soon learned that a buffer can save hours of work and dramatically improve results.
What’s more, research indicates that proper surface finishing with buffers can extend the lifespan of your floors. In fact, according to expert flooring guides, the technique significantly reduces surface scratches and uneven wear, ensuring your floors stay pristine longer. If you’re tired of redoing your floors or ending up with a lackluster finish, mastering this method could be your ultimate solution.
Feeling Skeptical? Is the Buffer Technique Really Worth It?
I remember doubting whether investing in a buffer was worthwhile—after all, it seemed like an extra expense and effort. The early mistake I made was trying to buff with a rough pad without understanding the importance of using the correct attachments and the right technique. That mistake led to more scratches and less shine. But once I discovered the proper buffer pads and learned the precise motions, the transformation was remarkable.
Today, I’ll guide you through how to do this right, so you don’t have to go through the trial-and-error phase I did. Whether you’re refinishing hardwood or polishing concrete, the buffer can elevate your project to professional standards. Ready to see your floors shine like never before? Let’s dive into the steps that make this possible and get you on the path to flawless flooring.
n
Starting with a Clean, Dry Surface
Before you even pick up the buffer, ensure your floor is thoroughly cleaned—sweep away all dust and debris, and mop with a gentle cleaner suited for your floor type. A spotless surface allows the buffer to work effectively and prevents scratching. I recall once rushing through a quick sweep, only to see specks of dirt causing scratches after polishing; taking the extra time to clean made a significant difference.
Selecting the Right Buffer and Pads
Choose a high-quality orbital buffer compatible with your floor surface. For hardwoods, use soft polishing pads; for concrete or tile, more abrasive pads are suitable. Think of it as choosing the right brush for painting—precision matters. During my first attempt, I used a rough pad on hardwood, which left visible scratches. Switching to a soft pad and adjusting speed improved the finish instantly.
Applying the Correct Polish or Finish
Apply a thin, even layer of your chosen polish or sealant using a clean mop or applicator. Overapplication causes streaks, while underapplication leads to uneven shine. A good rule is to work in small sections—imagine painting a wall carefully, one stroke at a time. Once I learned to work in manageable sections, the overall gloss increased, and uneven patches disappeared.
Mastering Buffer Motion and Technique
Keep the buffer moving in overlapping circles or S-shaped motions, maintaining consistent pressure. Think of it as riding a bike smoothly—stopping or pressing too hard creates unevenness. I found that moving too quickly or pressing too hard caused swirl marks; slowing down and applying gentle, steady pressure yielded a mirror-like finish.
Adjusting Buffer Speed and Pressure
Set the buffer to a medium or low speed for more control, especially on hardwood. Pressing too hard can dull the gloss or create scratches; light, even pressure helps distribute the polish evenly. During my second attempt, I reduced the buffer speed and found the shine deepened without scratches.
Final Polish and Inspection
After buffing, inspect the floor under different lighting. If you notice dull spots, re-buff those areas with a light touch. Sometimes, a second pass with a clean, soft pad enhances the clarity and depth of the shine. Remember, patience is key—rushing may undo your previous effort.
Applying these steps meticulously turned my dull, uneven floor into a radiant surface. For detailed tips on preparing your subfloor or tackling uneven surfaces, check out fundamentals of floor leveling. Mastering this buffer technique will not only elevate your current project but also set a new standard for future refinishing tasks, turning DIY into professional-grade results.
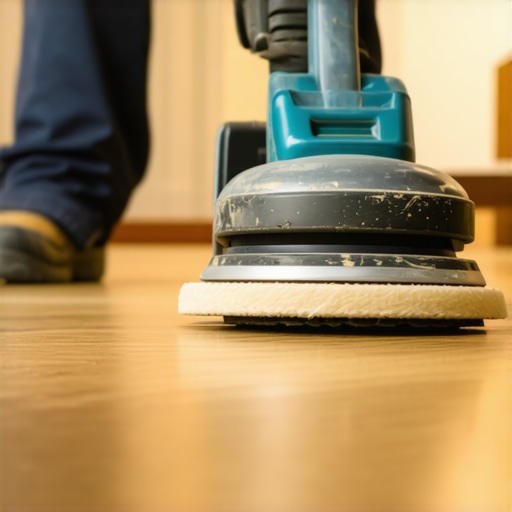
When it comes to flooring installation, many believe that choosing the right materials and following basic steps suffice for a stunning, long-lasting finish. However, seasoned professionals know that beneath these surface-level decisions lie intricate nuances that can make or break your project. One widespread myth is that if your subfloor appears level visually, it’s ready for tile or hardwood. In reality, subtle imperfections—often undetectable to the untrained eye—can lead to costly issues down the line. According to expert guides, meticulous floor leveling involves more than just a visual check; it requires precise measurement and addressing small deviations, sometimes in the millimeter range, to ensure a flawless surface.
Are You Falling for Overconfidence in Your Floor Prep?
A common mistake is underestimating the importance of moisture testing before installation. Many skip or superficially perform these checks, risking future deformations, especially with hardwoods. For instance, hardwood experts emphasize that moisture imbalance can cause cupping or buckling, undermining even the most perfect-looking finish. It’s essential to consider the local climate, subfloor condition, and use proper moisture barriers—details that are often overlooked but are critical for durability.
Another nuanced area is tile thinset application. Many installers believe that a uniform, thick layer guarantees good adhesion. In truth, excess thinset can lead to lippage problems and uneven tile surfaces. Optimal application relies on using the correct trowel size, meticulously combing the thinset, and working in small sections to prevent establishing a set that’s too thick or too thin. For advanced techniques, consider professional tips that can elevate your tile game.
Advanced mistakes often stem from neglecting environmental conditions during installation. For example, installing floors in excessively humid or dry conditions without adjusting adhesives and finishes can cause long-term issues. A study published in the Journal of Building Materials and Structures highlights how ambient humidity fluctuations impact adhesive curing and floor stability. To prevent such pitfalls, it’s vital to monitor environmental factors and employ appropriate underlayments and sealants, ensuring your floor adapts well to its surroundings.
The Fine Line Between Skill and Oversight
Mastering flooring involves recognizing the subtle, often overlooked details that influence quality and longevity. Watching out for these nuanced pitfalls saves time, money, and frustration. Have you ever fallen into this trap? Let me know in the comments or check out our contact page for personalized advice on your project. Remember, pushing beyond the basics brings your craftsmanship closer to perfection—so keep sharpening your expertise and never settle for surface-level solutions.
Maintaining your flooring investment is as important as the installation itself. To ensure your floors remain stunning and durable over the years, having the right tools and understanding proper maintenance routines is essential. One of the most underrated yet impactful practices is regular cleaning with equipment that is designed specifically for your floor type. For hardwood floors, I swear by a microfiber mop paired with a gentle, pH-balanced cleaner—this combo prevents scratching and preserves the finish. Conversely, for tile and stone, a steam cleaner can be incredibly effective in deep cleaning without harsh chemicals, provided it’s used correctly to avoid moisture damage.
Long-term results depend heavily on preventive measures. Installing a quality moisture barrier during installation is crucial, especially if your space has high humidity levels. This simple step can drastically reduce issues like de-lamination or warping, which often appear years later. Think of it as setting a foundation; without a solid base, even the best materials can fail prematurely. For ongoing care, consider applying a high-grade sealant periodically, which acts as a protective shield against spills and wear. I recommend using a compatible product designed for your specific flooring to maximize longevity.
As for tools, an orbital sander with fine-grit discs becomes a homeowner’s best friend when dealing with minor surface damage or wear spots. I use it myself to touch up scratches or dull patches, saving hundreds on professional refinishing. Keep a set of quality brushes and repair kits ready, especially for hardwood repairs—these help if small gaps or chips appear over time. Always remember that timely intervention is key; addressing minor problems before they escalate can add years to your floors’ life.
Looking ahead, I believe the trend will shift toward smarter maintenance solutions—like sensor-based moisture monitors or AI-driven cleaning robots specialized for floors. These innovations can provide real-time health status reports and optimize upkeep routines automatically. Staying on top of such technological advancements will allow homeowners and contractors alike to prevent issues before they become costly repairs.
How do I keep my floors looking great without constant professional help?
The secret lies in routine care combined with smart tool usage. Regular sweeping or vacuuming removes abrasive debris, and timely recoating with protective sealers Shields your investment. Don’t underestimate the power of a buffer—using it periodically on your hardwood floors, with the right pad and technique, revitalizes the shine and removes micro-scratches. For more detailed insights, check out hardwood floor care secrets.
Finally, for those interested in elevating their maintenance game, try integrating advanced tools like moisture meters or exploring automated cleaning devices tailored for flooring surfaces. These can help you spot problems early and maintain a pristine look longer. Remember, investing a little time and some smart tools today saves a significant amount of effort and money in the future—making your floors not just beautiful, but truly resilient for years to come.
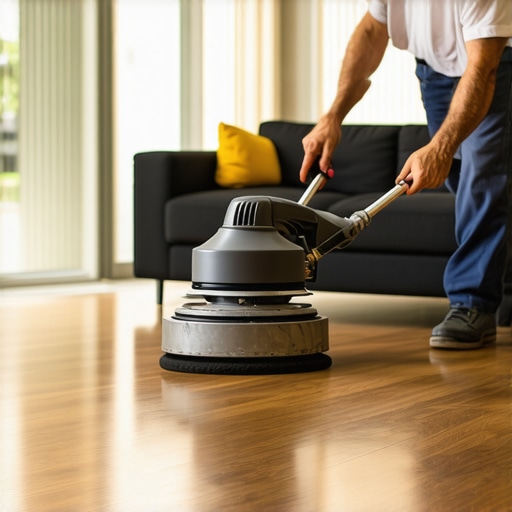
Choosing and maintaining the right tools isn’t enough; understanding how to properly care for your floors is equally vital. Using a dedicated buffer and regular inspections can prevent minor issues from becoming major repairs, ultimately extending the life of your investment. A professional-grade buffer, like the Flex XC3401 VRG, paired with soft polishing pads, allows even DIYers to achieve a near-professional finish while maintaining a protective layer. According to expert guides, pairing proper equipment with consistent care routines significantly improves long-term outcomes.
Lessons Learned from My Flooring Odyssey
- Patience Is Your Best Tool: Rushing through floor finishing only increased my mistakes. Taking the time to master each step, especially the buffer technique, turned out to be the most valuable investment. Remember, perfection in flooring is not about speed but precision.
- Surface Preparation Cannot Be Overstated: No matter how good your tools are, a clean, dry surface is non-negotiable. I’ve seen firsthand how skipping this step led to uneven shine and adherence issues. Proper preparation is the foundation of excellence.
- Quality Materials Make a Difference: Using the right buffer pads and polish for your floor type saved me countless headaches. Trusting reputable brands and consulting expert guides can elevate your results far beyond expectations.
- Embrace the Small Details: Attentiveness to buffer motion, speed, and pressure nuances distinguished my amateur attempts from professional finishes. Mastering these subtleties propels your project from average to outstanding.
- Learning Is a Continuous Process: Every mistake taught me something new. Stay curious, keep experimenting, and don’t fear seeking expert advice—resources like our comprehensive guides are invaluable.
My Essential Arsenal for Flooring Success
- Orbital buffers like the Flex XC3401 VRG offer control and a professional finish—trust me, they’re worth the investment for DIYers aiming for perfection.
- High-quality polishing pads tailored to your floor type ensure a smooth, streak-free shine.
- Quiet, durable cleaners and sealants designed specifically for hardwood or tile preserve your hard work over time.
- Measurement tools such as moisture meters prevent long-term issues caused by hidden humidity or uneven surfaces.
Let Your Floors Spark Joy and Confidence
Embarking on the journey to flawless flooring can seem daunting, yet the sense of achievement is truly rewarding. Whether refinishing hardwood or installing tiles, remember that mastering techniques like buffer work and surface prep transforms your space into a personal masterpiece. Starting today with these insights will not only save you time and money but also boost your confidence in tackling future projects. So, are you ready to take your flooring skills to the next level? Dive in, experiment, and share your stories—your dream floor awaits!
Have you ever struggled with perfecting your floor finish? Let me know below, and let’s learn from each other’s journeys!